8 Steps to Sharpen Professional Shears with a File
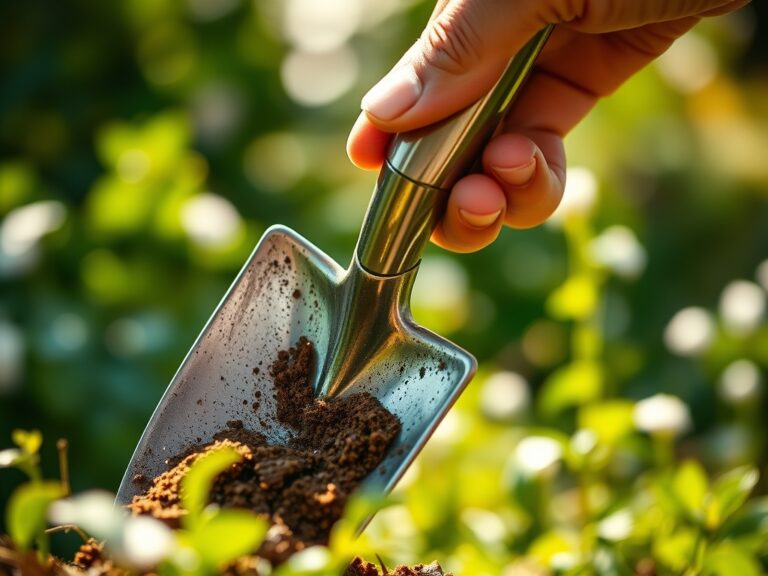
The smell of damp earth and the high turgor pressure of a healthy leaf signify a garden in its prime; however, a dull blade compromises plant vascular health by crushing xylem and phloem tissues rather than slicing them. Ragged cuts invite pathogens and increase the risk of necrosis at the wound site. Precision maintenance is required to ensure clean cellular separation. Mastering the steps for sharpening a garden shears with a file ensures your tools perform with surgical accuracy while preserving the structural integrity of your botanical specimens.
A clean cut allows the plant to seal the wound through the rapid production of callus tissue; conversely, a jagged tear from a blunt edge leads to localized senescence and sap loss. To maintain a productive landscape, the gardener must treat tool maintenance as a core component of plant pathology prevention. This guide details the exact mechanical process required to restore a factory-grade edge to your bypass or anvil shears using a mill file. By following these steps for sharpening a garden shears with a file, you reduce the physical strain on your hands and the biological strain on your plants.
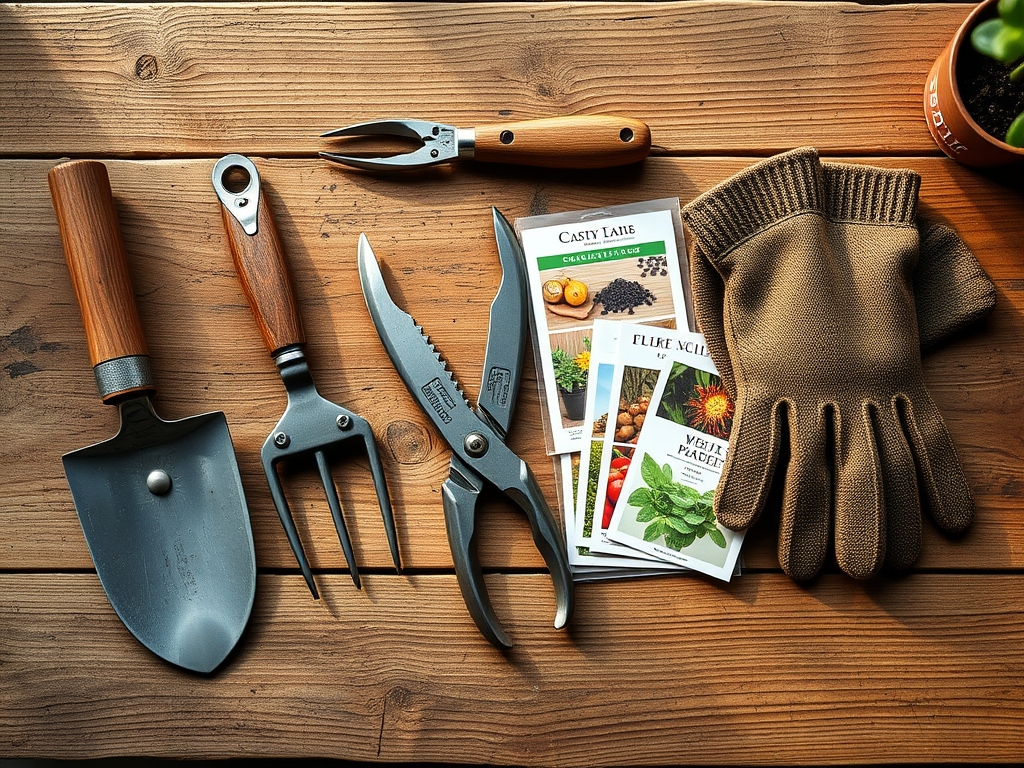
Materials:
Before engaging in mechanical sharpening, evaluate the environment where your tools operate. Soil health dictates the level of abrasive wear on your blades. A **friable loam** with a high **Cation Exchange Capacity (CEC)** often contains gritty silicates that dull steel. If your soil pH is below **6.0 (acidic)**, the increased solubility of certain minerals can accelerate tool oxidation.
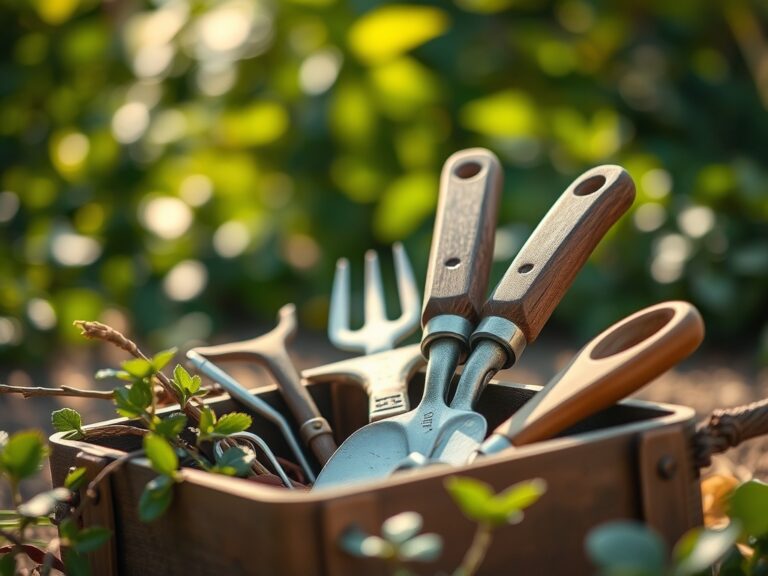
You will need a 10 inch mill bastard file, a medium-grit whetstone, and WD-40 or linseed oil for lubrication. Ensure you have a wire brush to remove organic buildup. For the plants themselves, maintain a balanced nutrient profile with an NPK ratio of 10-10-10 for general maintenance, or a 5-10-10 ratio to encourage root development without overstimulating soft, vulnerable vegetative growth that is easily damaged by dull blades.
Timing:
Tool maintenance should align with the physiological cycles of your garden. In Hardiness Zones 5 through 7, the ideal window for major pruning and tool sharpening occurs during the dormant season, typically between late January and early March. This precedes the "Biological Clock" transition from dormancy to the vegetative stage, where sap flow increases and the demand for clean cuts is highest.
Sharpening should occur before the first frost-date window closes to prepare for spring thinning. Avoid heavy pruning during the reproductive stage (flowering) unless removing diseased tissue, as the plant is diverting maximum energy to fruit or seed production. A sharp tool during the late-summer senescence phase is also critical for removing spent perennials without tugging at the root crown or disrupting the rhizosphere.
Phases:

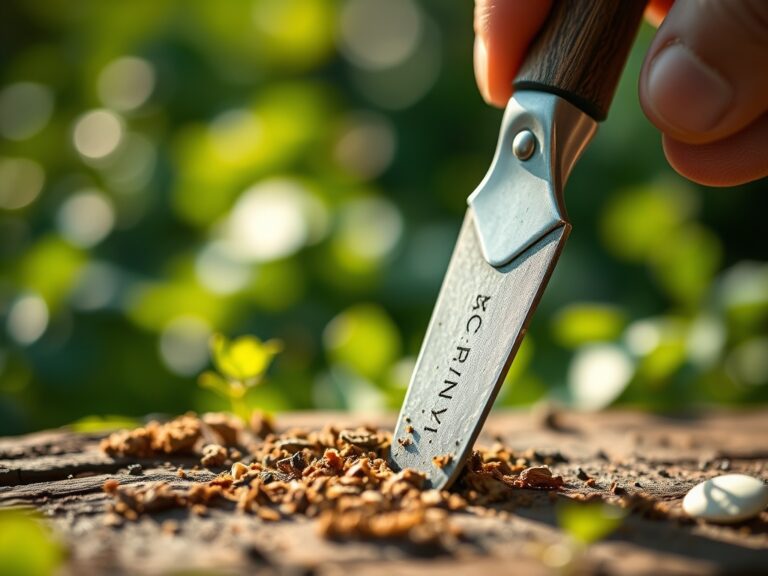
### Sowing the Edge: Cleaning and Preparation
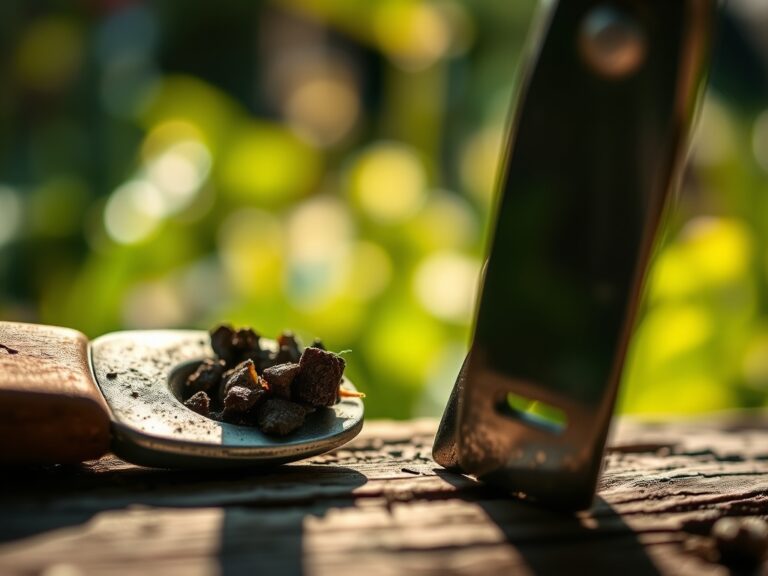
The first step is removing the “scab” of dried sap and calcium deposits. Use a wire brush or steel wool to scrub the metal surfaces until the bare steel is visible. This prevents organic acids from pitting the metal.
Pro-Tip: Removing sap prevents the transfer of soil-borne pathogens. Clean blades minimize the risk of interrupting mycorrhizal symbiosis by ensuring that any accidental contact with the soil does not introduce concentrated contaminants into the root zone.
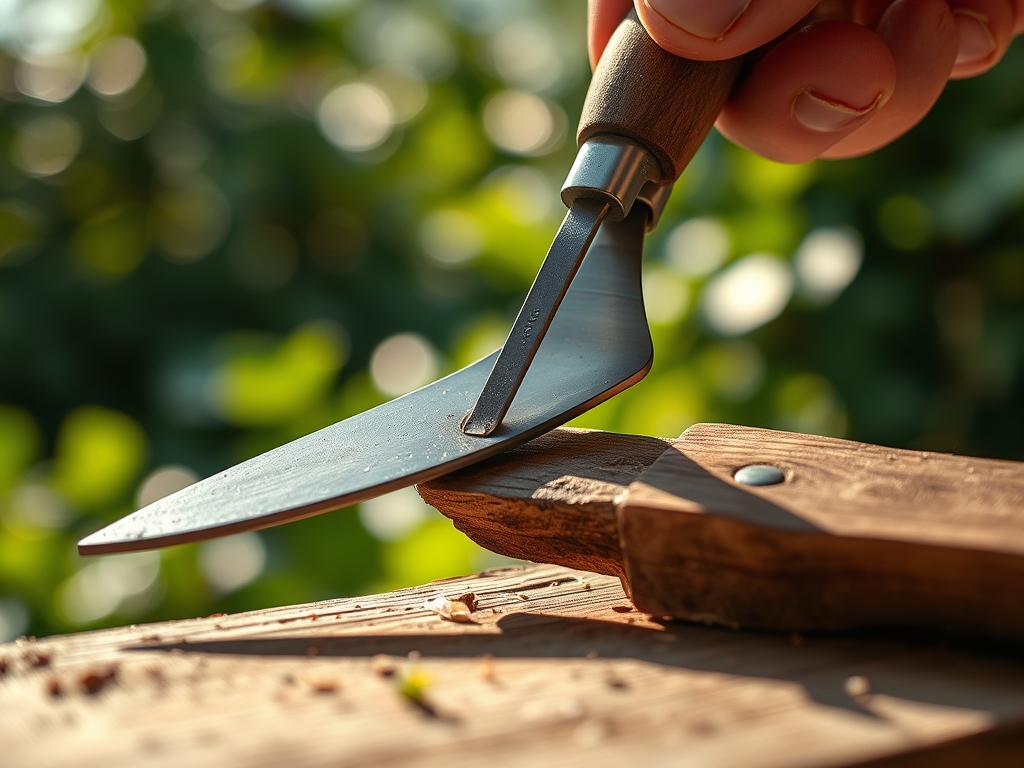
Transplanting the Angle: The Filing Process
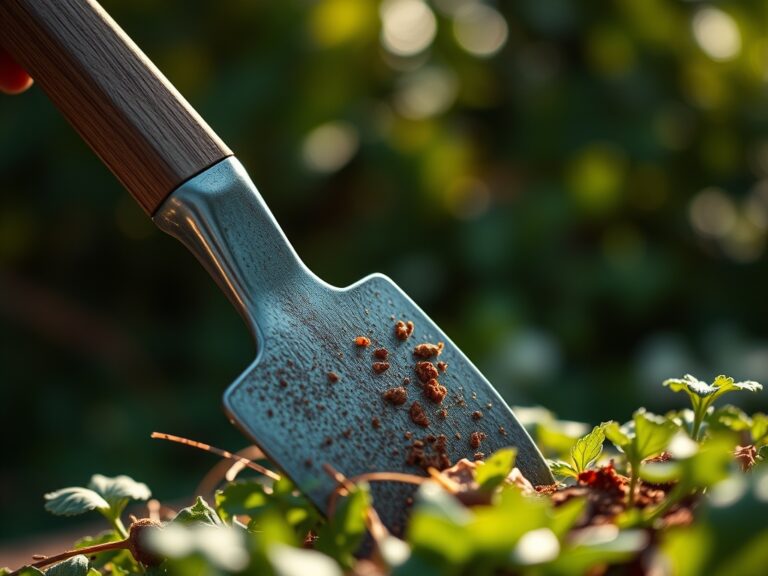
Identify the factory bevel, which is usually between 20 and 23 degrees. Place the mill file against the edge and push away from your body in a single, smooth motion. Do not use a back-and-forth sawing motion; this creates heat that can ruin the steel's temper. Repeat this 10 to 15 times until a bright line of new metal appears along the entire length of the blade.
Pro-Tip: Maintaining a consistent angle ensures the blade shears through the epidermis and cortex of the stem without crushing the cambium layer. This preserves the plant's ability to transport water via transpirational pull.
Establishing the Finish: Honing and Lubrication
After filing, a small metal burr will form on the flat side of the blade. Use a fine-grit whetstone to lightly remove this burr. Finish by applying a thin layer of oil to prevent oxidation. Test the sharpness by cutting a piece of paper; if it tears, the edge requires further honing.
Pro-Tip: A smooth, polished edge reduces friction, which prevents the suppression of auxins at the cut site. Rapid auxin recovery is essential for the plant to initiate new lateral growth following a pruning event.
The Clinic:
Physiological disorders in plants often mirror the quality of the tools used. Observe the following symptoms to diagnose issues:
- Symptom: Dieback from the tip of a pruned branch.
Solution: This indicates a crushed stem. Sharpen shears to ensure the vascular bundles remain open for healing. - Symptom: Interveinal chlorosis (yellowing leaves with green veins).
Solution: This is often a Magnesium deficiency. Apply Epsom salts (Magnesium Sulfate) at a rate of 1 tablespoon per gallon of water. - Symptom: Stunted growth and purple-tinged lower leaves.
Solution: This suggests Phosphorus deficiency, common in cold soils with low CEC. Apply a high-phosphate fertilizer (e.g., 0-20-0) to the drip line. - Symptom: Nitrogen chlorosis (uniform yellowing of older leaves).
Solution: Apply a quick-release nitrogen source like blood meal to restore chlorophyll production.
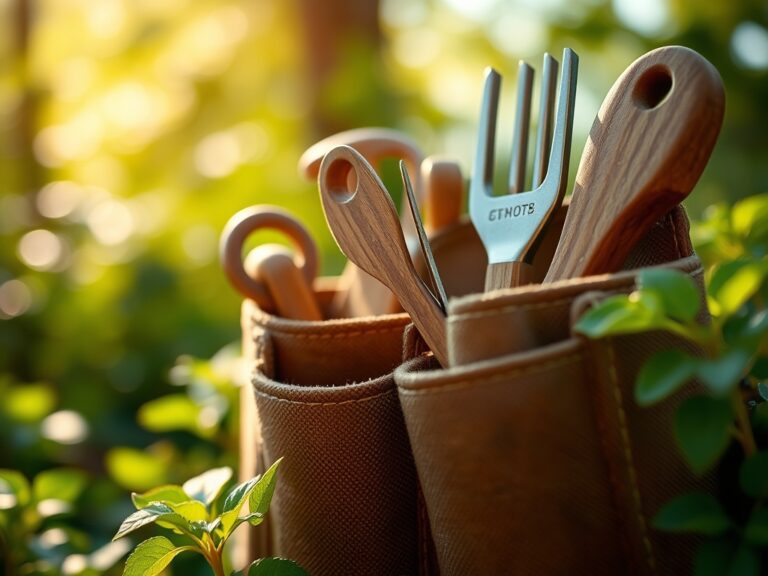
Maintenance:
A professional garden requires precise inputs. Deliver 1.5 inches of water per week directly at the drip line to ensure deep root penetration. Use a soil moisture meter to verify that the moisture reaches a depth of 6 to 8 inches. For precision work, keep a hori-hori knife for weeding and a pair of bypass pruners for stems under 0.5 inches in diameter. Always wipe tools with isopropyl alcohol after working with diseased plants to prevent cross-contamination.
The Yield:
When harvesting, timing is determined by the photoperiod and sugar accumulation. For most vegetables and flowers, harvest in the early morning when turgor pressure is at its peak. Use your sharpened shears to make a clean 45 degree cut. This maximizes the surface area for water uptake if the plant is a cut flower, or prevents rot if the plant remains in the ground. For "day-one" freshness, immediately submerge stems in 40 degree Fahrenheit water to slow the rate of respiration and metabolic decay.
FAQ:
How often should I sharpen my garden shears?
Sharpen your shears every 20 hours of active use or at the start of every season. If you notice the blade "pinching" the stem instead of slicing, immediate maintenance is required to prevent plant tissue damage.
Can I use a power grinder to sharpen shears?
Avoid power grinders. The high RPMs generate excessive heat that destroys the carbon steel temper, making the metal brittle. A manual mill file provides better control and preserves the structural integrity of the tool's cutting edge.
What is the difference between bypass and anvil shears?
Bypass shears use two curved blades that slide past each other like scissors for clean cuts on live tissue. Anvil shears have one straight blade that closes against a flat base, which is better for dead wood.
How do I remove rust before sharpening?
Submerge the blades in white vinegar for 12 to 24 hours. Use a stiff wire brush or Grade 0000 steel wool to scrub away the oxidized layers. Rinse with water, dry thoroughly, and apply oil immediately to prevent flash rusting.