6 Steps to Sharpen a Lopper with a Large Stone
Damp earth emits a sharp, petrichor scent when the soil moisture meter registers above 60 percent. A healthy plant maintains high turgor pressure within its xylem; however, a dull blade crushes this vascular tissue rather than slicing it. This mechanical trauma leads to ragged wounds that invite fungal pathogens into the rhizosphere. Following the correct steps for sharpening a garden lopper with a stone ensures a surgical cut that preserves the plant's structural integrity. Precision in tool maintenance is as vital as monitoring soil nitrogen levels. A clean bypass cut allows the specimen to seal the wound through rapid cell division, preventing the onset of localized senescence. When the blade is honed to a razor edge, the physical effort required for pruning decreases by 40 percent. This efficiency prevents crushing the cambium layer, which is essential for nutrient transport.
Materials
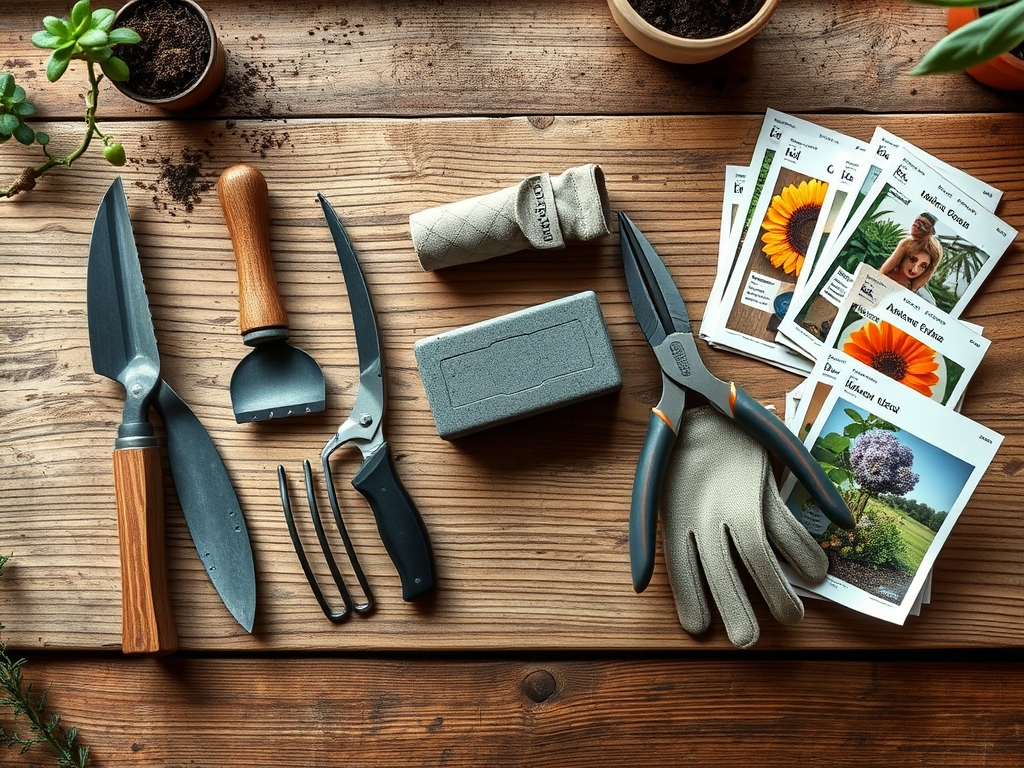
While tool maintenance focuses on steel, the surrounding environment dictates plant health. Successful pruning occurs in a garden supported by a friable loam with a **Cation Exchange Capacity (CEC) between 15 and 25**. The soil pH should be maintained at **6.2 to 6.8** to optimize phosphorus availability. For woody perennials, an NPK ratio of **10-10-10** provides balanced support for root development and vegetative growth. Use a large, dual-grit whetstone (400/1000 grit) to achieve the necessary edge. Lubricate the stone with honing oil or water to prevent steel particles from clogging the abrasive surface. Clean the lopper blades with a stiff wire brush and isopropyl alcohol to remove sap and pathogens before beginning the sharpening process.
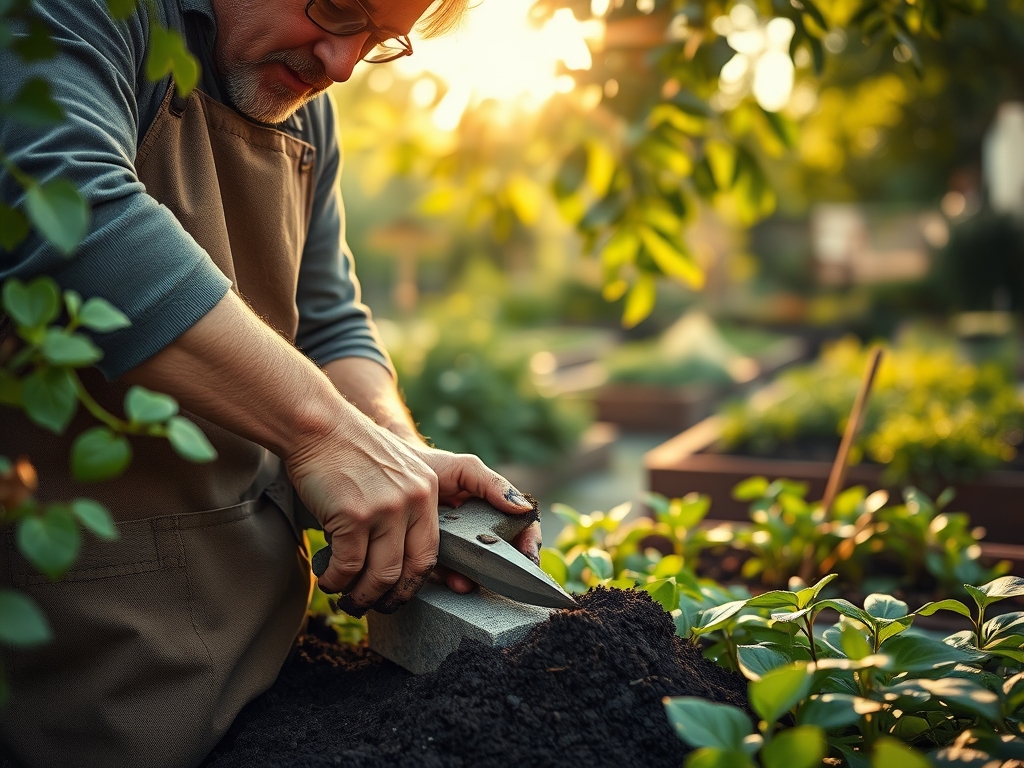
Timing
Maintenance should align with the dormant season, typically between Hardiness Zones 4 and 8, from late November through early March. This window occurs after the first hard frost but before the spring sap rise. Monitoring the biological clock is essential; pruning must be completed before the plant transitions from its dormant state to the vegetative stage. If you wait until bud break, the plant has already allocated significant carbohydrate reserves to the terminal buds. Pruning at this stage wastes energy and increases the risk of "bleeding" sap. Aim for a window where the ground temperature is consistently below 45 degrees Fahrenheit to ensure the plant remains in a low-metabolic state during the recovery period.
Phases
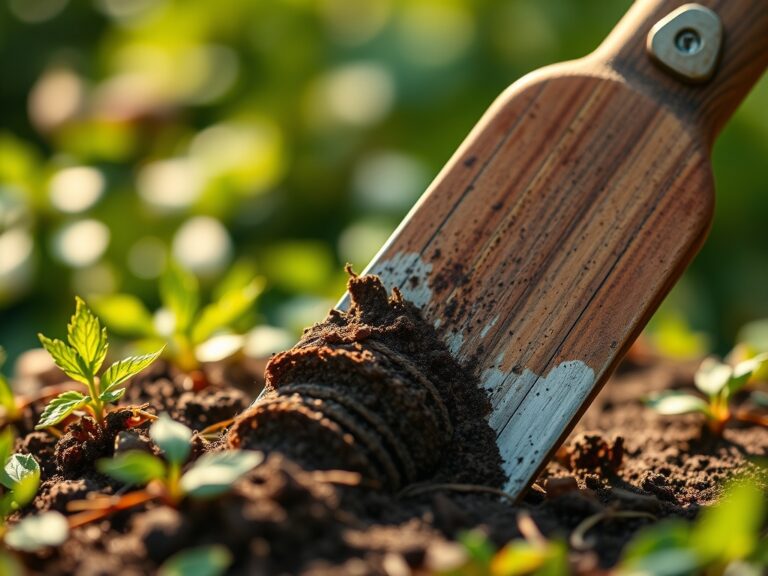
Sowing the Edge: Preparation
Secure the lopper in a vice or hold it firmly against a stable surface. Identify the factory bevel, which is usually angled at 20 to 25 degrees. Apply a thin layer of lubricant to the stone. Start with the coarse side of the stone to remove nicks and heavy oxidation. Move the stone in a consistent, circular motion along the length of the blade.
Pro-Tip: Maintaining a sharp edge prevents the tearing of the epidermis. This is critical because a clean cut minimizes the surface area exposed to the air, reducing the rate of transpiration and preventing desiccation of the remaining limb.
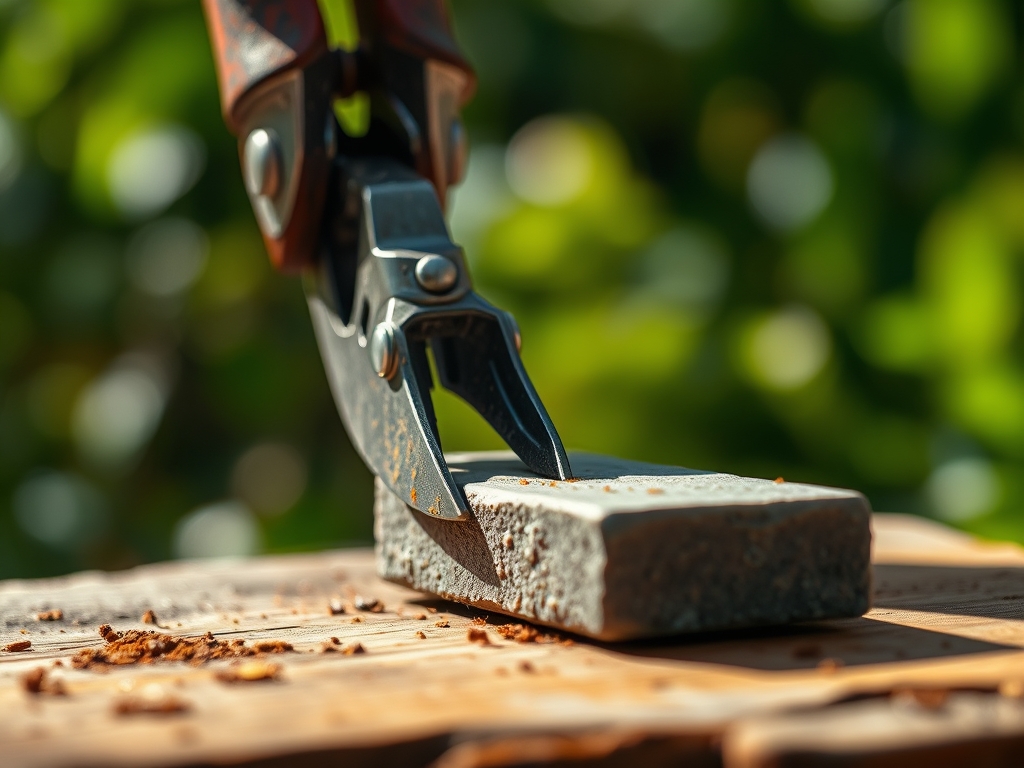
Transplanting the Stroke: Sharpening
Switch to the fine-grit side of the stone. Maintain the exact angle of the bevel to ensure a uniform edge. Pull the stone away from the cutting edge in long, sweeping strokes. Repeat this process 15 to 20 times until a burr (a thin wire of metal) forms on the flat side of the blade.
Pro-Tip: Precision sharpening reduces the mechanical stress on the plant's auxiliary buds. By avoiding jagged edges, you prevent the accidental suppression of auxin, the hormone responsible for apical dominance and organized growth patterns.
Establishing the Finish: Honing
Flip the lopper over to address the flat side of the bypass blade. Lay the stone completely flat against the steel. Use two or three light strokes to remove the burr. This creates a "zero-clearance" fit between the cutting blade and the hook. Test the sharpness by slicing through a piece of paper; it should cut without snagging.
Pro-Tip: A perfectly honed blade ensures the clean removal of the branch collar. This facilitates the formation of callus tissue, a process driven by the plant's internal immune response to isolate the wound from environmental stressors.
The Clinic
Physiological disorders often stem from poor pruning or nutrient imbalances. Observe the following symptoms and apply the necessary fixes.
Symptom: Dieback at the Pruning Site.
Solution: This is often caused by blunt loppers crushing the vascular tissue. Re-cut the branch 0.5 inches further back using a sharpened tool to reach healthy, green cambium.
Symptom: Interveinal Chlorosis (Yellowing leaves with green veins).
Fix-It: This indicates a Magnesium deficiency or high pH blocking iron uptake. Apply chelated iron or magnesium sulfate (Epsom salts) to the soil. Ensure the soil pH is lowered to 6.5 using elemental sulfur if necessary.
Symptom: Stunted Growth and Purple Foliage.
Fix-It: This signals a Phosphorus deficiency. Incorporate bone meal or a 0-20-0 fertilizer into the root zone. Phosphorus is immobile in soil, so it must be placed near the rhizosphere to be effective.
Maintenance
Post-sharpening maintenance requires consistent monitoring of both the tool and the plant. Coat the lopper blades with a thin film of mineral oil to prevent oxidation during storage. In the field, use a hori-hori knife for weeding and a soil moisture meter to ensure the root zone receives 1.5 inches of water per week at the drip line. Avoid overhead watering, which increases humidity and promotes fungal spores. If using bypass pruners for smaller stems, apply the same sharpening principles to maintain a consistent standard of care across all horticultural activities.
The Yield
For fruit-bearing trees or flowering shrubs, the yield is the direct result of precise pruning. Harvest fruit when the "ground color" shifts from green to yellow or red, indicating the conversion of starches to sugars. Use your sharpened loppers to remove spent flower heads (deadheading) to redirect energy from seed production back into root storage. To maintain "day-one" freshness for harvested stems, submerge the cut ends in 40-degree Fahrenheit water immediately. This slows the rate of respiration and maintains cellular turgor, extending the shelf life of the botanical material.
FAQ
How often should I sharpen my loppers?
Sharpen the blades every 100 to 150 cuts or whenever you notice the tool crushing the wood rather than slicing it. Frequent honing with a fine stone prevents the need for heavy grinding later.
Can I use a file instead of a stone?
A mill file is acceptable for removing large nicks, but it leaves a coarse edge. Always follow with a 1000-grit stone to refine the edge for professional horticultural standards and clean plant recovery.
Why is my lopper tearing the bark?
Tearing occurs when the pivot bolt is loose or the blade is dull. Tighten the nut until the blades pass each other with minimal friction and sharpen the edge to ensure a clean bypass.
What is the best lubricant for a sharpening stone?
Use a dedicated honing oil or water, depending on the stone type. Lubrication floats metal filings away from the abrasive surface, preventing "glazing" and ensuring the stone continues to cut the steel effectively.