6 Steps to Prepare a Garage for Tool Organization
The scent of damp humus and the distinct metallic tang of oxidized iron signal the start of a serious season. Healthy plants rely on high turgor pressure and a robust rhizosphere, but the gardener relies on precision instruments. Efficiency in the field begins with the logistics of storage. Learning how to prepare a garden for a tool organization project requires clearing the workspace to prevent soil compaction while ensuring your gear is accessible for peak metabolic windows.
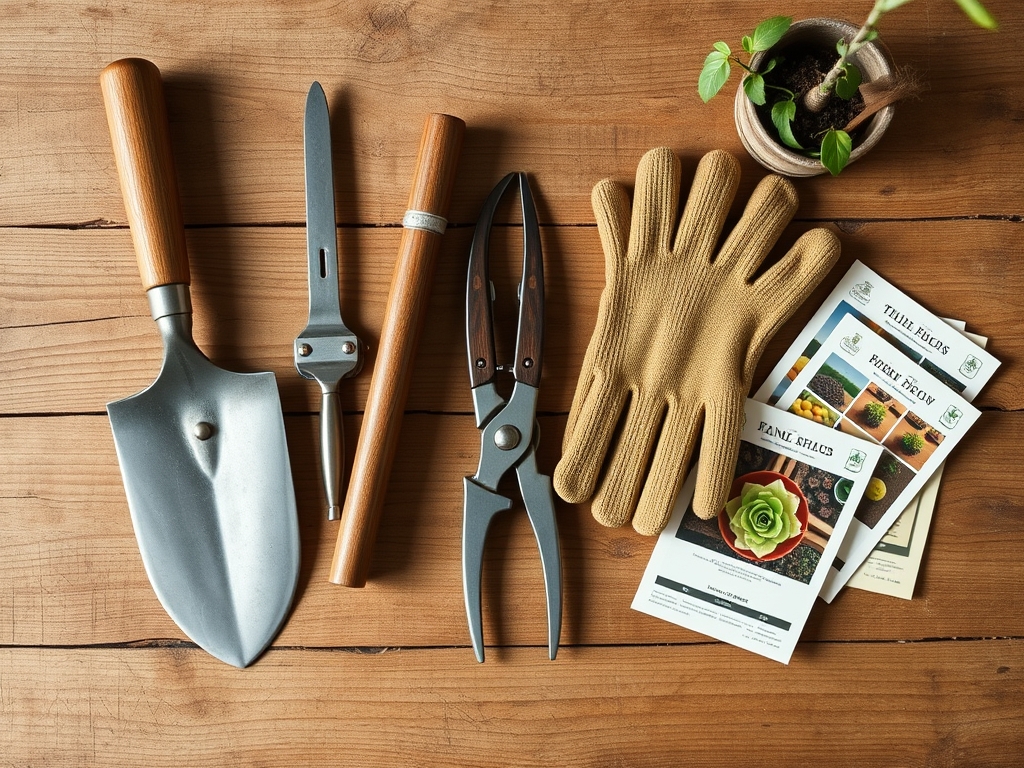
Materials:
Successful garden management depends on the chemical and physical composition of your workspace. Before organizing your shed or garage, ensure your soil substrate is stabilized to prevent runoff during the project. The ideal substrate is a friable loam consisting of roughly 40% sand, 40% silt, and 20% clay. This balance ensures a high Cation Exchange Capacity (CEC), allowing the soil to hold essential nutrients like ammonium and potassium.
Maintain a soil pH between 6.2 and 6.8 for most temperate crops. If your soil is too acidic, apply calcitic lime; if too alkaline, use elemental sulfur. For the surrounding beds, focus on specific NPK ratios based on the current growth stage. Use a 10-10-10 balanced fertilizer for general maintenance, or a 5-10-10 ratio to encourage root development without triggering excessive vegetative growth that might interfere with your workspace.
Timing:
Timing is dictated by the USDA Hardiness Zones and the local frost-free window. In Zones 5 through 7, tool organization should occur during the late winter dormancy period or the early autumn senescence. This timing avoids the peak vegetative stage when plants are most susceptible to physical damage from moved equipment.
Observe the biological clock of your perennials. You must complete heavy organizational tasks before the photoperiod triggers the transition to the reproductive stage. For example, once day length exceeds 14 hours, many species shift energy from root stabilization to flowering. Interrupting this cycle with heavy foot traffic or tool relocation can cause physiological stress and reduced yields.
Phases:

Sowing and Site Preparation
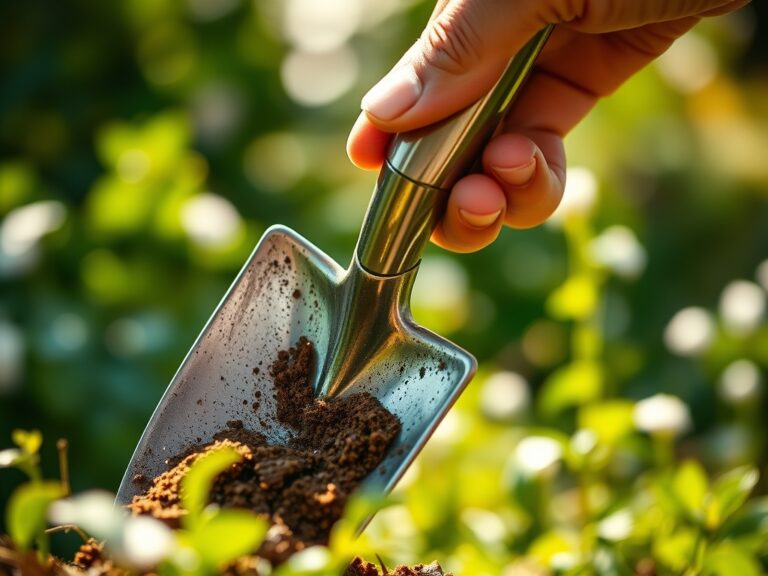
Clear a 10-foot by 10-foot staging area near your tool storage. If you are sowing cover crops like winter rye to protect the soil during your project, ensure a seeding depth of 1 inch. This prevents avian predation and ensures consistent moisture contact.
Pro-Tip: Utilize mycorrhizal symbiosis by inoculating seeds with beneficial fungi. This increases the surface area of the root system, allowing the plant to better withstand the soil compaction that often occurs during heavy organizational projects.
Transplanting and Perimeter Clearing
Move any potted specimens or delicate annuals away from the high-traffic zones of the garage or shed. Ensure the new location provides at least 6 hours of direct solar radiation. When moving plants, keep the root ball intact to maintain hydraulic conductivity within the xylem.
Pro-Tip: Avoid auxin suppression by not pruning the lead terminal during a move. Maintaining the apical bud ensures the plant continues its natural upward growth trajectory through phototropism, even if the surrounding environment is temporarily cluttered.
Establishing the Workflow
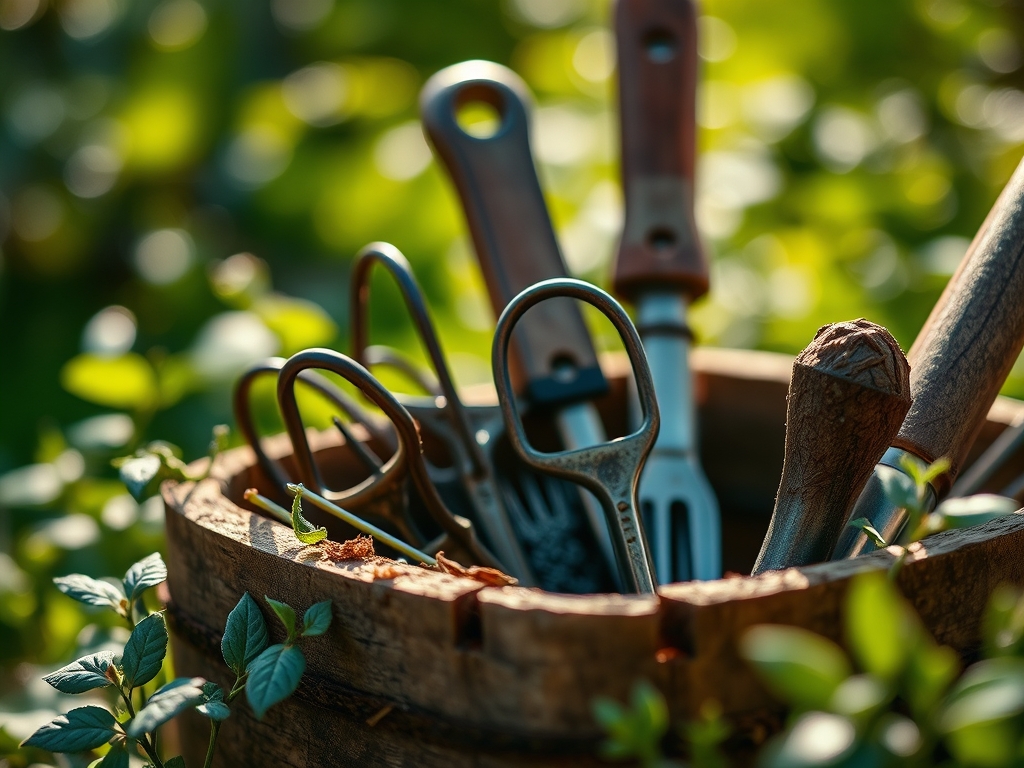
Install vertical racks for long-handled tools like shovels and steel rakes. Store them at least 6 inches off the ground to prevent moisture wicking and subsequent oxidation. Group tools by their function in the nitrogen cycle; keep cultivation tools separate from pruning shears to prevent the cross-contamination of pathogens.
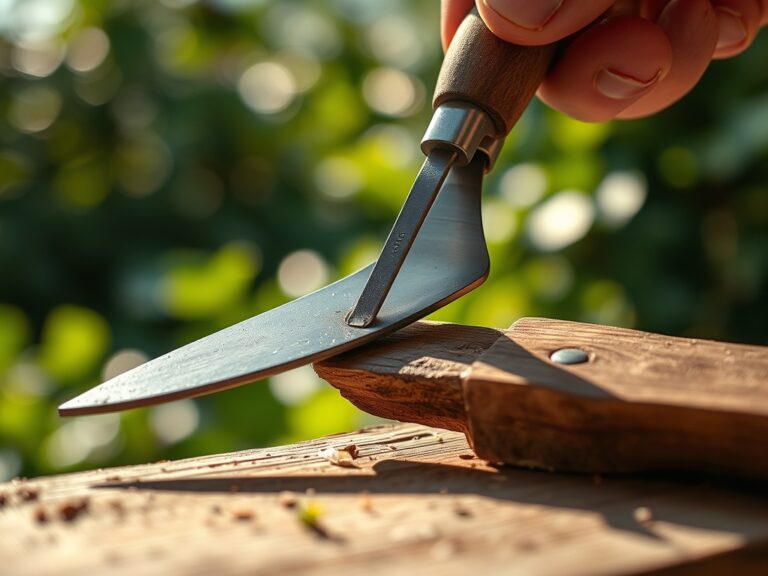
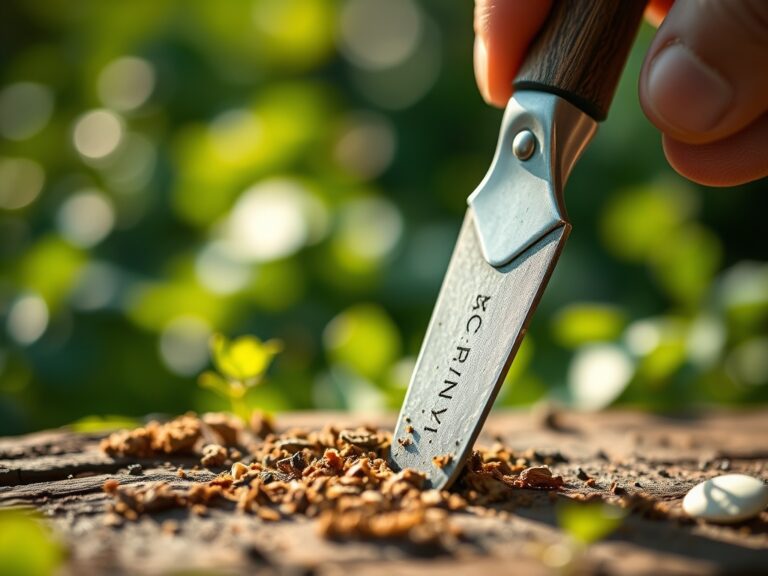
Pro-Tip: Position your most-used hand tools, like the hori-hori knife, at waist height. This ergonomic placement reduces repetitive strain and minimizes the time the garage door remains open, which helps maintain a stable microclimate for any indoor starts.
The Clinic:
Physiological disorders often arise when tool maintenance is neglected. Dull blades cause jagged cuts that lead to necrosis or opportunistic fungal infections.
- Symptom: Interveinal chlorosis (yellowing between leaf veins).
Solution: This indicates Magnesium deficiency. Apply Epsom salts (magnesium sulfate) at a rate of 1 tablespoon per gallon of water. - Symptom: Stunted growth and dark purple tinting on the underside of leaves.
Solution: This is a classic sign of Phosphorus deficiency. Incorporate bone meal or rock phosphate into the top 3 inches of soil. - Symptom: Tip burn on young foliage.
Solution: Likely Calcium deficiency or inconsistent moisture. Use a soil moisture meter to ensure the root zone stays between 40% and 60% field capacity.
Fix-It: For general Nitrogen chlorosis (overall pale green or yellow leaves), apply a quick-release high-nitrogen fertilizer (20-0-0) to rapidly restore chlorophyll production.
Maintenance:
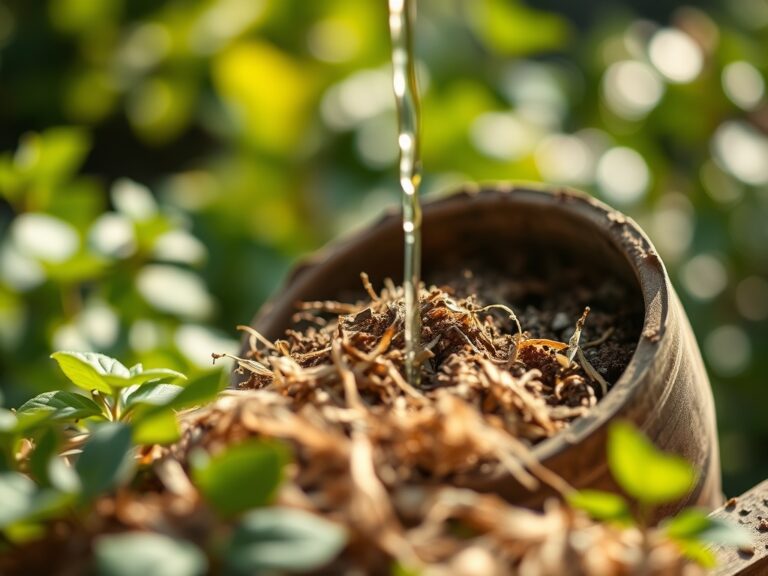
A disciplined maintenance schedule is the difference between a hobbyist and a professional. Apply exactly 1.5 inches of water per week at the drip line of your plants; avoid overhead irrigation to minimize leaf wetness duration. Use bypass pruners for clean, scissor-like cuts on live tissue; reserve anvil pruners for dead wood to avoid crushing the vascular cambium.
Every month, calibrate your soil moisture meter and inspect your hori-hori knife for signs of pitting. Clean all metal surfaces with 70% isopropyl alcohol after use to prevent the spread of soil-borne pathogens like Fusarium or Phytophthora.
The Yield:
When your organization project coincides with harvest, precision is mandatory. Harvest leafy greens during the pre-dawn hours when turgor pressure is at its maximum. This ensures the cell walls are fully distended, providing the crispest texture.
For fruiting bodies, use a sharp blade to sever the pedicel rather than pulling, which can damage the main stem. Immediately move harvested material to a cool, shaded area to reduce the respiration rate. This post-harvest handling preserves the sugars and acids, ensuring "day-one" freshness for several days.
FAQ:
How do I prevent rust on garden tools?
Clean tools with a wire brush to remove soil. Wipe metal surfaces with a thin layer of mineral oil or silicone spray. Store tools vertically in a dry, ventilated area to prevent moisture accumulation and oxidative reactions.
What is the best soil for a staging area?
Use a compacted crushed stone base or a heavy clay-loam topped with mulch. This prevents deep soil compaction in high-traffic areas, protecting the pore space necessary for oxygen exchange in the surrounding rhizosphere.
When should I sharpen my pruning shears?
Sharpen blades every 10 to 15 hours of use or at the start of every season. Use a diamond whetstone at a 20-degree angle. Sharp blades ensure clean cuts that heal quickly via callus tissue formation.
Can I store fertilizers in the garage with my tools?
Yes, but keep them in airtight plastic containers. High humidity can cause granular fertilizers to clump and may accelerate the corrosion of nearby metal tools due to the off-gassing of nitrogenous compounds or acidic salts.