8 Tips to Use a Spirit Level for Professional Accuracy
The smell of damp, anaerobic silt rising from a poorly drained trench is the first sign of a failed landscape. When water pools against a foundation or stagnates in the root zone, the turgor pressure of the surrounding flora collapses; leaves lose their rigidity and the plant enters a state of physiological stress. Achieving structural integrity in the garden requires more than intuition. Using a level for professional design ensures that hardscapes and drainage gradients function as a cohesive system. Without a precise 2 percent slope for runoff, the rhizosphere becomes oversaturated, leading to root rot and the eventual senescence of high-value specimens. A professional horticulturist treats the bubble in a spirit level with the same reverence as a soil pH reading. It is the arbiter of gravitational flow and structural permanence. By mastering the geometry of the land, you dictate exactly how moisture moves through the soil profile, preventing the erosion of topsoil and the leaching of essential nitrates. Precision in the horizontal plane is the foundation of a healthy, productive ecosystem.
Materials:

Professional design begins with a substrate that can support the weight of leveled structures. The ideal medium is a **friable loam** with a Cation Exchange Capacity (CEC) between **15 and 25 meq/100g**. This texture allows for the physical compression required for base layers without sacrificing the porosity needed for gas exchange. For leveling stone paths or retaining walls, you must utilize a base of crushed limestone or coarse sand. The chemical profile of this base should maintain a **pH of 6.5 to 7.2** to prevent the leaching of acidic runoff into adjacent planting beds. When integrating organic matter, target an NPK ratio of **4-4-2** to provide a slow-release nutrient reservoir. The physical substrate must be compacted to **95 percent Proctor density** before using a level to set the final grade. This ensures that the structural leveling remains true even after the soil undergoes natural settling and seasonal freeze-thaw cycles.
Timing:
Hardscape leveling and major grading should occur during the dormant season or early spring, specifically in Hardiness Zones 4 through 8 when the ground is not frozen but the biological clock of most perennial species is in a vegetative rest state. For zone 7, this window typically falls between February 15 and March 30. Executing level-based design during this period minimizes soil compaction risks associated with active root growth. As the photoperiod increases and soil temperatures reach a consistent 55 degrees Fahrenheit, the transition from vegetative to reproductive stages begins. You must complete all leveling and soil disturbance before the auxin-driven spring flush. If you disrupt the soil during peak growth, you risk damaging the delicate mycorrhizal networks that facilitate nutrient uptake. Precise timing ensures that the structural "bones" of the garden are set before the plant's metabolic demands peak in the summer heat.
Phases:

Sowing and Grading
Before a single seed hits the dirt, the grade must be checked with a 48-inch I-beam level. For large areas, use a transit level to establish a benchmark. A slope of 0.25 inches per foot is the standard for directing water away from structures. This prevents the "drowning" of seeds in low spots where oxygen deprivation halts germination.
Pro-Tip: Proper grading prevents hypoxia in the soil; by ensuring a level surface with a slight pitch, you maintain the 25 percent air space required in the soil pores for aerobic respiration.
Transplanting with Precision
When installing a row of boxed trees or a formal hedge, use a level across the tops of the root balls to ensure a uniform planting depth. The root flare must be exactly level with the finished grade. If a tree is planted even 2 inches too deep, the lack of gas exchange at the trunk base will lead to secondary phloem death.
Pro-Tip: Aligning plants with a level prevents phototropic leaning; when a plant is set perfectly vertical, it allocates energy equally to all lateral buds rather than over-compensating for a tilted axis.
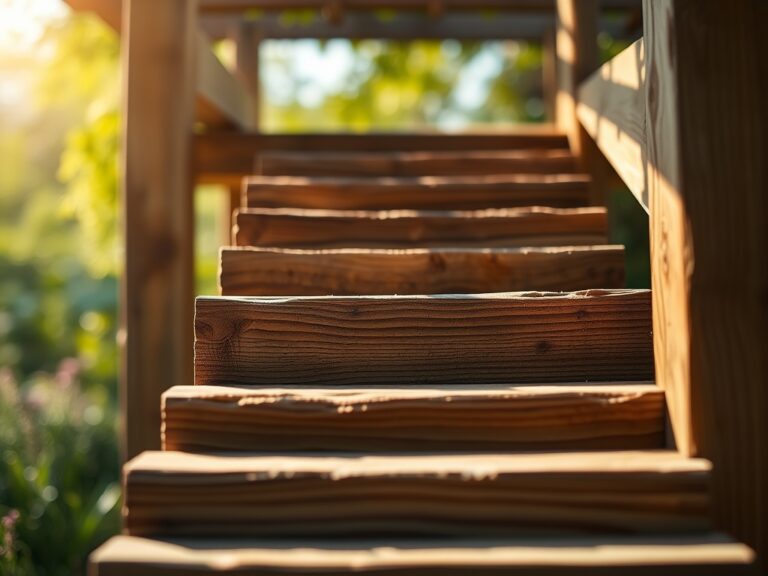
Establishing Hardscapes
For retaining walls or raised beds, check for level every two vertical feet. Use a torpedo level for tight spaces and a mason's level for long runs. This accuracy prevents the lateral pressure of wet soil from causing the wall to "blow out." A wall that is out of level by even 0.5 degrees will experience uneven weight distribution and structural fatigue.
Pro-Tip: Maintaining a level wall face ensures even hydraulic pressure distribution; this prevents localized "hot spots" of moisture that can encourage fungal pathogens like Phytophthora.
The Clinic:
Symptom: Interveinal Chlorosis
Solution: This is often a sign of high pH or iron deficiency. If your leveled site uses high-alkalinity stone, the runoff may be locking up micronutrients. Fix-It: Apply chelated iron or elemental sulfur to lower the pH to a range of 6.0 to 6.5.
Symptom: Marginal Leaf Burn
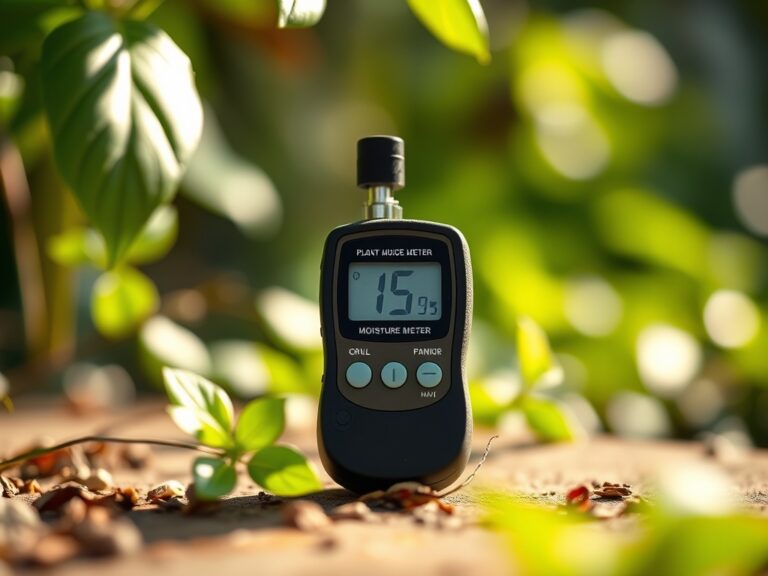
Solution: This indicates salt accumulation or drought stress, often found in "level" areas that actually have micro-depressions where salts settle. Fix-It: Use a soil moisture meter to check for drainage consistency and flush the area with 2 inches of water to leach excess salts.
Symptom: Adventitious Rooting on Trunks
Solution: This occurs when soil is leveled too high against a tree trunk, covering the root flare. Fix-It: Use a hori-hori knife to carefully excavate the excess soil until the flare is visible; ensure the new grade is leveled away from the tree.
Maintenance:
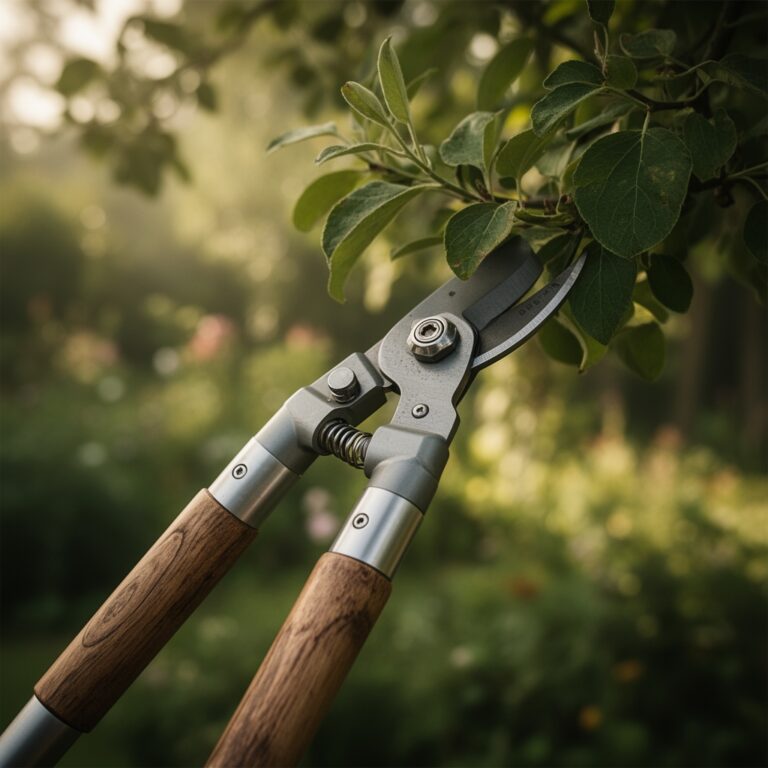
A professional garden requires rigorous monitoring. Deliver exactly 1.5 inches of water per week at the drip line using a calibrated irrigation system. Use a soil moisture meter daily during the first growing season to ensure the leveled grade is not creating hidden dry pockets. Prune any crossing branches with bypass pruners to maintain the structural balance established during the leveling phase. Check the level of stone paths annually; if shifting occurs, it indicates a failure in the sub-grade compaction. Re-leveling immediately prevents the "puddling effect" which can lead to localized soil compaction and reduced cation exchange capacity in nearby planting zones.
The Yield:
When harvesting from a perfectly leveled raised bed, the uniformity of the crop is the primary indicator of success. Harvest leafy greens when the turgor pressure is at its highest, typically between 5:00 AM and 7:00 AM. Use a sharp blade to make clean cuts, preventing tissue jaggedness that leads to rapid senescence. Post-harvest, submerge the produce in 40-degree Fahrenheit water to remove field heat instantly. This process, known as hydro-cooling, preserves the cellular structure and ensures "day-one" freshness for up to 10 days in cold storage.
FAQ:
How do I check a level for accuracy?
Place the level on a flat surface and note the bubble position. Rotate the level 180 degrees horizontally. If the bubble does not rest in the exact same spot, the vial is out of calibration and requires adjustment.
What is the best slope for garden drainage?
A professional standard is a 2 percent grade. This equates to a 0.25-inch drop for every linear foot of distance. This slope is sufficient to move water via gravity without causing significant topsoil erosion or nutrient leaching.
Can I use a string level for long distances?
String levels are effective for distances up to 20 feet. Beyond this, string sag introduces an error margin of 5 percent or more. For professional design over long spans, a laser level or water level is required.
Why is leveling important for raised beds?
An unlevel raised bed causes water to pool at the low end, leading to anaerobic soil conditions. The high end will suffer from excessive drainage and nutrient runoff, resulting in uneven crop growth and localized nitrogen deficiencies.