7 Steps to Prepare a Professional Garden Bench Site
The smell of damp earth and the iron scent of mineralized clay signal a site ready for structural integration. When the turgor pressure of the surrounding flora is at its peak; usually in the early morning hours; the soil is most receptive to the physical compaction required for a stable foundation. Learning how to prepare a site for a garden bench requires more than aesthetic placement. It demands an understanding of soil mechanics and the local rhizosphere to ensure the bench does not sink or cause localized anaerobic conditions. A professional installation prevents the slow decay of wood or the cracking of stone by managing the moisture levels and the Cation Exchange Capacity (CEC) of the underlying substrate. By analyzing the site through the lens of a soil scientist, you ensure the structure remains level while the surrounding vegetation thrives without root compression or nutrient lockout.
Materials:
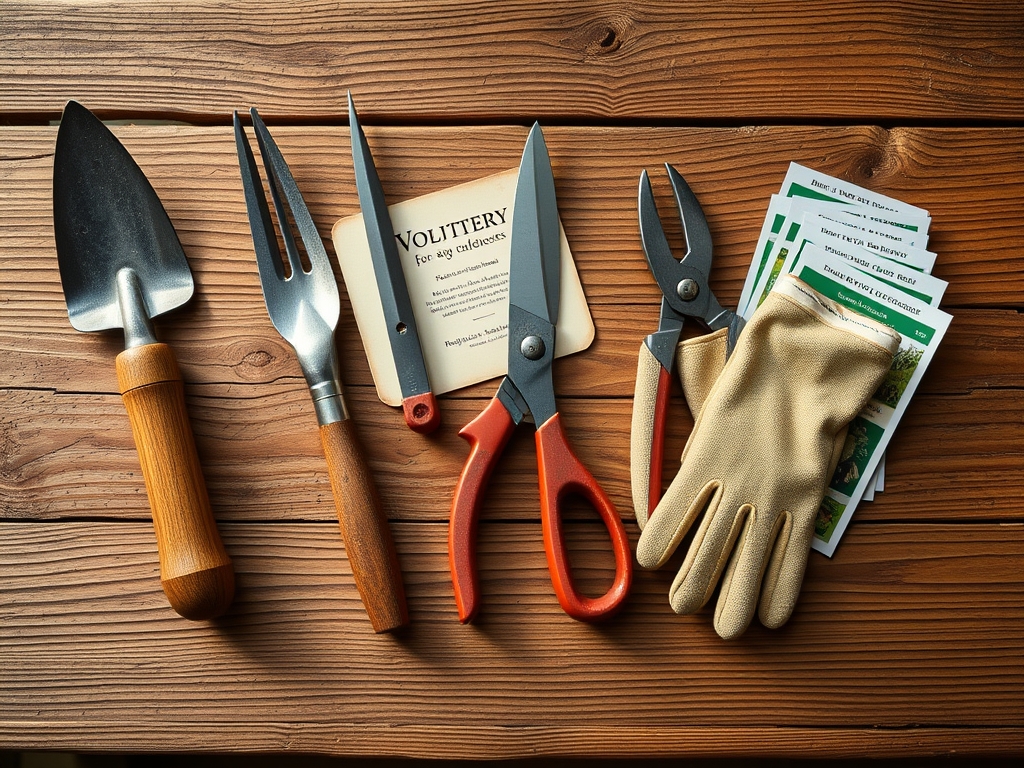
Selecting the right materials depends on the chemical composition of your native soil. For a stable bench site, you must replace the top 4 inches of organic matter with a structural base.
- Substrate Base: Use crushed limestone or 3/4 inch minus gravel. Limestone provides a high calcium content which can buffer acidic soils, maintaining a pH between 6.5 and 7.2 in the immediate vicinity.
- Soil Amendment: If planting around the bench, utilize a friable loam with a 1:1:1 ratio of sand, silt, and clay.
- Nutrient Profile: Incorporate a slow release fertilizer with an NPK ratio of 5-10-5 to encourage root development of nearby groundcovers without forcing excessive vegetative growth that could overgrow the seating area.
- Landscape Fabric: Use a woven geotextile with a flow rate of at least 10 gallons per minute per square foot to ensure drainage.
- Leveling Sand: Coarse masonry sand with a high silica content is preferred for its resistance to compaction.
Timing:
Installation should align with the dormant season or early spring when the "Biological Clock" of the garden is in a transition from senescence to active vegetative growth. In Hardiness Zones 4 through 7, the ideal window is 4 weeks before the average last frost date. This allows the ground to settle before the peak of the growing season.
Working the soil when the temperature is between 45 and 55 degrees Fahrenheit prevents the destruction of soil aggregates. If you install during the reproductive stage of surrounding perennials, you risk disrupting the photoperiod response; the plant may divert energy from flower production to repairing root damage caused by site excavation. Aim for a period of low transpiration to minimize stress on the surrounding ecosystem.
Phases:
Sowing the Foundation
Excavate the site to a depth of 6 inches. Remove all organic debris, including roots and decomposing mulch. The base must be strictly mineral to prevent "settling" as organic matter breaks down. Compact the subsoil using a hand tamper until the surface resists a 1/2 inch indentation from a standard tool handle.
Pro-Tip: Compacting the subsoil prevents mycorrhizal symbiosis from being disrupted later. By establishing a firm boundary, you force fungal networks to move around the structural site rather than through it, protecting the bench from fungal decay.
Transplanting the Surroundings
When placing plants around the bench, ensure the root ball is positioned 1 inch above the soil line. This prevents crown rot. Use a hori-hori knife to score the roots of any container-bound plants, encouraging lateral growth away from the bench foundation.
Pro-Tip: Scoring the roots triggers auxin suppression in the root tips. This hormonal shift encourages the plant to produce new, vigorous feeder roots that stabilize the soil around your new bench site.
Establishing the Microclimate
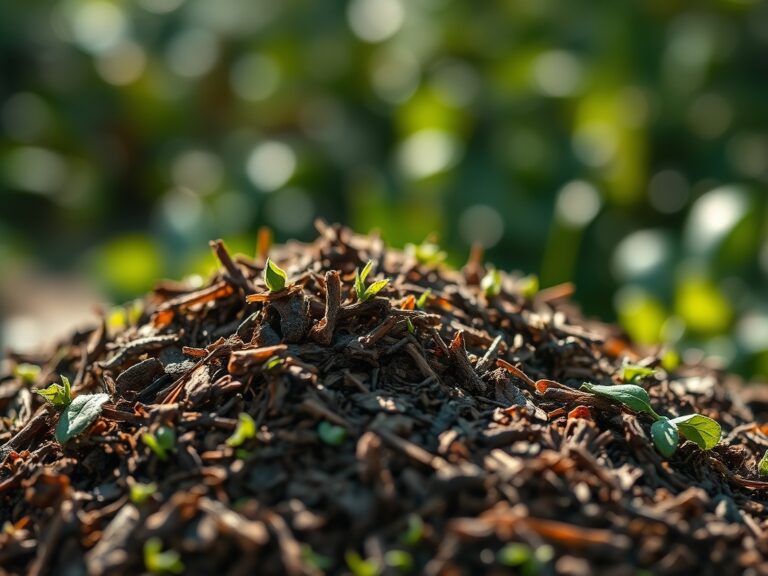
Once the bench is set, apply a 2 inch layer of arborist wood chips around the perimeter. This maintains soil moisture and prevents the "heat island" effect where stone or metal benches reflect thermal energy onto sensitive foliage.
Pro-Tip: This mulch layer encourages phototropism to work in your favor. By cooling the root zone, the plant can focus energy on upward growth and leaf orientation toward the sun rather than fighting heat stress at the soil level.
The Clinic:
Physiological disorders often arise after site disturbance. Monitor these specific symptoms:
- Nitrogen Chlorosis: Leaves turn pale yellow while veins remain green. This occurs when high-carbon mulch is mixed into the soil, causing "nitrogen tie-up."
- Fix-It: Apply a liquid fertilizer with a high N value (10-0-0) directly to the rhizosphere.
- Iron Deficiency: New growth is neon yellow. This happens if the limestone base raises the pH above 7.5, making iron insoluble.
- Fix-It: Incorporate elemental sulfur or chelated iron to lower the pH to a 6.0 range.
- Turgor Loss (Wilting): Despite wet soil, the plant droops. This indicates root suffocation from over-compaction.
- Fix-It: Use a soil probe to aerate the area 12 inches away from the bench legs.
Maintenance:
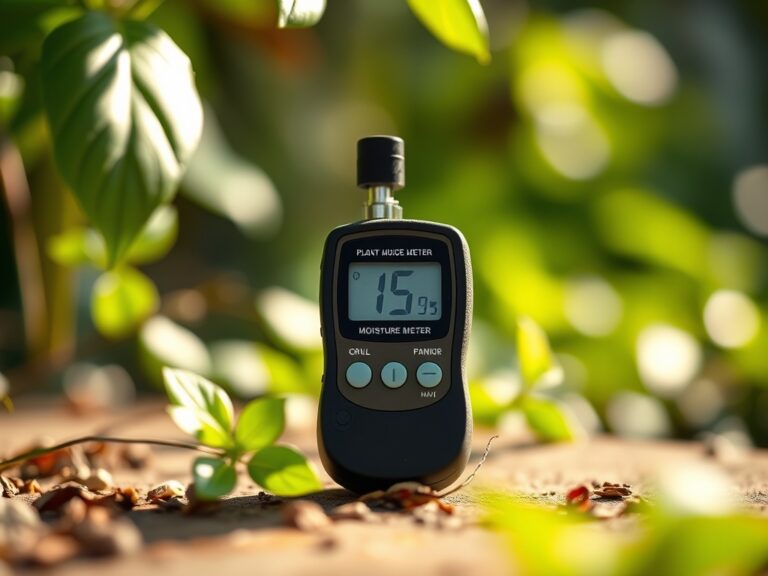
A professional site requires data-driven upkeep. Use a soil moisture meter twice weekly. The goal is to maintain 25 percent volumetric water content. For most temperate zones, this equates to 1.5 inches of water per week delivered at the drip line of surrounding plants.
Every spring, use bypass pruners to remove any branches that interfere with the bench's "breathability." Airflow is essential to prevent powdery mildew. Check the level of the bench using a 4-foot spirit level. If the bench has shifted more than 1/4 inch, use a pry bar to inject additional masonry sand under the low point.
The Yield:
If your bench site includes aromatic herbs like Lavandula or Thymus, harvest during the "essential oil peak." This occurs after the dew has dried but before the sun reaches its zenith. Use sharp snips to cut the top one-third of the vegetative growth. To maintain "day-one" freshness, immediately place the stems in a cool, shaded environment with high humidity. This slows the rate of respiration and preserves the volatile organic compounds that provide the fragrance.
FAQ:
How deep should I dig for a garden bench base?
Excavate to a depth of 4 to 6 inches. This allows for a 3 inch compacted gravel base and a 1 inch sand leveling layer. Removing the organic "O" horizon prevents the bench from sinking as material decomposes.
Can I put a bench directly on the grass?
No. Constant shade and weight will lead to anaerobic soil conditions and fungal pathogens. The grass will undergo senescence and die, leaving a muddy depression that can rot the bench legs and destabilize the structure.
What is the best stone for a bench foundation?
Crushed angular limestone is superior to rounded pea gravel. The sharp edges of angular stone lock together under pressure, creating a high Cation Exchange Capacity environment that supports structural loads without shifting over time.
How do I prevent weeds from growing under the bench?
Install a professional-grade geotextile fabric between the subsoil and the gravel base. Ensure the fabric has a high UV rating and is covered by at least 2 inches of inorganic material to block all light from reaching dormant seeds.