9 Steps to Prepare a Professional Garden Light Site
The smell of damp, anaerobic earth indicates a lack of pore space; however, the scent of actinomycetes in a healthy rhizosphere signals a site ready for cultivation. Achieving high turgor pressure in plant tissue requires more than just water. It demands a sophisticated understanding of photon flux and soil chemistry. Learning how to prepare a garden for a light installation or a high-intensity planting site involves managing the intersection of electrical safety and botanical physiology. Professionals do not guess. They measure the Cation Exchange Capacity (CEC) and the Photosynthetic Photon Flux Density (PPFD) to ensure the environment supports maximum metabolic efficiency. Preparing the site involves mechanical clearing, soil structural assessment, and the precise calibration of the light spectrum to match the developmental stage of the crop. A garden prepared without these technical considerations will face stunted growth and nutrient lockout. This guide provides the rigorous framework necessary to transform a raw outdoor or indoor space into a high-performance botanical environment where every lumen is converted into biomass.
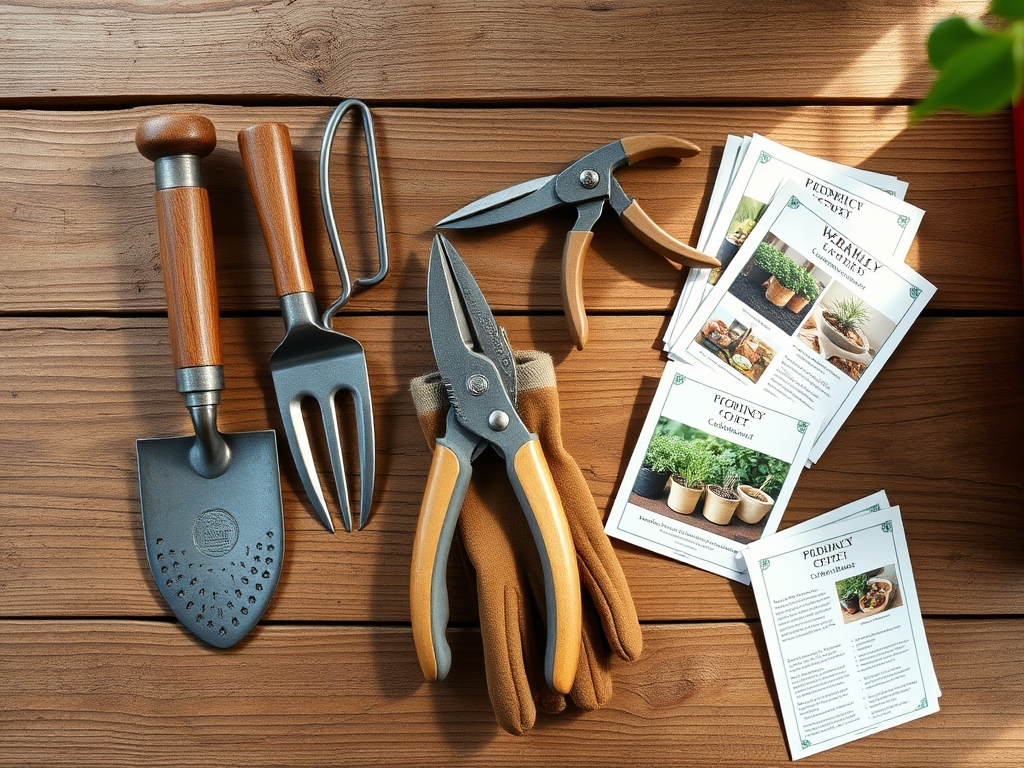
Materials:
The substrate is the foundation of the garden. For a professional light site, you must achieve a **friable loam** texture. This consists of roughly **40% sand, 40% silt, and 20% clay**. This ratio ensures optimal drainage while maintaining the water-holding capacity necessary for nutrient transport.
The chemical profile of the soil must be balanced before installing light fixtures. Aim for a soil pH between 6.2 and 6.8 for most terrestrial plants. This range ensures that macronutrients and micronutrients remain bioavailable. You will need the following specific NPK ratios based on the growth phase:
- Vegetative Phase: A 3-1-2 ratio (e.g., 15-5-10) to support chlorophyll production and leaf expansion.
- Reproductive Phase: A 1-3-2 ratio (e.g., 5-15-10) to encourage flower primordia and root development.
Incorporate organic matter to increase the CEC. High CEC soils act as a reservoir for positively charged ions like Calcium (Ca2+), Magnesium (Mg2+), and Potassium (K+). Without a high CEC, your supplemental lighting will drive a metabolic rate that the soil cannot support; leading to rapid nutrient depletion.
Timing:
Success depends on the synchronization of the photoperiod with the plant's biological clock. In Hardiness Zones 5 through 7, the window for site preparation begins 4 to 6 weeks before the last predicted frost. This allows the soil microbiology to stabilize after winter dormancy.
The biological clock of the plant is governed by phytochrome pigments that sense light duration. When you prepare a garden for a light, you are essentially manipulating the transition from the vegetative stage to the reproductive stage (senescence). For short-day plants, this transition is triggered when the period of uninterrupted darkness exceeds a specific threshold; usually 12 hours. If you are using supplemental lighting in a greenhouse or outdoor setting, your timing must account for the natural increase in day length to avoid accidental re-vegetating of the crop.
Phases:

Sowing and Site Leveling
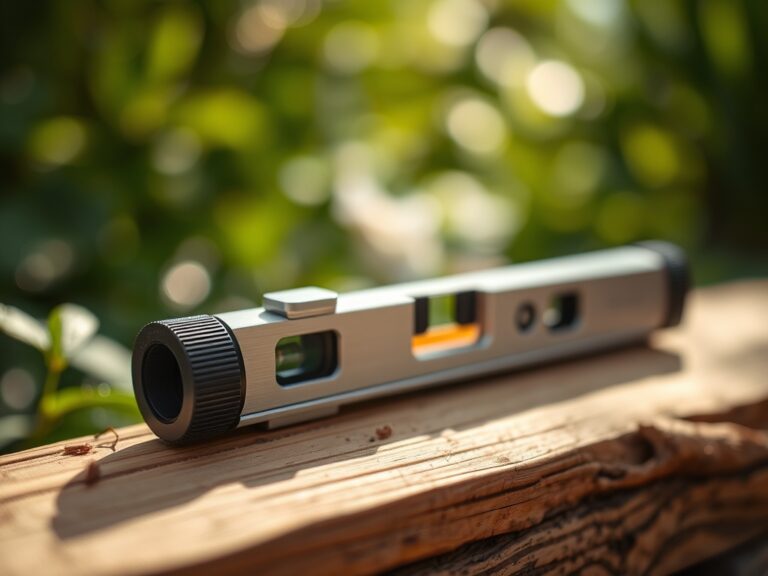
Begin by clearing all necrotic debris. Level the site to ensure uniform light distribution. Shadows created by uneven terrain result in uneven growth rates across the canopy. Use a soil moisture meter to verify that the substrate is at 60% to 70% of field capacity before sowing seeds at a depth exactly three times their diameter.
Pro-Tip: Proper leveling prevents the "edge effect" where peripheral plants receive less reflected light. This maximizes Phototropism, the biological process where plants grow toward a light source. By ensuring a level plane, you prevent auxin hormones from concentrating on one side of the stem; which would otherwise cause the plant to lean and lose structural integrity.
Transplanting and Root Integration
When moving seedlings to the light site, minimize root exposure to prevent desiccation. Dig a hole twice the width of the root ball. Ensure the transition zone between the stem and the roots (the crown) sits exactly at the soil surface.
Pro-Tip: Inoculate the transplant hole with endomycorrhizal fungi. This creates a Mycorrhizal Symbiosis that effectively increases the root surface area by up to 1,000 times. This biological partnership is critical under high-intensity lighting; as the plant requires a massive influx of water and phosphorus to maintain the transpiration rates driven by the light's heat.
Establishing the Canopy
As the plants grow, use mechanical training to create a flat canopy. This ensures that every leaf surface is positioned at the optimal distance from the light source, maximizing the Inverse Square Law of light intensity.
Pro-Tip: Practice apical pruning to trigger Auxin Suppression. When the lead growing tip is removed, the suppression of lateral buds is lifted. This results in a bushier plant with multiple primary colas. A flatter, wider canopy utilizes the light footprint more efficiently than a single tall spike.
The Clinic:
Physiological disorders often manifest when light intensity exceeds the plant's ability to process CO2 or transport nutrients.
- Symptom: Interveinal Chlorosis. The leaves turn yellow while the veins remain green.
- Solution: This is typically a Magnesium deficiency. Magnesium is the central atom in the chlorophyll molecule. Apply a foliar spray of Epsom salts (Magnesium Sulfate) at a rate of 1 tablespoon per gallon to restore photosynthetic capacity.
- Symptom: Leaf Tip Burn. The margins of new growth appear scorched.
- Solution: This indicates Calcium immobility or "Tip Burn." It is often caused by low transpiration rather than a lack of Calcium in the soil. Increase airflow with fans to lower the humidity at the leaf surface; allowing the plant to pull Calcium up from the roots via the xylem.
- Symptom: Nitrogen Chlorosis. The oldest leaves at the bottom of the plant turn pale yellow and fall off.
- Fix-It: The plant is mobile-nutrient mining to support new growth under the light. Apply a high-nitrogen fertilizer with a 10-0-0 profile immediately to stabilize the vegetative structure.
Maintenance:
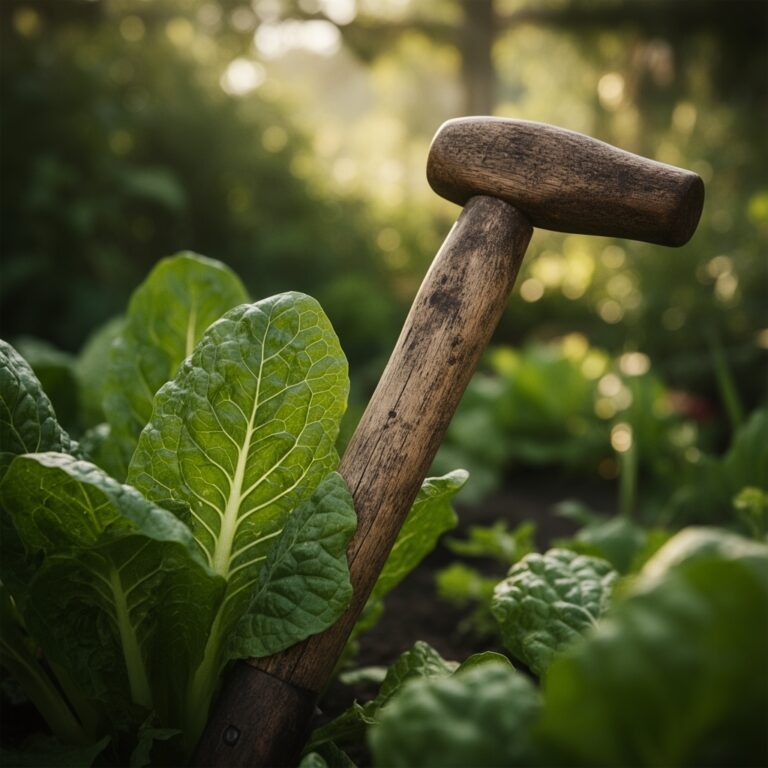
Precision maintenance is the difference between a hobbyist and a professional. Use a hori-hori knife to remove deep-rooted weeds that compete for the specific wavelengths of light you are providing. Prune unnecessary lower foliage with bypass pruners to improve airflow and focus the plant's energy on the upper canopy.
Watering must be calculated. Provide 1.5 inches of water per week at the drip line. Use a soil moisture meter to ensure the root zone never drops below 25% available water capacity. Over-watering leads to root rot (Pythium), while under-watering leads to a loss of turgor; causing the leaves to wilt and stop photosynthesis entirely.
The Yield:
Harvesting should occur when the plant reaches peak secondary metabolite production. For flowers, observe the trichomes using a 60x jeweler's loupe. Harvest when 70% of the glands are milky and 30% are amber.
To maintain "day-one" freshness, harvest during the coolest part of the day; typically just before sunrise or before the lights turn on. This is when the plant's sugar content is highest and turgor pressure is at its peak. Use sharp, sterilized shears to make clean cuts. Immediately move the harvest to a controlled environment with a temperature of 60 degrees Fahrenheit and 50% relative humidity to slow down the process of cellular senescence.
FAQ:
What is the best soil pH for a light-intensive garden?
The ideal soil pH is 6.2 to 6.8. This range ensures that essential nutrients like Nitrogen, Phosphorus, and Potassium are chemically available to the roots. If the pH strays outside this window, nutrient lockout occurs; regardless of how much fertilizer you apply.
How much water do plants need under supplemental lights?
Most plants require 1.5 inches of water per week. High-intensity lights increase the rate of transpiration. You must monitor the soil with a moisture meter to ensure the rhizosphere remains consistently moist but not saturated; preventing root hypoxia.
Why is canopy leveling important?
Leveling the canopy ensures uniform Photosynthetic Photon Flux Density (PPFD) across all plants. If some plants are closer to the light than others, the closer ones may suffer from light bleaching while the lower ones fail to reach their metabolic potential.
How do I fix yellow leaves at the bottom of the plant?
Yellowing lower leaves usually indicate a Nitrogen deficiency. Nitrogen is a mobile nutrient; the plant moves it from old growth to new growth. Apply a nitrogen-rich fertilizer (e.g., blood meal or a 10-0-0 liquid) to correct the imbalance.