7 Steps to Build a Professional Garden Patio
Crushing a handful of damp, friable loam reveals the structural integrity of your land. The scent of geosmin indicates active microbial life, while the turgor pressure in surrounding foliage signals a well-hydrated rhizosphere. Integrating a hardscape into this biological system requires precision. Following the correct steps for building a garden patio ensures that your outdoor living space does not compromise the soil drainage or the root respiration of adjacent specimens. A professional installation balances structural engineering with the physiological needs of the surrounding flora.
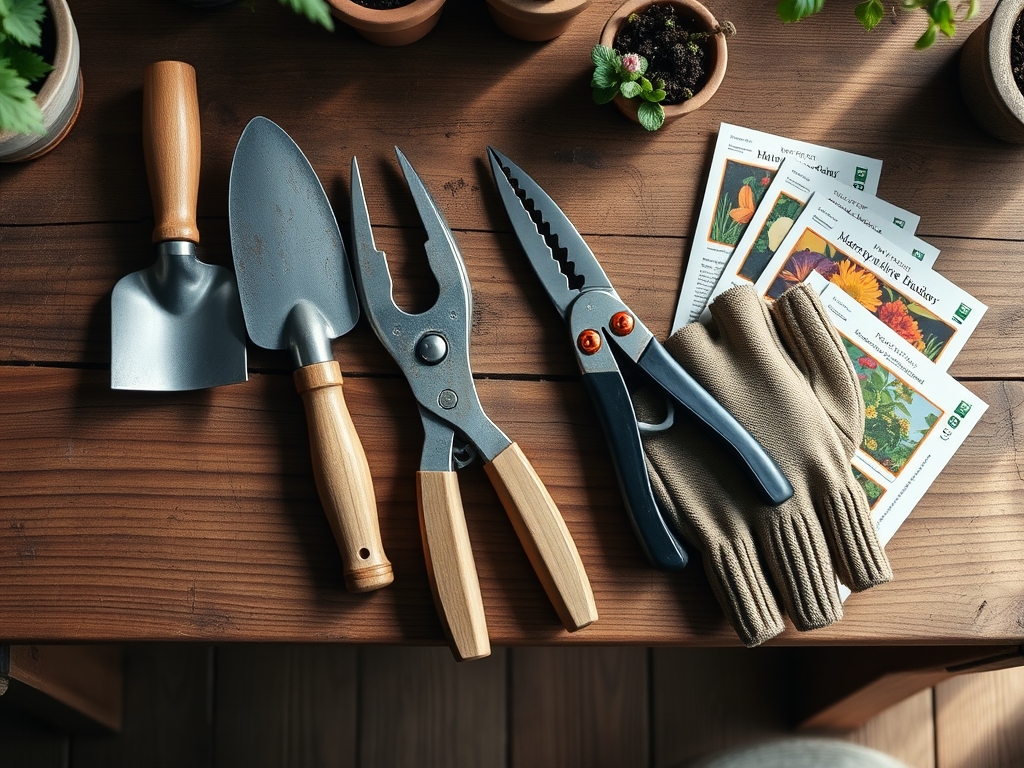
Materials:
The substrate beneath your patio must be inert to prevent shifting, but the surrounding garden beds require a specific chemical profile. Aim for a soil pH between **6.0 and 7.0** to maximize nutrient availability. The Cation Exchange Capacity (CEC) should be high, ideally above **15 milliequivalents per 100 grams**, to retain essential minerals. For the planting pockets bordering the stone, use a slow-release NPK ratio of **10-10-10** to provide a balanced baseline of nitrogen, phosphorus, and potassium. The physical texture of the backfill should be a **sandy loam**, consisting of roughly **60 percent sand, 30 percent silt, and 10 percent clay**. This composition prevents anaerobic conditions by allowing oxygen to reach the roots of bordering perennials.
Timing:
Hardiness Zones 4 through 8 offer the most stable windows for hardscape construction. You must schedule the excavation after the final spring frost but before the intense heat of the summer solstice. In Zone 6, this window typically opens in late April. Avoid construction during the "Biological Clock" transition from vegetative to reproductive stages in your primary garden plants. Excavating during a heavy bloom period can induce environmental stress, leading to premature senescence or bud drop. Aim for a soil temperature of at least 55 degrees Fahrenheit to ensure that any disturbed roots can quickly regenerate via active mitosis.
Phases:

Sowing the Perimeter
Before laying stone, establish your "green screen." Use a hori-hori knife to trench the edges. Ensure seeds are placed at a depth exactly three times their diameter. This provides the necessary darkness for phytochrome-mediated germination.
Pro-Tip: Maintain consistent moisture to trigger the breakdown of the seed coat. This process, known as imbibition, is the biological "why" behind successful emergence; without it, the embryo remains dormant regardless of temperature.
Transplanting and Grading
Excavate the patio area to a depth of 8 inches. This allows for 4 inches of compacted gravel, 2 inches of sand, and the thickness of the pavers. Grade the area at a 2 percent slope away from permanent structures to prevent water logging the root zones of nearby shrubs.
Pro-Tip: When moving plants to the patio edge, minimize exposure to light and air. This prevents the loss of root hairs, which are the primary sites for water uptake. Mycorrhizal symbiosis is often disrupted during transplanting; adding a fungal inoculant to the hole can accelerate re-establishment.
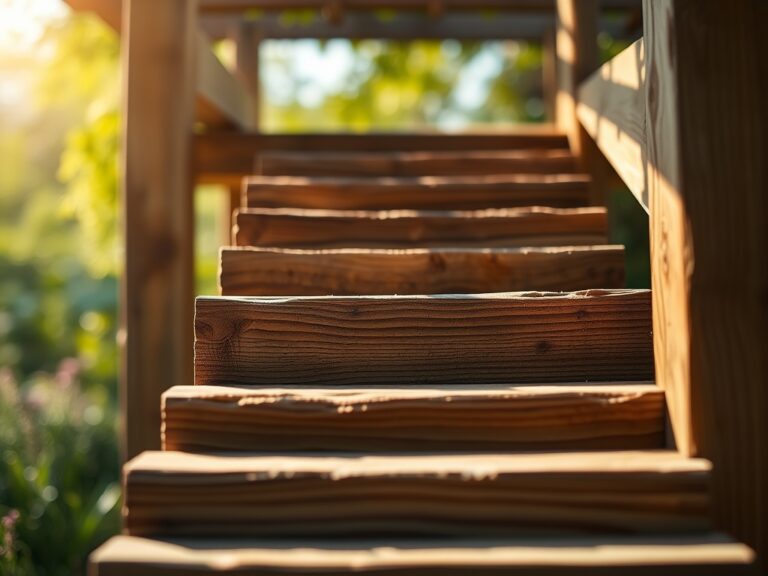
Establishing the Hardscape
Lay the pavers in your desired pattern, leaving a 1/8-inch gap for polymeric sand. This sand prevents weed seeds from reaching the soil while allowing for thermal expansion. Once the stone is set, mulch the surrounding beds with 3 inches of organic matter to regulate soil temperature.
Pro-Tip: Avoid heavy pruning of adjacent trees during this phase. Maintaining apical dominance prevents the activation of lateral buds through auxin suppression. This keeps the plant's energy focused on root repair rather than new, vulnerable vegetative growth.
The Clinic:
Physiological disorders often manifest when the soil environment is altered by construction. Observe your plants for these specific symptoms.
Symptom: Interveinal chlorosis on young leaves.
Solution: This indicates an Iron deficiency, often caused by high pH levels from leaching concrete or mortar. Apply a chelated iron drench to the soil.
Symptom: Marginal leaf scorch or browning.
Solution: This is a sign of drought stress or high salinity. Increase irrigation to flush the root zone and check for soil compaction.
Symptom: Stunted growth and purple-tinted foliage.
Solution: This signals Phosphorus deficiency. Ensure the soil temperature is above 60 degrees Fahrenheit, as cold soils inhibit phosphorus uptake.
Fix-It: Nitrogen Chlorosis
If older leaves turn uniform pale yellow, the plant is scavenging nitrogen for new growth. Apply a liquid fertilizer with a 5-1-1 ratio (such as fish emulsion) for immediate bioavailability through the xylem.
Maintenance:
Precision is the hallmark of a professional garden. Use a soil moisture meter to ensure the perimeter beds receive exactly 1.5 inches of water per week at the drip line. This prevents the "teacup effect" where water pools in the excavated patio pit and drowns nearby roots. Use bypass pruners for clean cuts on any encroaching woody stems; anvil pruners can crush vascular tissue and invite pathogens. Monitor the pH every six months, as stone materials can slowly alter the acidity of the adjacent rhizosphere. If the soil becomes compacted from foot traffic near the patio edge, use a broadfork to aerate without overturning the soil horizons.
The Yield:
If your patio borders an herb or cutting garden, harvest timing is critical for volatile oil retention. Harvest herbs just after the morning dew has evaporated but before the sun reaches its zenith. Use sharp shears to cut just above a node to encourage branching. For flowers, cut when the buds are in the "marshmallow stage" (soft but not fully open). Immediately plunge stems into 110-degree Fahrenheit water and move them to a cool, dark location. This "hardening off" process maintains turgor and ensures "day-one" freshness for up to two weeks.
FAQ:
What is the best base for a garden patio?
Use a 4-inch layer of compacted 3/4-inch minus crushed stone. This provides structural stability and allows for vertical drainage. Follow this with a 1-inch leveling course of washed concrete sand to provide a smooth setting bed for pavers.
How do I prevent weeds between patio stones?
Fill joints with polymeric sand and activate it with a light water mist. This creates a semi-rigid barrier that inhibits seed germination. Maintain the surrounding garden health to ensure "good" plants outcompete opportunistic weed species in the perimeter.
Can I build a patio over tree roots?
Avoid excavating within the Critical Root Zone (CRZ), which is one foot of radius for every inch of trunk diameter. Cutting large structural roots leads to instability and nutrient transport failure. Use a "floating" wooden deck if you must cover roots.
How do I fix drainage issues near my patio?
Install a French drain or a dry creek bed at the lowest point of the grade. Use perforated pipe wrapped in filter fabric and topped with river rock. This directs excess effluent away from the patio and toward thirsty deep-rooted perennials.