7 Steps to Clean a Digging Spade After Use
The scent of anaerobic decomposition and damp clay clinging to a forged steel blade signals the end of a productive session in the rhizosphere. Neglecting the steps for cleaning a garden spade after use ensures the rapid oxidation of the metal and the cross contamination of soil borne pathogens. A clean spade maintains the sharp leading edge required to slice through fibrous root systems without compromising the turgor pressure of the surrounding plant tissue. Proper maintenance preserves the structural integrity of the tool and prevents the spread of fungal spores between different garden beds.
Materials:
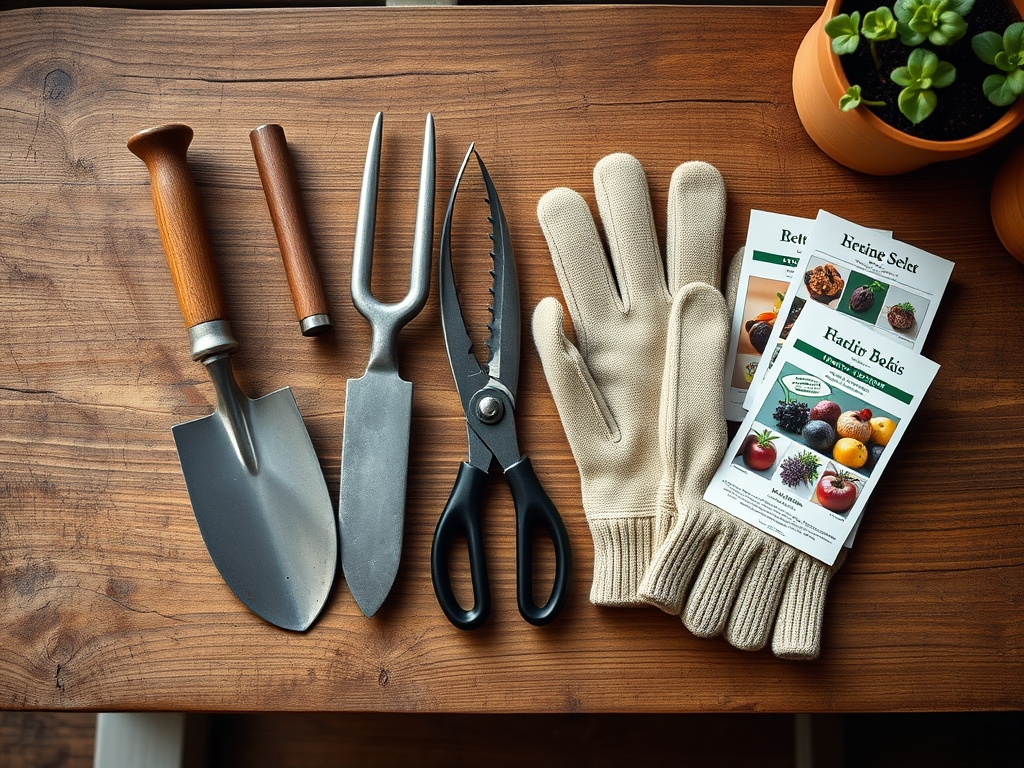
Effective tool maintenance requires an understanding of the substrate you are manipulating. A **friable loam** with a **pH between 6.0 and 7.0** is the gold standard for most horticultural endeavors. When preparing your cleaning station, consider the NPK ratios present in the soil residue. High nitrogen levels (**10-5-5**) in organic matter can accelerate the corrosion of non stainless steel tools if left in contact with the blade. You will need a stiff bristled brush, a bucket of coarse builder’s sand mixed with **5 percent mineral oil**, a 10 percent bleach solution or 70 percent isopropyl alcohol for sterilization, and a sharpening stone.
Timing:
The biological clock of your garden dictates the frequency of deep cleaning. In Hardiness Zones 5 through 8, the window between the last spring frost and the first autumn freeze is a period of intense microbial activity. During the transition from vegetative to reproductive stages, plants are particularly susceptible to pathogens like Fusarium or Phytophthora. Cleaning must occur immediately after use to prevent these organisms from overwintering on your equipment. In the dormant season, tools should be stored in a low humidity environment to prevent the degradation of wooden handles and the pitting of steel surfaces.
Phases:
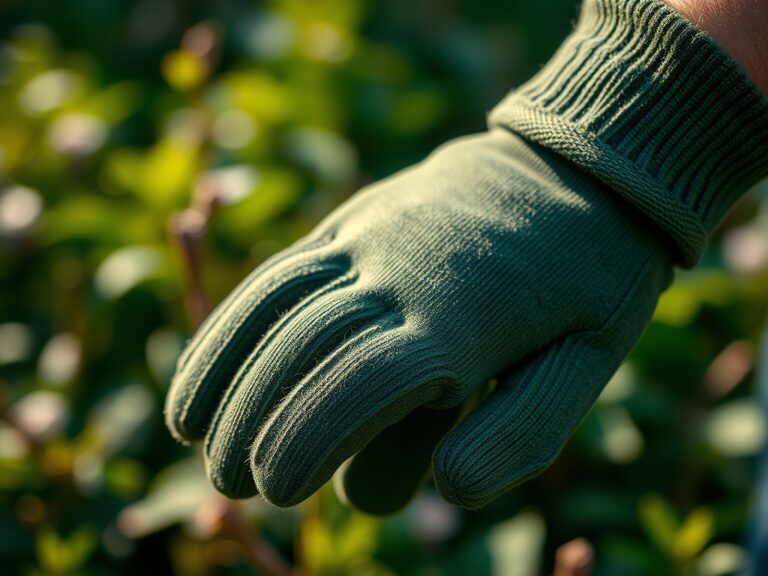
### 1. Mechanical Removal of Debris
Begin by using a wire brush or a wooden scraper to remove large clods of earth. Focus on the “step” of the spade and the socket where the handle meets the blade.
**Pro-Tip:** Removing soil prevents the transfer of weed seeds and nematodes. This protects the **mycorrhizal symbiosis** in your next planting site by ensuring you do not introduce antagonistic fungi that could outcompete beneficial Glomeromycota.
2. High Pressure Aqueous Rinse
Use a garden hose with a high pressure nozzle to blast away fine particulates. Pay close attention to the rivets.
Pro-Tip: Water removal of soil prevents the abrasion of the metal surface. Keeping the blade smooth reduces the surface area available for bacterial colonization; a principle rooted in reducing biofilm formation.
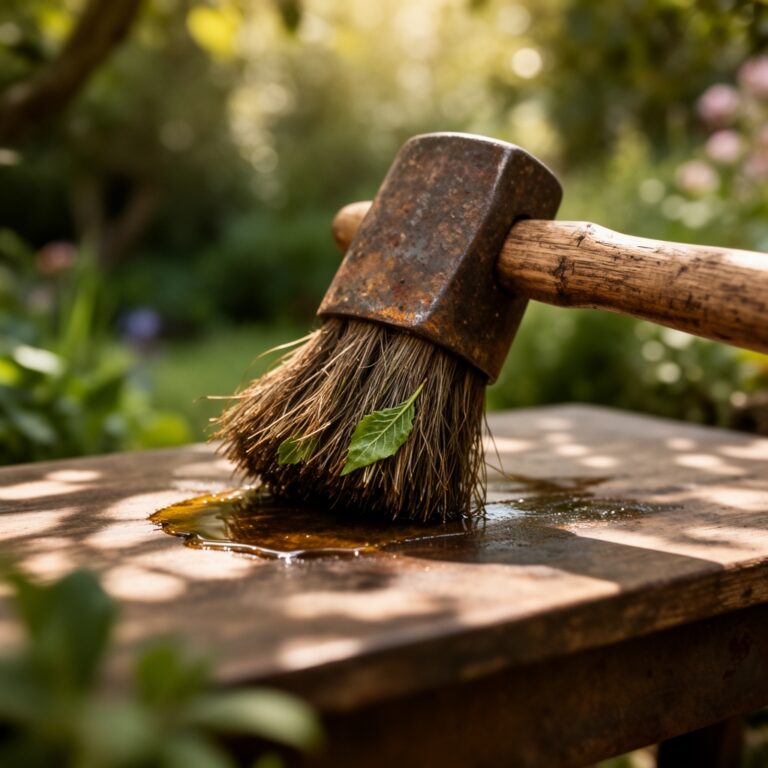
3. Disinfection and Sterilization
Submerge the blade in a 10 percent bleach solution for 10 minutes or wipe thoroughly with isopropyl alcohol.
Pro-Tip: This step stops the spread of viral pathogens. By eliminating surface microbes, you prevent the accidental inoculation of healthy vascular tissues during future transplanting; a process that would otherwise trigger systemic acquired resistance (SAR) and stress the plant.
4. Honing the Leading Edge
Use a mill file or whetstone at a 20 degree angle to restore the edge. Always file away from your body.
Pro-Tip: A sharp blade creates a clean incision in the soil and roots. This minimizes the wound surface area on the plant; reducing the energy the plant must divert toward callus tissue formation and auxin regulated healing.
5. Dehydration of Surfaces
Wipe the tool completely dry with a lint free cloth. Moisture trapped in microscopic pits leads to ferric oxide formation.
Pro-Tip: Rapid drying prevents the localized anaerobic conditions that favor the survival of certain water molds. Maintaining a dry surface ensures the tool does not become a vector for zoospores.
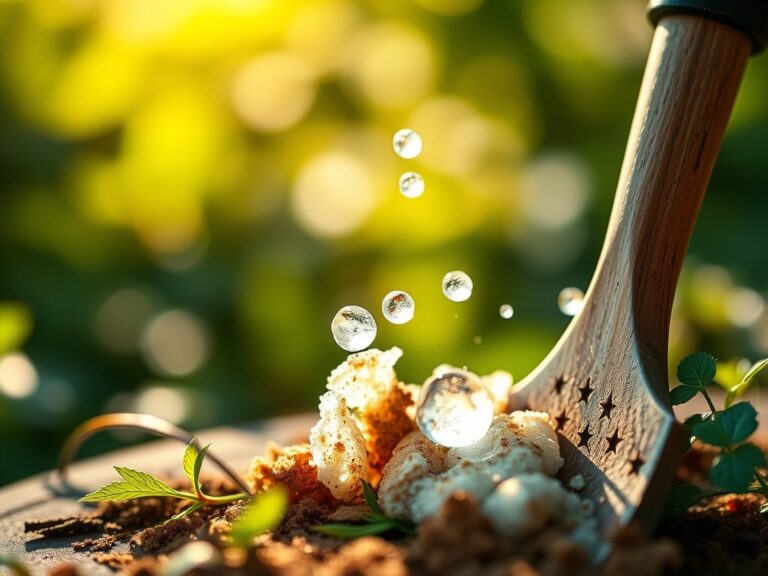
6. Oil Application and Conditioning
Dip the blade into a bucket of oiled sand several times. This coats the metal in a thin protective layer and provides a final abrasive polish.
Pro-Tip: The oil acts as a barrier against oxygen. This prevents the chemical reaction of oxidation, which would otherwise weaken the steel's crystalline structure over time.
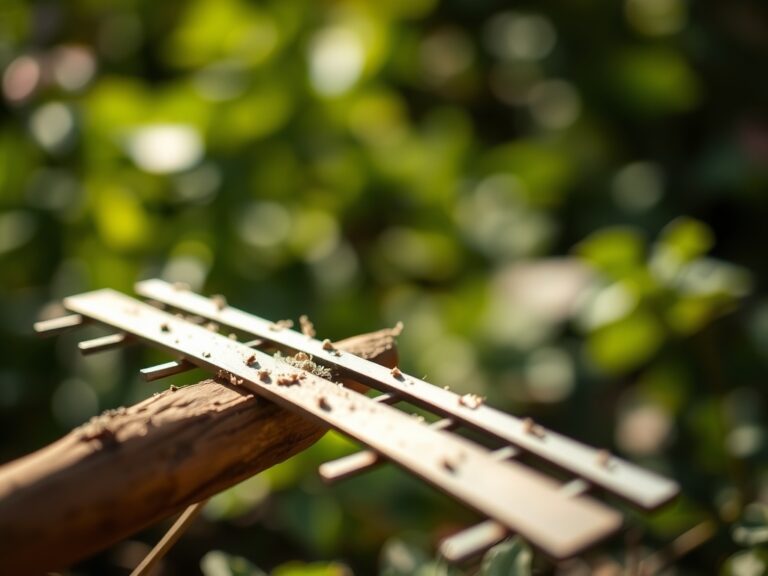
7. Handle Inspection and Maintenance
Check the handle for splinters. Rub wooden handles with boiled linseed oil to maintain flexibility and prevent cracking.
Pro-Tip: Conditioned wood resists moisture absorption. This prevents the handle from swelling and shrinking; a mechanical stress that can lead to tool failure during high leverage tasks like rhizome division.
The Clinic:
Symptom: Orange or Reddish Pitting on Steel
Solution: This is iron oxide (rust). It occurs when the tool is stored damp.
Fix-It: Use a wire wheel attachment on a drill or heavy grit sandpaper to remove the oxidation. Apply a coat of penetrating oil immediately to seal the pores.
Symptom: Cracking or Grey Weathering of Wood
Solution: Desiccation of the cellulose fibers.
Fix-It: Sand the handle with 120 grit sandpaper and apply multiple coats of linseed oil until the wood no longer absorbs the liquid.
Symptom: Dull Blade and Increased Physical Effort
Solution: Loss of the bevel edge due to contact with rocks or high silica soil.
Fix-It: Use a bastard file to reset the primary bevel. Follow with a medium grit diamond stone to refine the edge for precise cutting.
Maintenance:
Precision in the garden extends to irrigation and tool use. Deliver 1.5 inches of water per week at the drip line of your plants to maintain soil consistency; this makes digging easier and reduces wear on your spade. Utilize a soil moisture meter to ensure you are not working in saturated conditions, which increases the risk of tool oxidation and soil compaction. When performing delicate work, supplement your spade with a hori-hori knife for weeding or bypass pruners for root pruning.
The Yield:
A well maintained spade is essential for the harvest of root crops like carrots or parsnips. Dig 4 to 6 inches away from the crown to avoid mechanical damage to the taproot. For "day-one" freshness, harvest during the cool of the morning when turgor pressure is at its peak. Immediately move the produce to a shaded area and wash with cool water to remove field heat and slow the process of senescence.
FAQ:
How often should I oil my garden spade?
Apply a thin layer of mineral oil or use an oiled sand bucket after every use. This creates a hydrophobic barrier that prevents oxidation and keeps the steel surface smooth for easier soil penetration during the next use.
Can I use motor oil for my garden tools?
Avoid motor oil as it contains heavy metals and additives that contaminate the rhizosphere. Use food grade mineral oil or boiled linseed oil to ensure you are not introducing toxins into the soil or affecting the cation exchange capacity.
What is the best way to store a spade?
Store spades vertically or on a rack in a dry, ventilated shed. Ensure the blade does not rest directly on concrete floors; concrete can wick moisture and accelerate the corrosion of the metal through prolonged contact.
Why is sharpening a spade necessary?
A sharp spade reduces the physical force required for excavation. It also ensures clean cuts through roots, which promotes faster healing and reduces the risk of pathogens entering the plant's vascular system through jagged, crushed tissue.