9 Steps to Clean a Leaf Rake After Autumn Use
Damp earth emits a sharp, petrichor scent as autumn senescence triggers the final drop of deciduous foliage. This organic matter, while rich in carbon, traps moisture against the steel or poly tines of your equipment; if left unmanaged, this leads to rapid oxidation or fungal colonization. Executing the proper steps for cleaning a garden rake after use is a fundamental requirement for maintaining tool integrity and preventing the cross-contamination of soil-borne pathogens across different garden beds. Neglecting this maintenance allows acidic leaf tannins to etch metal surfaces, compromising the structural turgor of the tool. A clean rake ensures that during spring preparation, you are not inadvertently introducing dormant spores or sclerotia into a freshly prepared rhizosphere. Proper sanitation requires a systematic approach to remove physical debris, neutralize corrosive residues, and apply a protective barrier against atmospheric moisture. By following these technical protocols, you extend the operational lifespan of the tool while safeguarding the physiological health of your landscape.
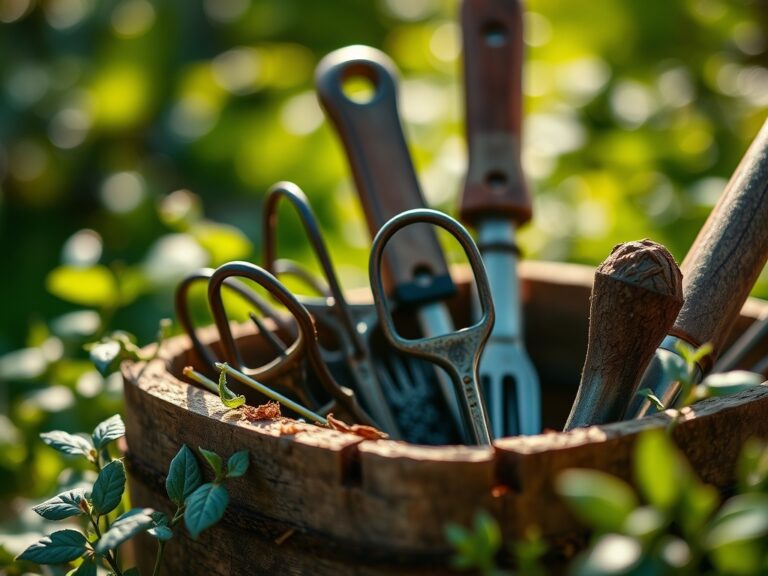
Materials:
To maintain a high Cation Exchange Capacity (CEC) in your soil, you must ensure your tools do not introduce contaminants. Prepare a cleaning station on a surface of **friable loam** or a concrete pad. You will need a stiff wire brush, a five-gallon bucket, and a solution of 70 percent isopropyl alcohol to denature proteins in plant pathogens. For the storage substrate, mix clean builder’s sand with a high-grade mineral oil. Avoid using organic composts or fertilizers during the cleaning process, as the goal is to remove nitrogenous waste. If you are working near planting zones, ensure the soil pH is stabilized between **6.0 and 7.0** to prevent metal leaching from the rake tines into the substrate. The ideal cleaning environment utilizes a substrate with an NPK ratio of **0-0-0** to ensure no chemical reactions occur with the tool’s metallic components during the mechanical scrubbing phase.
Timing:
The maintenance window for autumn tools is dictated by the first hard frost, typically occurring in Hardiness Zones 5 through 7 between late October and mid-November. You must complete the cleaning process before the ground reaches a consistent temperature of 32 degrees Fahrenheit. This timing aligns with the plant's biological clock as it transitions from the vegetative stage to dormancy. Once the photoperiod drops below 10 hours of daylight, deciduous species cease auxin production and enter full senescence. Cleaning your rake during this transition ensures that the fungal loads, which increase as plant tissues break down, are neutralized before they can overwinter on the tool's surface.
Phases:

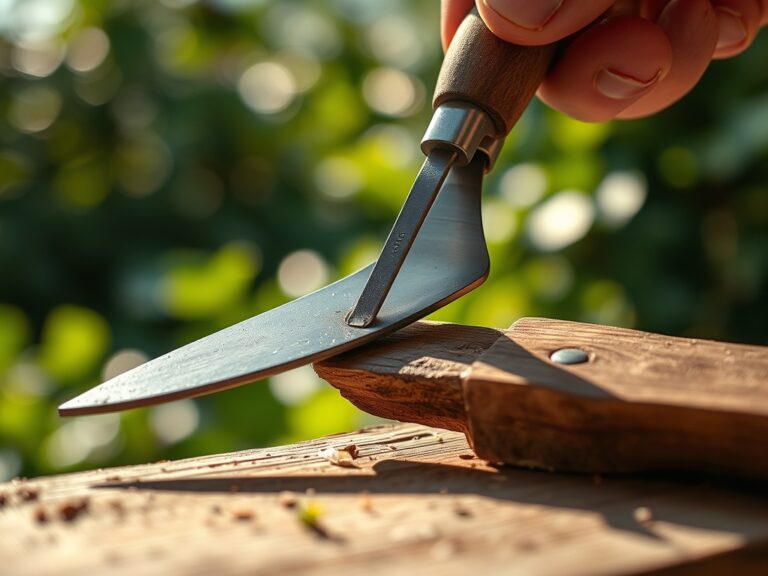
Mechanical Debridement
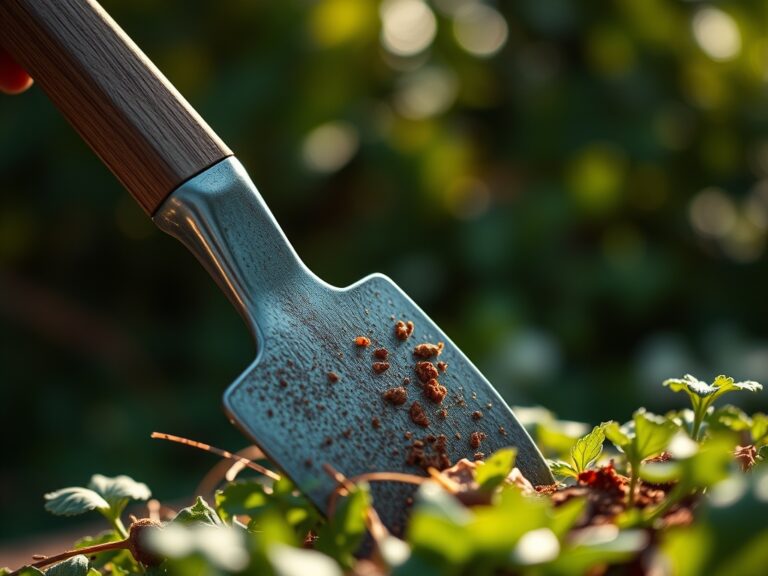
The first step involves removing macroscopic debris. Use a stiff brush to clear compacted soil and leaf fragments from the tines. Pay close attention to the "shoulder" of the rake where the handle meets the head, as this area traps moisture.
Pro-Tip: Removing organic matter prevents the formation of anaerobic pockets. This is critical because anaerobic bacteria can produce organic acids that lower the local pH and accelerate the corrosion of tool steel.
Sanitization and Desiccation
Submerge the rake head in a disinfectant solution for 10 minutes. This eliminates oomycetes and fungal hyphae. After soaking, wipe the tool completely dry with a microfiber cloth.
Pro-Tip: Moisture removal stops the process of oxidation. In a biological context, this prevents the tool from acting as a vector for water-borne pathogens like Phytophthora, which rely on a film of water to move between hosts via zoospores.
Surface Protection and Storage
Apply a thin layer of linseed oil to wooden handles and a light coating of mineral oil to metal tines. Store the tool vertically in a dry environment with low relative humidity.
Pro-Tip: Oiling the handle prevents the wood fibers from desiccating and cracking. This maintains the structural integrity of the xylem-like structures within the wood, ensuring the handle does not snap under the mechanical stress of heavy lifting.
The Clinic:
Symptom: Ferrous Oxidation (Rust)
Solution: If orange or brown pitting appears on the tines, the protective oxide layer has failed. Use a steel wool pad or a wire brush to grind the surface back to bare metal.
Fix-It: Once the rust is removed, neutralize the area with a phosphoric acid-based rust converter to prevent further degradation of the iron atoms.
Symptom: Handle Delamination
Solution: Wooden handles that feel rough or show longitudinal cracks are suffering from extreme desiccation.
Fix-It: Sand the handle with 120-grit sandpaper and apply three coats of boiled linseed oil. This restores the moisture barrier and prevents the wood from absorbing ambient humidity, which causes swelling and weakening.
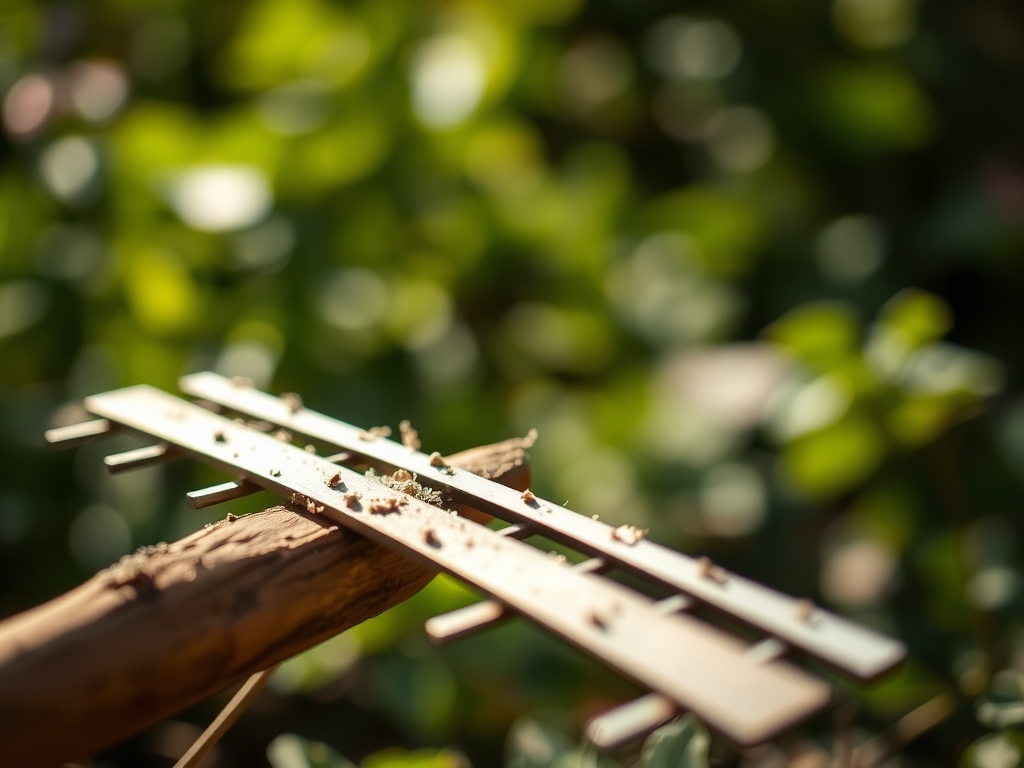
Symptom: Tine Deformation
Solution: Bent tines indicate mechanical fatigue or improper use against heavy obstructions like surface roots.
Fix-It: Use a pair of heavy-duty pliers to realign the tines. If the metal shows "white stress marks," the molecular structure is compromised; the tool may require replacement to avoid snapping during use.
Symptom: Fungal Biofilm
Solution: A slippery, dark coating on the rake head indicates a buildup of microbial life fueled by decaying leaf matter.
Fix-It: Scrub the tool with a 10 percent bleach solution or undiluted white vinegar. This disrupts the cellular membranes of the biofilm-producing organisms.
Maintenance:
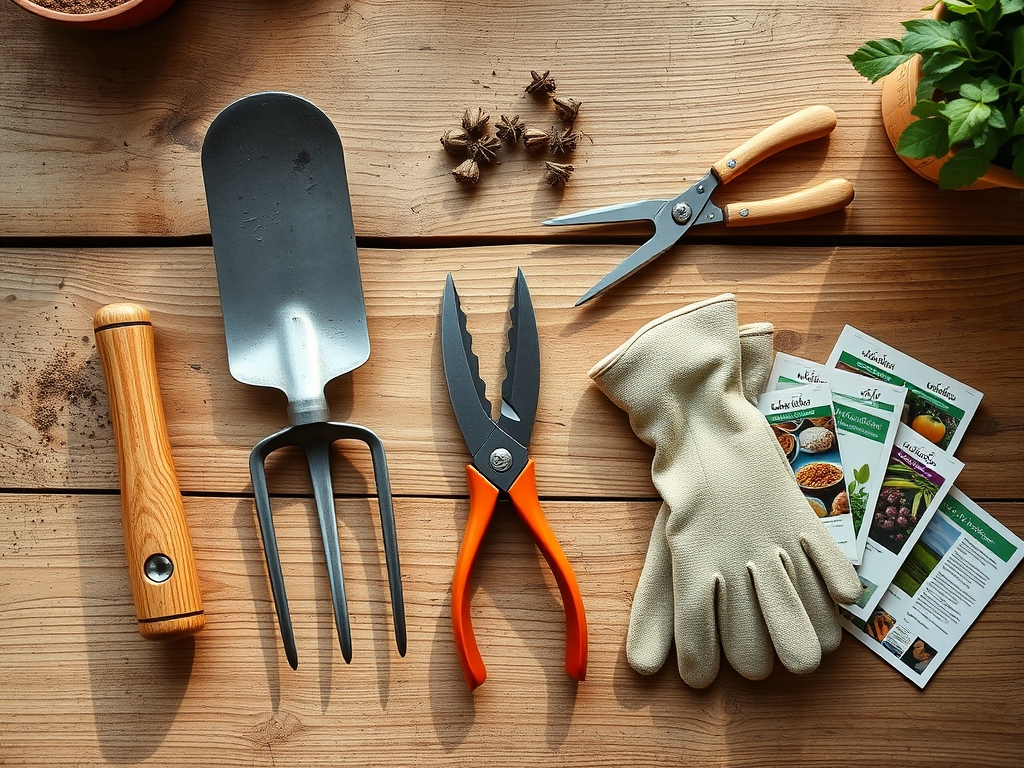
Precision maintenance extends beyond the tool to the landscape it serves. Use a soil moisture meter to ensure your garden beds maintain a consistent hydration level of 1.5 inches of water per week at the drip line during the late autumn transition. When clearing debris near delicate perennials, use a hori-hori knife to hand-weed around the crown rather than risking the rake tines damaging the dormant buds. If you encounter woody stems that the rake cannot move, use bypass pruners to cut them into smaller sections. This prevents excessive force on the rake handle and protects the plant's vascular system from jagged tears that could invite infection.
The Yield:
While a rake does not produce a crop, the "yield" of a well-maintained tool is the efficiency of your spring planting. A clean rake allows for the precise leveling of seedbeds, which is essential for uniform germination. When preparing a bed for cool-season crops, a sanitized rake ensures that the top 2 inches of soil are aerated without introducing pathogens. This mechanical preparation facilitates better oxygen diffusion to the emerging radicles of your seeds, ensuring "day-one" vigor and optimal root development.
FAQ:
How often should I clean my rake?
Perform a basic mechanical cleaning after every use to remove damp debris. Conduct a deep sanitization and oiling once at the end of the autumn season or if you have used the tool in a site known for diseased plants.
Can I use motor oil to protect the metal tines?
No. Motor oil contains heavy metals and additives that can leach into your soil, disrupting the rhizosphere and harming beneficial soil microbes. Use food-grade mineral oil or linseed oil to ensure the tool remains environmentally inert.
What is the best way to remove stubborn rust?
Submerge the affected metal parts in a container of white vinegar for 12 to 24 hours. The acetic acid reacts with the iron oxide, allowing you to easily scrub the rust away with a stiff brush or steel wool.
Why is my wooden rake handle splintering?
Splintering is caused by the loss of natural oils and exposure to UV radiation. This leads to the breakdown of lignin in the wood fibers. Regular applications of boiled linseed oil will keep the fibers flexible and prevent splintering.