8 Steps to Prepare for a Permanent Stone Wall Build
The smell of disturbed damp earth signals a fundamental shift in the landscape architecture. When the soil is turned, the sudden release of geosmin indicates a healthy microbial community ready for structural change. Establishing a permanent stone boundary requires more than just masonry; it demands a surgical approach to the existing ecosystem. Learning how to prepare a garden for a wall involves balancing the mechanical pressure of stone with the biological needs of the rhizosphere. You must account for soil compaction, drainage patterns, and the preservation of root systems that have spent years reaching turgor equilibrium. A wall is a thermal mass that will alter the local microclimate, changing how water moves through the substrate and how heat radiates during the night. Failure to prepare the ground results in shifting foundations and plant senescence due to root suffocation. This process begins with a rigorous assessment of the subterranean environment to ensure the new structure integrates seamlessly with the living biology of the site.
Materials:

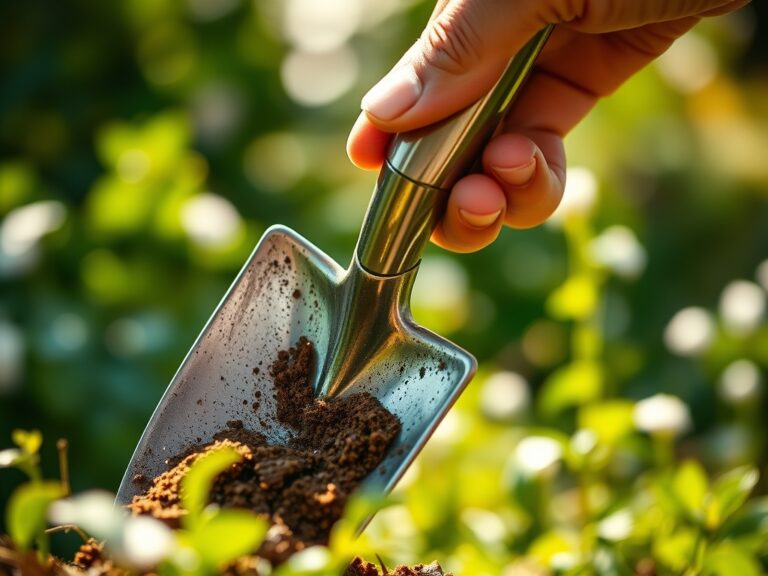
The success of the build depends on the physical texture of the ideal substrate. You are looking for a **friable loam** that maintains a **Soil Cation Exchange Capacity (CEC) between 15 and 25 milliequivalents per 100 grams**. This range ensures the soil can hold essential nutrients while allowing for adequate drainage behind the stone.
Before the first stone is laid, the soil pH must be stabilized. Most temperate garden plants thrive at a pH of 6.2 to 6.8. If the soil is too acidic, apply pelletized lime; if too alkaline, use elemental sulfur. The nutrient profile should be balanced based on the specific flora being moved or protected. For general root stabilization during the transition, aim for an NPK ratio of 5-10-10. The higher phosphorus content encourages root elongation and cellular repair, while lower nitrogen prevents excessive succulent growth that is prone to physical damage during construction. Use a soil moisture meter to ensure the area maintains a consistent 25 percent to 30 percent volumetric water content before excavation begins.
Timing:
Timing is dictated by the hardiness zones and the biological clock of the local flora. In USDA Hardiness Zones 4 through 7, the ideal window for wall preparation is late autumn or early spring when plants are in a state of dormancy or just beginning to break it. During these periods, the transition from vegetative to reproductive stages is paused, reducing the metabolic demand on the root system.
Excavation should occur when the soil temperature is between 40 and 50 degrees Fahrenheit. At these temperatures, microbial activity is slowed, but the soil is not frozen, allowing for clean cuts into the earth without destroying the structure of the peds. Avoid construction during the peak of the photoperiod in mid summer. High temperatures increase transpiration rates, and any root disturbance during this time will lead to a rapid loss of turgor pressure, causing the plant to wilt and potentially die from heat stress.
Phases:

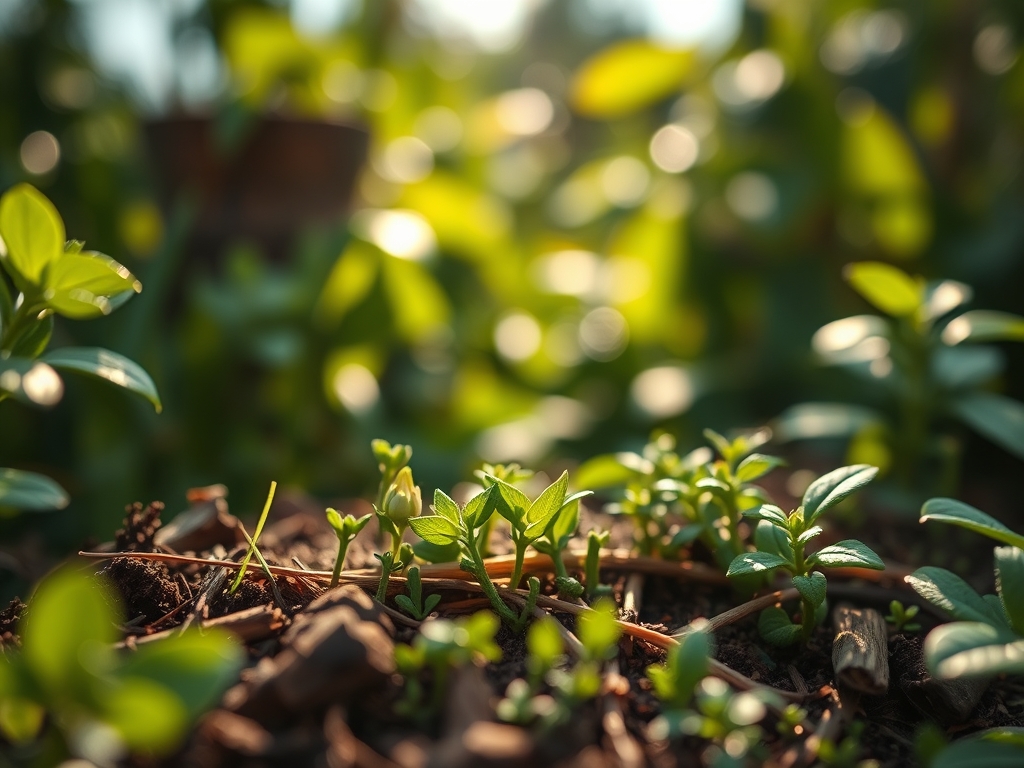
Sowing and Site Preparation
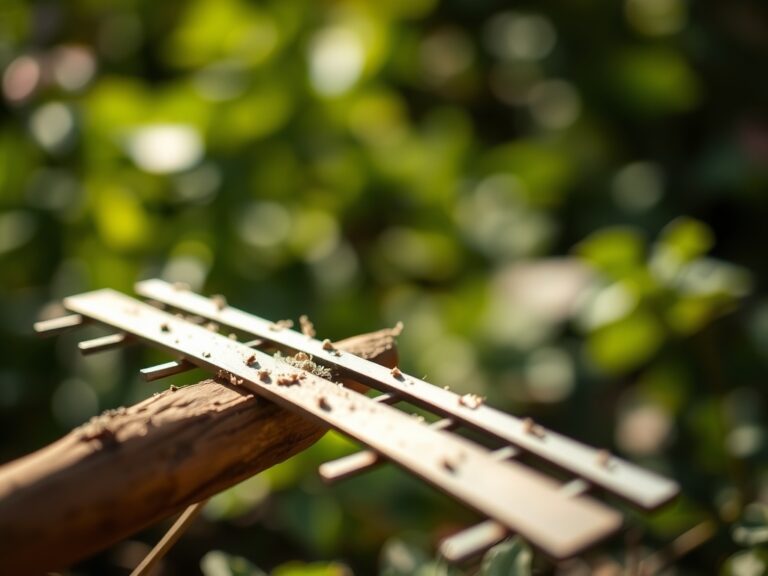
Clear all organic debris from the footprint of the wall. Dig a trench that extends 6 to 12 inches below the frost line to prevent heaving. If you are sowing a "green screen" or temporary cover crop to hold the soil during the build, use species like annual rye.
Pro-Tip: Utilize the principle of Mycorrhizal Symbiosis. When backfilling or moving plants, inoculate the soil with beneficial fungi. These organisms extend the reach of the root system, allowing for better water uptake and nutrient absorption in the disturbed soil.
Transplanting Existing Flora
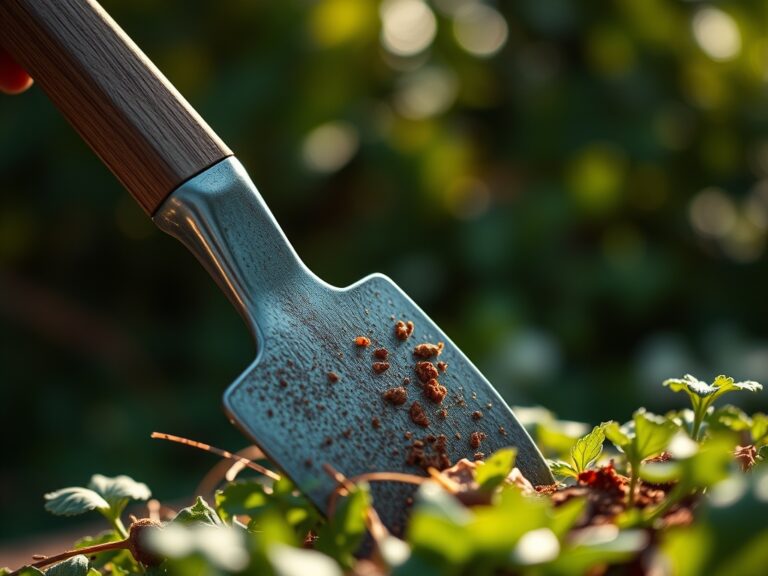
Use a hori-hori knife to cleanly sever roots of smaller perennials that must be moved. For larger shrubs, maintain a root ball diameter at least 12 inches for every inch of trunk diameter.
Pro-Tip: Manage Auxin Suppression. When you prune the roots of a plant during transplanting, you disrupt the hormone balance. By lightly pruning the canopy at the same time, you reduce the demand for water and allow the plant to focus its energy on regenerating the root system rather than maintaining foliage.
Establishing the New Perimeter
Once the wall is in place, the soil behind it must be rebuilt. Layer 3/4 inch crushed stone directly behind the wall for drainage, followed by a geotextile fabric to prevent fine soil particles from clogging the gaps.
Pro-Tip: Respect Phototropism. A stone wall acts as a heat sink and a light reflector. Position plants based on how the wall will reflect solar radiation. Darker stones absorb more heat, which can raise the soil temperature by 5 to 10 degrees, potentially extending the growing season but also increasing the risk of root desiccation.
The Clinic:
Physiological disorders often manifest during the stress of a garden renovation. Monitor your plants for these specific symptoms.
Symptom: Nitrogen Chlorosis
Leaves show a general yellowing, starting with the older, lower leaves while the veins remain slightly greener. This often occurs when high carbon mulch is mixed into the soil during construction, causing microbes to "lock up" available nitrogen.
Fix-It: Apply a fast acting liquid fertilizer with a high N value (such as 10-5-5) to provide an immediate nitrogen source.
Symptom: Iron Deficiency
Interveinal chlorosis appears on the newest leaves. This is common if the stone used in the wall is limestone, which can leach and raise the soil pH.
Fix-It: Apply chelated iron to the soil or as a foliar spray to bypass the pH blockage.
Symptom: Root Hypoxia
Plants appear wilted even when the soil is wet; leaves may turn yellow or drop. This is caused by soil compaction from heavy machinery or poor drainage behind the wall.
Fix-It: Use a soil probe to aerate the ground and ensure the drainage pipe at the base of the wall is not obstructed.
Maintenance:
Post construction maintenance is critical for the first 24 months. Use a soil moisture meter daily to check the levels at the drip line. Plants near a stone wall require approximately 1.5 inches of water per week, delivered via drip irrigation to avoid splashing soil pathogens onto the foliage.
Use bypass pruners to remove any branches that rub against the stone, as these wounds provide entry points for pathogens. Every spring, top dress the area with 2 inches of organic compost to replenish the nutrients lost during the construction process and to maintain the soil CEC. Monitor the wall for "efflorescence," a white powdery salt deposit that indicates water is moving through the stone rather than the drainage system.
The Yield:
If your wall borders an edible garden, harvest timing is altered by the thermal mass of the stone. Fruit ripening may occur 7 to 10 days earlier than in open ground due to the reflected heat. Harvest leafy greens in the early morning when cell turgor is at its peak. To maintain "day one" freshness, immediately submerge the cut ends in 40 degree Fahrenheit water to remove field heat and slow the rate of respiration. For woody herbs, use sharp snips to make a clean 45 degree cut, ensuring the vascular tissue remains open for water uptake.
FAQ:
How deep should I dig the foundation for a garden wall?
Dig the foundation at least 6 inches below the local frost line. In many temperate regions, this requires a depth of 12 to 24 inches. Proper depth prevents the wall from shifting during freeze-thaw cycles that disrupt soil structure.
Can I build a wall over tree roots?
Avoid cutting structural roots larger than 2 inches in diameter. Excavating within the critical root zone (one foot of radius for every inch of trunk diameter) can destabilize the tree and lead to nutrient uptake failure and eventual death.
What is the best backfill for a stone wall?
Use clean, crushed gravel for the first 12 inches of backfill directly behind the stone. This ensures rapid drainage and prevents hydrostatic pressure from building up, which can cause the wall to bulge or collapse over time.
How does a stone wall affect soil pH?
Limestone or mortar can leach calcium carbonate into the soil, raising the pH level. Monitor the soil annually. If the pH rises above 7.5, apply elemental sulfur to return the rhizosphere to a more acidic, nutrient-available state.