6 Steps to Install a Professional Garden Fountain
The smell of damp, anaerobic mud shifting under a spade signals the start of a structural landscape overhaul. When the turgor pressure of surrounding perennials is at its peak in the early morning, the soil is most receptive to the mechanical disruption required for water feature integration. Successful execution of the steps for installing a garden fountain requires more than aesthetic placement; it demands an understanding of soil load-bearing capacity and hydraulic pressure. A professional installation ensures that water movement does not compromise the rhizosphere of nearby specimen plants or cause localized soil compaction that inhibits gas exchange.
Materials:

The foundation of any heavy water feature must be a **friable loam** with high structural integrity to prevent sinking. If the installation site sits atop heavy clay, the Cation Exchange Capacity (CEC) will be high, but drainage will be poor; this requires a sub-base of **crushed 3/4-inch angular stone**. For the surrounding plantings, maintain a soil pH between **6.0 and 7.0** to ensure nutrient bioavailability.
Before setting the basin, incorporate a balanced organic fertilizer with an NPK ratio of 5-5-5 into the backfill soil. Avoid high nitrogen (N) counts immediately adjacent to the fountain to prevent excessive vegetative growth that might obstruct the water flow or pump intake. The substrate should feel gritty between the fingers, indicating a high sand and silt content that facilitates a drainage rate of at least 2 inches per hour.
Timing:
Installation should occur when the ground is not saturated and the risk of deep frost has passed. In Hardiness Zones 5 through 7, the ideal window opens in late spring when the soil temperature consistently reaches 55 degrees Fahrenheit. This timing aligns with the "Biological Clock" of most temperate perennials, moving them from dormant states into active vegetative growth. Installing during this transition allows the root systems of disturbed plants to recover via rapid cell division before the high-heat stress of mid-summer. Avoid installation during the reproductive stage (flowering) of nearby flora, as the metabolic energy of the plant is diverted away from root repair toward seed production.
Phases:

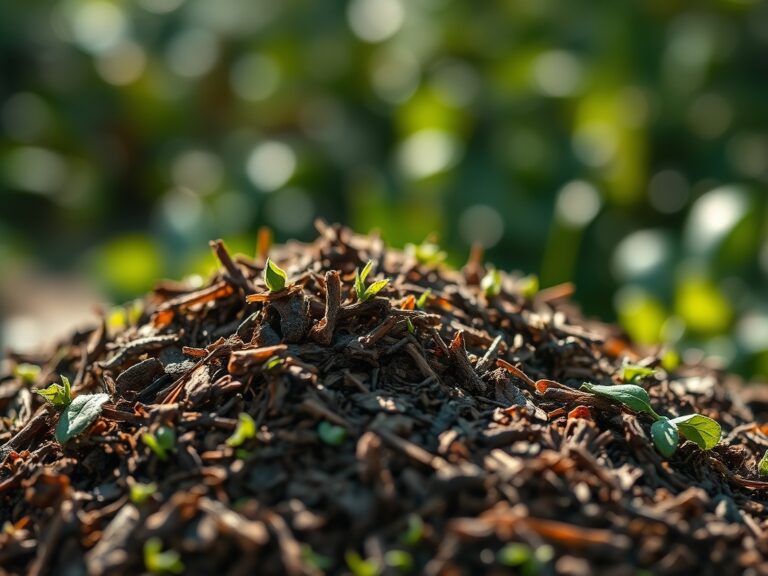
Sowing and Site Preparation
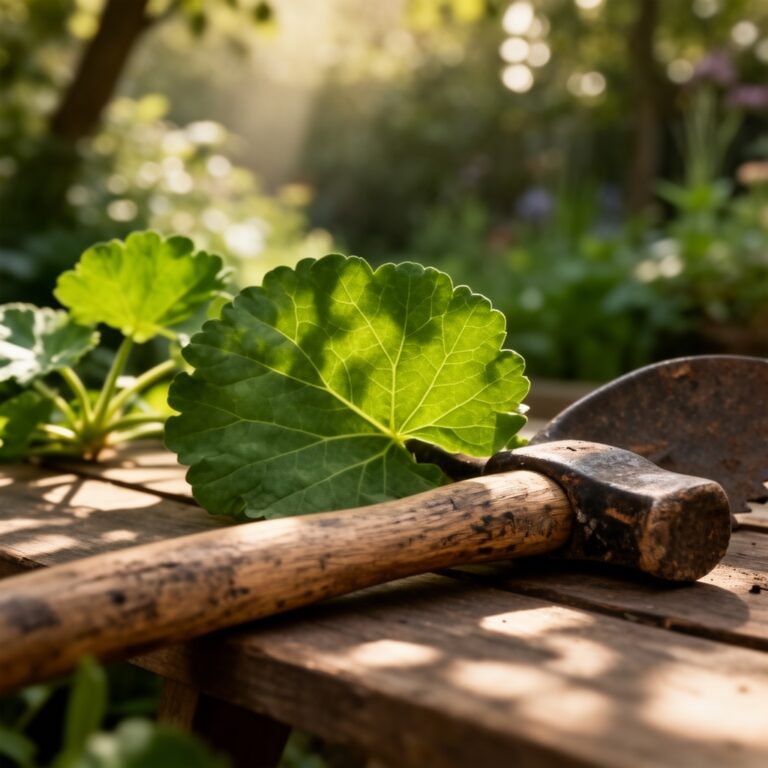
Excavate the pit to a depth 2 inches deeper than the fountain basin. Level the floor using a 1-inch layer of masonry sand. This sand bed acts as a leveling agent and a protective buffer against sharp rocks that could puncture a poly-liner.
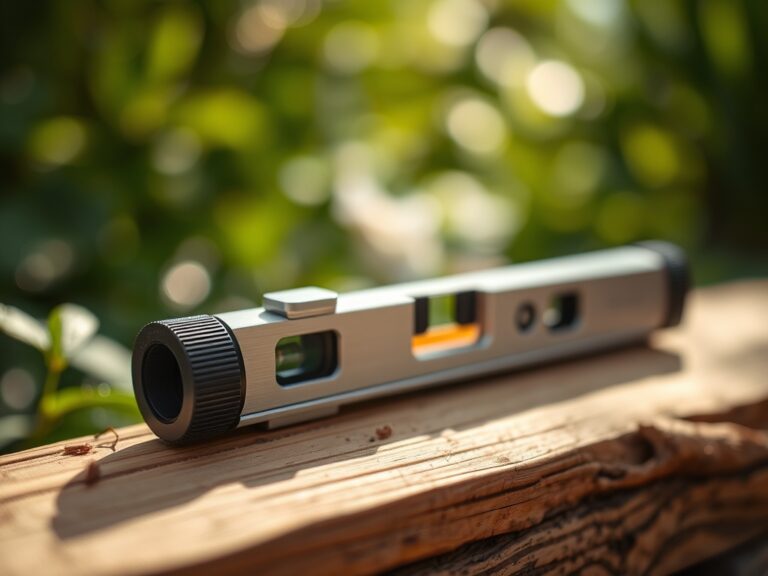
Pro-Tip: Ensure the site is level to within 1/8th of an inch. If the fountain is tilted, the water will not break evenly over the weir or spillway, leading to uneven "splash-out" and localized soil saturation that triggers root rot in the surrounding rhizosphere.
Transplanting and Plumbing
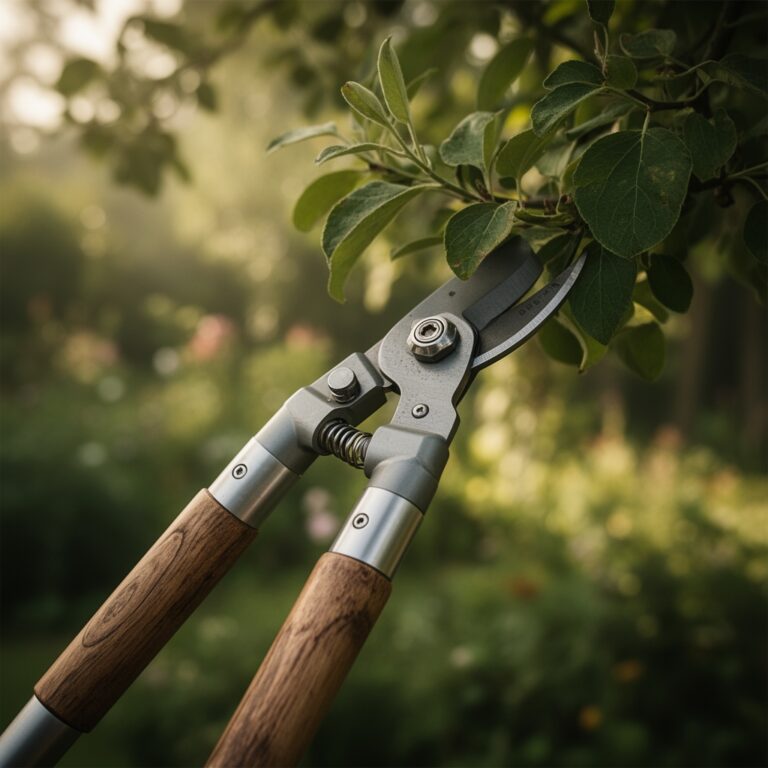
Position the reservoir and install the submersible pump. Connect the non-kink corrugated tubing to the fountain head. When backfilling around the basin, use a hori-hori knife to clean up the edges of the surrounding sod. If moving plants to accommodate the feature, keep the root balls moist and shaded to prevent xylem collapse.
Pro-Tip: When replanting around the fountain, inoculate the soil with mycorrhizal fungi. This symbiotic relationship extends the reach of the root system, allowing plants to better manage the fluctuating moisture levels common near water features through enhanced water uptake.
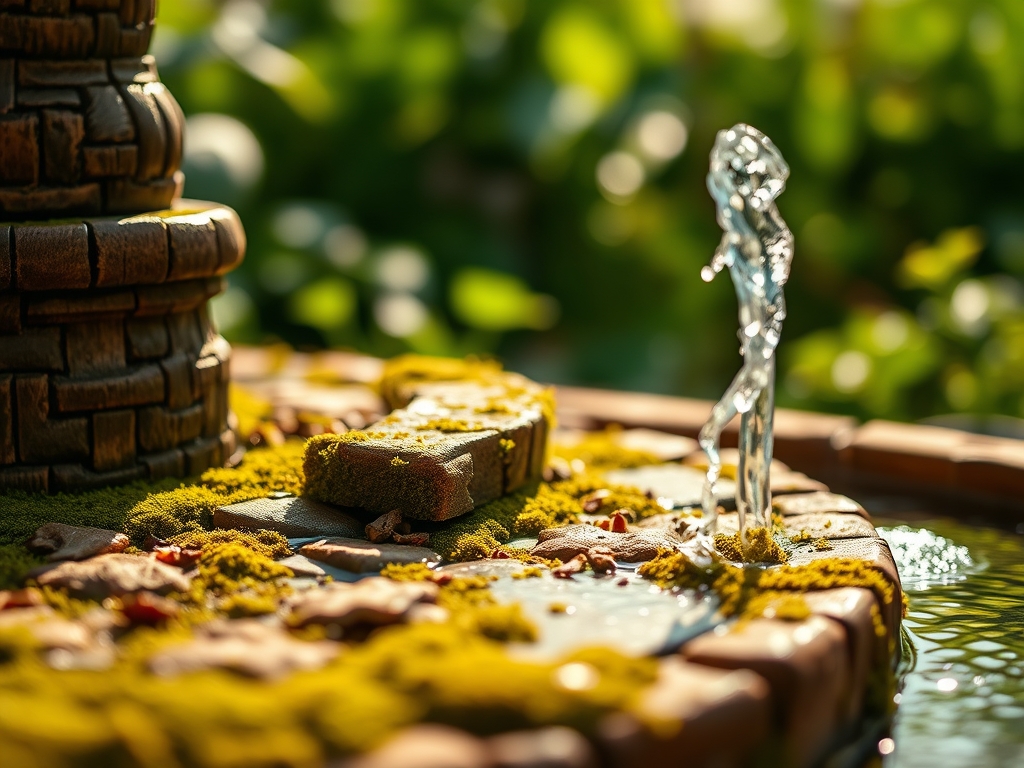
Establishing and Hydrostatic Testing
Fill the basin and activate the pump to check for leaks. Monitor the water level for 48 hours. If the level drops more than 1/2 inch (accounting for evaporation), inspect the seals. Once the mechanical integrity is confirmed, mulch the perimeter with 3 inches of arborist chips to suppress weed germination and retain soil moisture.
Pro-Tip: Avoid placing the fountain directly under heavy-canopy trees like Maples. The accumulation of organic detritus leads to tannin leaching, which lowers the water pH and can cause "pump burn" through mechanical clogging of the impeller.
The Clinic:
Physiological disorders in the fountain-side garden often stem from moisture imbalances.
- Symptom: Edema. Small bumps or blisters on the underside of leaves.
Solution: This is caused by the plant taking up water faster than it can transpire. Increase airflow around the fountain or reduce supplemental irrigation. - Symptom: Nitrogen Chlorosis. Uniform yellowing of older leaves while veins remain green.
Fix-It: Apply a water-soluble fertilizer with a 10-0-0 NPK ratio. The excess water near the fountain may be leaching nitrates out of the root zone. - Symptom: Iron Deficiency. Interveinal chlorosis on new growth.
Fix-It: Check soil pH. If the pH is above 7.2, iron becomes insoluble. Lower the pH using elemental sulfur at a rate of 5 lbs per 1,000 square feet. - Symptom: Algal Bloom. Green, murky water in the basin.
Solution: Increase water movement or add aquatic plants to compete for nitrates and phosphates. Ensure the fountain receives less than 6 hours of direct sunlight.
Maintenance:
Precision maintenance prevents mechanical failure and plant senescence. Use a soil moisture meter twice weekly to ensure the soil at the fountain perimeter stays between 40% and 60% capacity. Most peripheral plants require 1.5 inches of water per week delivered at the drip line.
Clean the pump pre-filter every 30 days using a stiff brush to remove biofilm. In autumn, when the photoperiod shortens and plants enter dormancy, drain the fountain entirely if you live in a region where the frost line exceeds 4 inches. Use bypass pruners to remove any spent foliage that could fall into the water and increase the biological oxygen demand (BOD) of the reservoir.
The Yield:
If the fountain area includes cut flowers like Zinnias or Hydrangeas, harvest in the early morning when turgor pressure is at its maximum. Use a sharp knife to make a 45-degree cut and immediately submerge the stems in 110-degree Fahrenheit water. This "hardening off" process removes air bubbles from the xylem, ensuring the blooms remain upright and fresh for up to 10 days. For woody stems, a vertical slit of 1 inch at the base of the stem increases the surface area for water absorption.
FAQ:
How deep should the fountain basin be buried?
The basin rim should sit 1 to 2 inches above the soil grade. This prevents surface runoff, mulch, and silt from washing into the reservoir during heavy rain events, which protects the pump from mechanical abrasion.
Can I use tap water to fill my garden fountain?
Yes, but let it sit for 24 hours to allow chlorine to dissipate. If your water is "hard" (high calcium carbonate), use a de-scaler monthly to prevent mineral buildup on the pump impeller and fountain surface.
What is the best way to prevent mosquito larvae?
Maintain constant water agitation. Mosquitoes require stagnant water to breathe at the surface. A pump circulating at least 100 gallons per hour creates enough surface tension disruption to prevent the larvae from surviving.
How do I protect my fountain during winter?
In cold climates, remove the pump and store it in a bucket of water in a frost-free area. Drain the basin and cover it with a heavy-duty waterproof tarp to prevent ice expansion from cracking the stone or resin.