6 Ways to Prepare a Garden for a Zen Retreat
Learning how to prepare a garden for a zen retreat begins with understanding that contemplative spaces demand precise soil chemistry, strategic plant placement, and maintenance rhythms that mirror the meditative practices they support. The scent of damp moss on stone, the sound of water moving over bamboo, and the visual weight of carefully pruned evergreens all depend on horticultural decisions made months before the first meditation cushion arrives. A zen garden is not decoration. It is a living system where nitrogen availability, drainage patterns, and light angles directly influence the visitor's nervous system response.
Materials
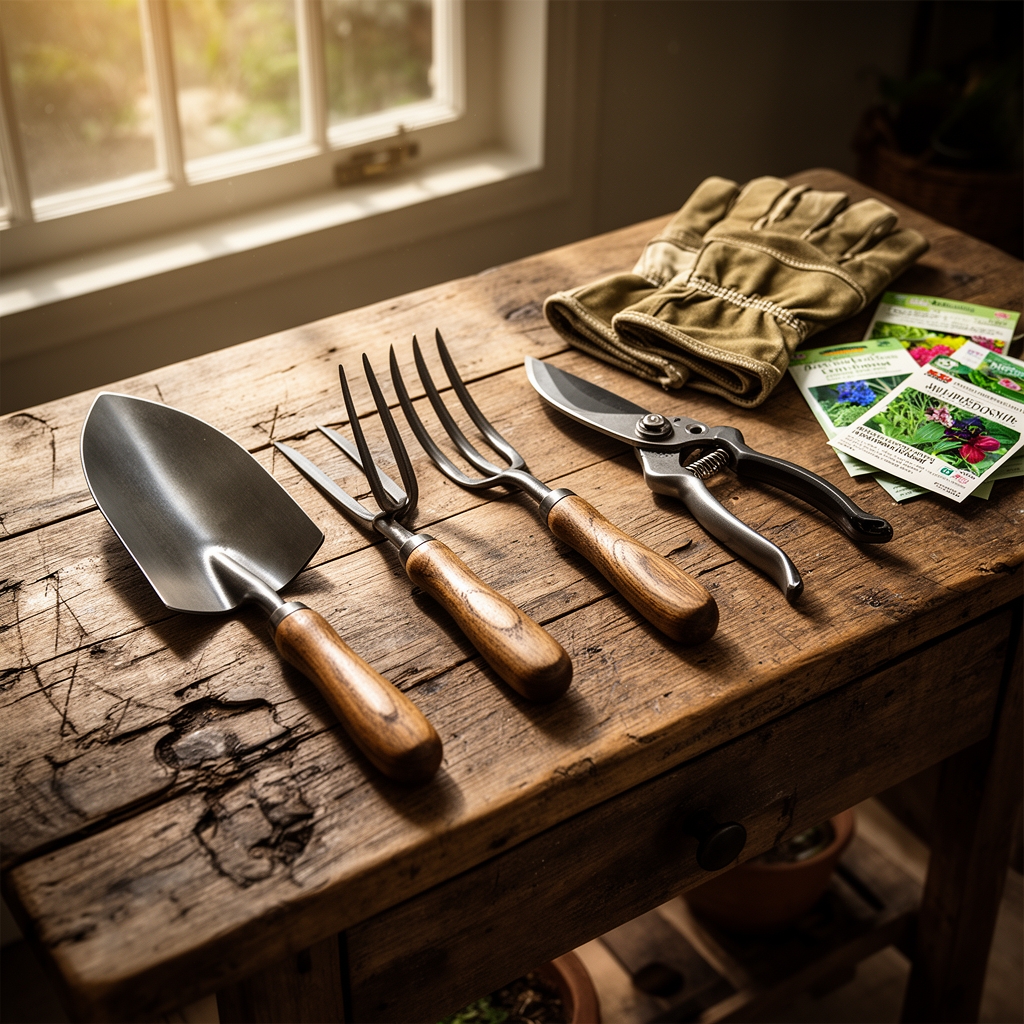
Zen garden preparation requires materials selected for their long-term stability and minimal nutrient disruption. Begin with a soil test targeting pH between 5.5 and 6.8, the range that supports both acid-loving Japanese maples and neutral-preference mosses. Amend clay-heavy soils with coarse sand (2-5mm grain size) at a ratio of one part sand to two parts existing soil to achieve the drainage necessary for gravel paths and stone settings.
For nitrogen supplementation, apply a 4-4-4 organic fertilizer blend at 2 pounds per 100 square feet during initial bed preparation. This balanced NPK ratio supports steady growth without the flush of tender tissue that disrupts the restrained aesthetic. Incorporate composted pine bark (aged 12-18 months) at 3 inches depth to improve cation exchange capacity while gradually lowering pH for ericaceous plantings.
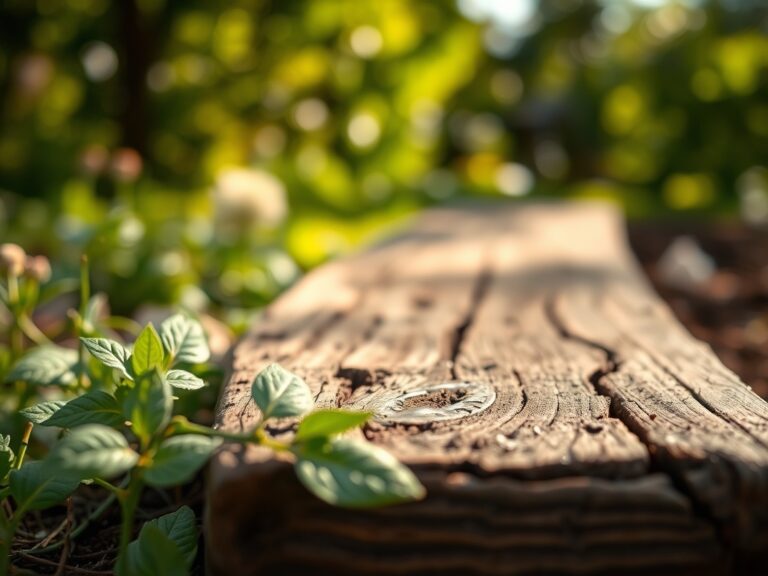
Stone selection matters as much as soil. Choose local granite or river rock in the 8-12 inch diameter range for primary placement stones. These anchor the visual composition and require excavation to two-thirds their height for stability. Pea gravel (6-8mm) or decomposed granite for raked areas should be spread 2-3 inches deep over landscape fabric with 3.2-ounce weight rating.
Mycorrhizal fungi inoculant (species: Rhizophagus irregularis) at 1 ounce per 5-gallon plant ensures establishment of evergreen foundation plantings. This symbiotic relationship extends root efficiency in the lean soil conditions that characterize traditional zen aesthetics.
Timing
Hardiness zones 6 through 9 offer the most reliable conditions for classic zen garden plantings. In zones 6-7, begin soil preparation in early April, four weeks after the final frost date when soil temperatures reach 50°F at 4-inch depth. This allows mycorrhizal colonization before transplanting begins in May.
Zones 8-9 permit fall establishment. Start site preparation in late September through October when daytime temperatures drop below 80°F but soil retains warmth above 60°F. This timing encourages root development through winter while minimizing transplant stress. Evergreen installation in these warmer zones benefits from the 6-month root establishment period before the following summer's heat.
Stone placement and hardscaping occur independently of frost dates but should precede plant installation by at least two weeks. This allows soil compaction from foot traffic and equipment to settle before root systems encounter the growing medium.
Phases

Site Preparation Phase
Remove existing vegetation with a sod cutter set to 2-inch depth. Grade the site with a 2% slope away from structures, critical for water management in raked gravel areas. Excavate pathways to 4-inch depth and compact the base layer with a plate compactor making three passes. Install edging (steel or aluminum, 1/4-inch thick) to separate gravel courts from planting beds.
Pro-Tip: Apply Bacillus thuringiensis var. israelensis granules at 10 pounds per 1,000 square feet to existing soil before new amendments. This biological control eliminates fungus gnat larvae that proliferate in the high-organic-matter environments created by soil improvement.
Planting Phase
Position evergreen shrubs (boxwood, Japanese holly, mugo pine) at two-thirds their mature spread distance to allow for the decade-long development zen gardens require. Dig planting holes to 1.5 times root ball width but no deeper than the existing root line. Backfill with native soil mixed 50/50 with composted bark.
For Japanese maples, plant in locations receiving morning sun and afternoon shade to prevent leaf scorch. Position the root flare 1 inch above finished grade to account for settling. Water each planting with 5 gallons immediately after backfilling to eliminate air pockets.
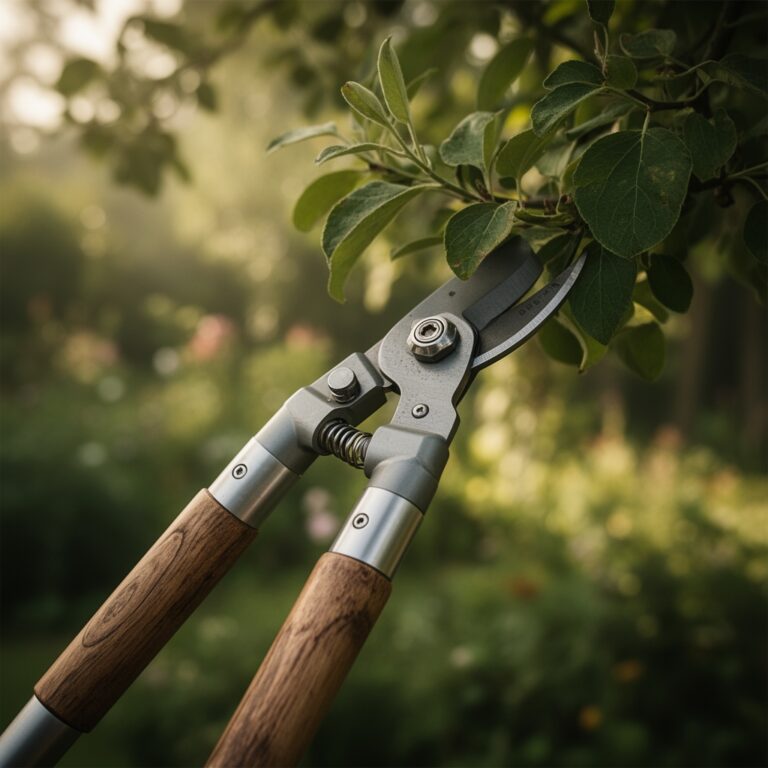
Pro-Tip: Prune Japanese maple branches at 45-degree angles facing outward and slightly upward. This cut angle promotes auxin distribution that encourages the horizontal branching pattern essential to the layered canopy aesthetic.
Establishment Phase
Monitor soil moisture weekly for the first growing season using a moisture meter inserted to 6-inch depth. Maintain consistent moisture without saturation. Apply a 2-inch layer of pine needle mulch around plantings, keeping material 3 inches away from stems to prevent collar rot.
Rake gravel areas weekly during establishment to prevent debris accumulation and maintain the meditative quality of the patterns. Prune evergreens twice annually: late June after spring growth hardens and late October before dormancy.
Pro-Tip: Introduce bonsai-style directional pruning in year two. Remove all growth pointing toward the garden's primary viewing angle. This creates visual depth by establishing clear foreground and background planes.
Troubleshooting
Symptom: Chlorosis in Japanese maple leaves, yellowing between veins while veins remain green.
Solution: Iron deficiency caused by alkaline soil. Apply chelated iron (Fe-EDDHA formulation) as foliar spray at 0.5 ounce per gallon every 14 days until color returns. Test soil pH and amend with elemental sulfur at 1 pound per 100 square feet if pH exceeds 7.0.
Symptom: White coating on boxwood foliage, powdery texture, distorted new growth.
Solution: Powdery mildew (Erysiphe spp.). Remove affected foliage and improve air circulation by thinning interior branches by 20%. Apply sulfur-based fungicide at 3 tablespoons per gallon water weekly for three applications. Avoid overhead watering.
Symptom: Browning needle tips on mugo pine, progressing from lower branches upward.
Solution: Diplodia tip blight fungal infection. Prune and destroy infected tissue, cutting 6 inches below visible symptoms. Sterilize pruners between cuts with 70% isopropyl alcohol. Apply copper fungicide at manufacturer's rate during bud break in spring.
Symptom: Moss growth declining, browning in patches, loss of cushion texture.
Solution: Excessive soil pH or inadequate moisture. Test soil pH and lower to 5.5-6.0 range using aluminum sulfate at 5 pounds per 100 square feet. Increase irrigation frequency to maintain constant moisture without standing water. Moss requires humidity above 60% for optimal growth.
Symptom: Gravel paths developing weed emergence despite landscape fabric.
Solution: Wind-deposited seed germinating in organic debris. Remove weeds manually before seed set. Apply corn gluten meal (pre-emergent) at 20 pounds per 1,000 square feet in early April and again in September. Increase raking frequency to weekly during growing season.
Maintenance
Water established evergreens with 1 inch of water weekly during the growing season, delivered through drip irrigation at 1 gallon per hour emitters spaced 18 inches apart. Reduce frequency to biweekly once nighttime temperatures consistently drop below 50°F.
Feed acid-loving plants (azaleas, Japanese maples, camellias) with cottonseed meal at 3 pounds per 100 square feet in early April. This 7-2-1 NPK ratio supplies nitrogen through gradual decomposition over 8-10 weeks. Apply a second feeding of kelp meal (1-0-2 NPK) at 2 pounds per 100 square feet in July to support lignification before winter.
Prune evergreens to maintain architectural form using bypass pruners for cuts under 1/2 inch diameter and loppers for larger branches. Make cuts 1/4 inch above lateral buds angled at 30 degrees. Remove no more than 25% of total foliage in a single session.
Replenish gravel in raked areas every 24 months at 1/2 inch depth to maintain consistent texture and color. Top-dress planting beds with 1 inch of composted pine bark annually each October.
Test soil every three years through university extension services. Track pH, phosphorus, potassium, calcium, and magnesium levels. Adjust amendments based on test results rather than visual symptoms.
FAQ
How long does it take to prepare a garden for a zen retreat?
Complete preparation from site clearing to planting requires 4-6 weeks. Full establishment where the garden achieves its contemplative character takes 3-5 years as evergreens mature and moss colonizes stone surfaces.
What is the minimum size for a functional zen garden?
A 10-by-15-foot space provides sufficient area for a raked gravel court, three placement stones, and border plantings. This 150-square-foot minimum allows the visual simplification necessary for meditative focus.
Can zen gardens function in shaded locations?
Partial shade (4-6 hours direct sun) suits Japanese maples and moss groundcovers. Full shade limits plant selection to hostas, ferns, and shade-tolerant evergreens like yew, altering but not eliminating the zen aesthetic.
How often should gravel patterns be raked?
Rake gravel areas weekly during active use periods. The act of raking constitutes maintenance meditation, resetting the garden's surface to unmarked potential. Wind and debris dictate frequency more than rigid schedules.
What soil amendments specifically benefit moss establishment?
Moss requires low-nutrient, acidic conditions. Blend existing soil with 50% milled peat moss and 25% coarse sand. Avoid nitrogen fertilizers within 3 feet of moss colonies, as excess nutrients favor vascular plant competition.