8 Tips to Use a Specialized Sharpening Hack
The scent of crushed chlorophyll and damp, friable loam signals the peak of the growing season; yet, your success depends entirely on the integrity of your vascular cuts. When a blade is dull, it crushes the xylem and phloem tissues instead of severing them cleanly. This physical trauma increases the surface area of the wound and invites opportunistic pathogens into the plant's circulatory system. Using a sharpening hack for garden tools ensures that every pruning cut maintains maximum turgor pressure within the remaining stem. A surgical edge allows the plant to seal the wound through rapid callusing rather than succumbing to desiccation or fungal infiltration. In a high-production environment, the difference between a ragged tear and a clean shear is measured in the plant's recovery time and subsequent photosynthetic efficiency.
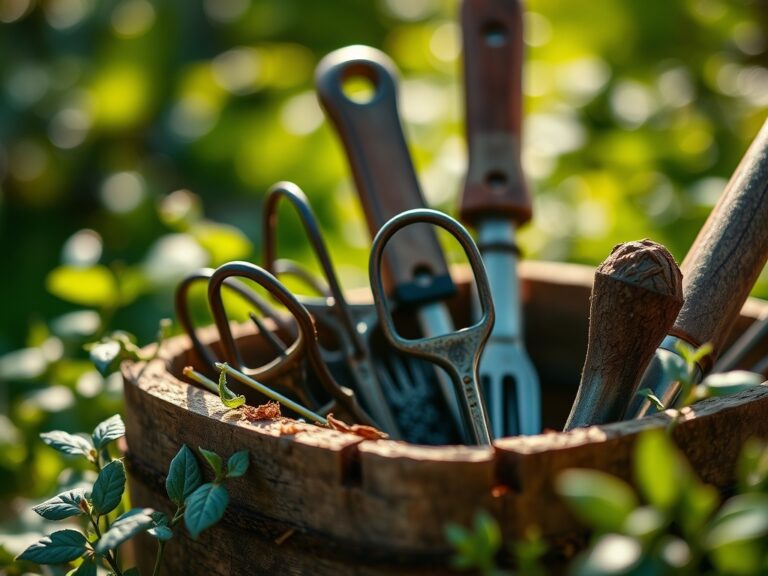
Materials:
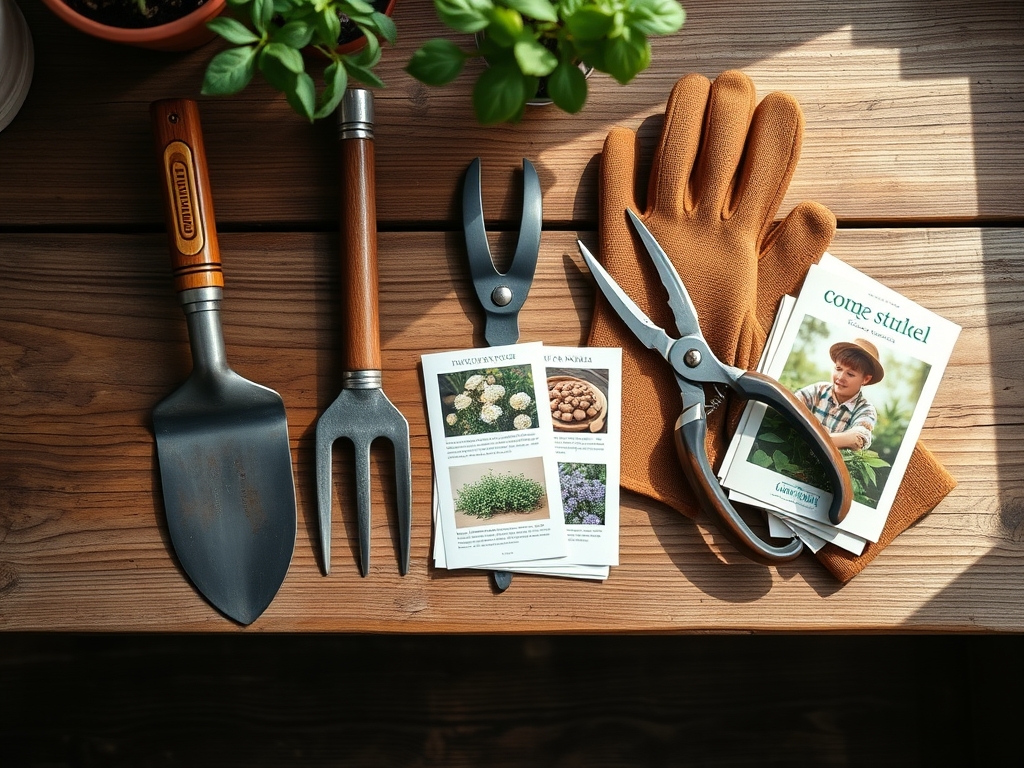
Maintaining tools requires a workspace as controlled as your seed-starting bench. To support the plants you are pruning, your soil should maintain a **pH between 6.2 and 6.8** to ensure optimal nutrient bioavailability. High-performance growth requires a substrate with a high Cation Exchange Capacity (CEC), typically found in a **friable loam** composed of 40 percent sand, 40 percent silt, and 20 percent clay. When preparing the rhizosphere for recovery after pruning, utilize a fertilizer with an **NPK ratio of 5-10-5** to prioritize root development and cellular repair over excessive vegetative flush. You will need a diamond-grit file, 3-in-1 machine oil, and a 1,000-grit whetstone to execute the sharpening hack effectively.
Timing:
Precision sharpening must occur before the critical transition from the vegetative stage to the reproductive stage. In Hardiness Zones 5 through 7, this window typically opens after the last spring frost but before the summer solstice. Pruning with sharpened tools during the "Biological Clock" transition allows the plant to redirect auxins—the hormones responsible for apical dominance—toward lateral bud development. For woody perennials, perform your sharpest cuts during dormancy, specifically when temperatures are consistently below 40 degrees Fahrenheit, to minimize sap loss and prevent the spread of fire blight or other bacterial infections that thrive in warmer, humid conditions.
Phases:

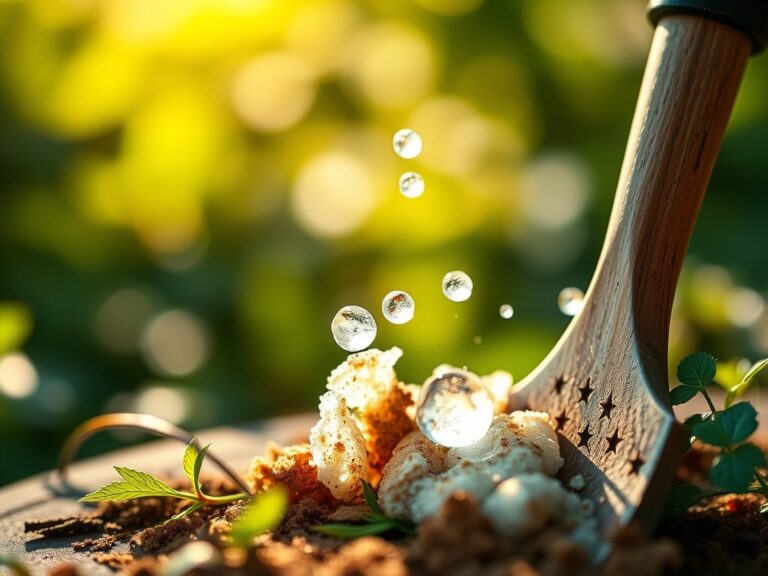
Sowing and Preparation
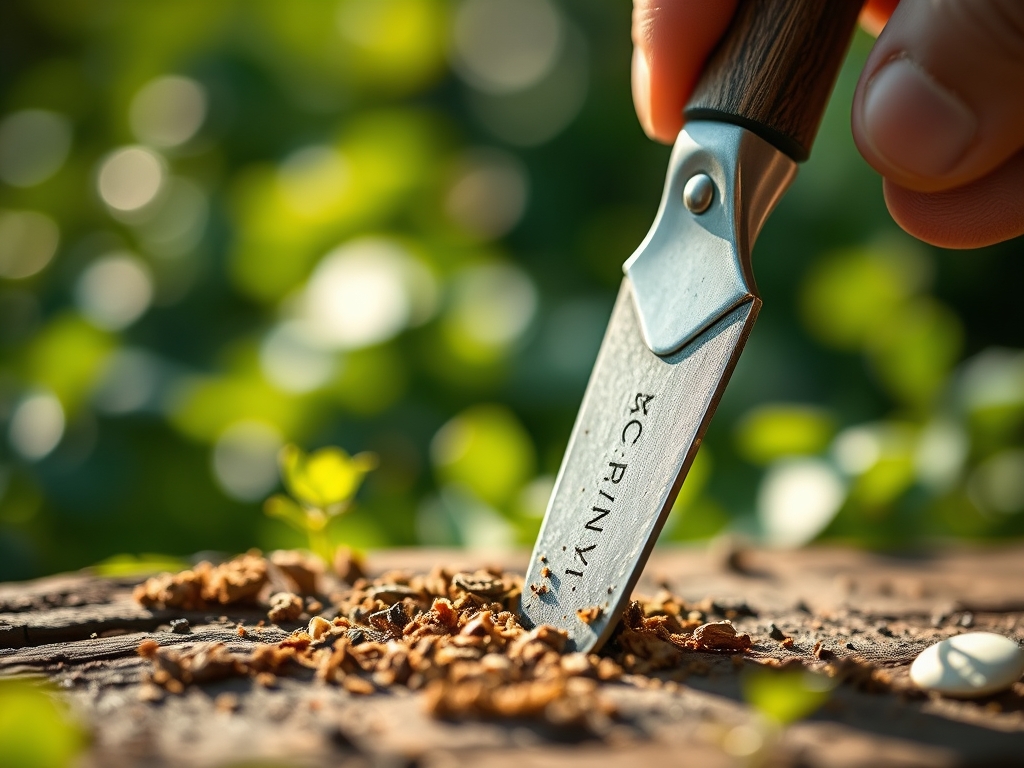
Before the first seed hits the soil, your hand tools must be honed to a 20-degree bevel. This angle provides the ideal balance between edge retention and shearing force. Using a sharpening hack for garden tools involves using a cordless drill with a specialized grinding attachment to reset the primary bevel on shovels and spades. A sharp spade slices through root mats without disturbing the delicate mycorrhizal symbiosis in the lower soil strata.
Pro-Tip: Maintaining a sharp edge on planting tools prevents "glazing" of the planting hole walls. Glazing creates a compacted barrier that inhibits lateral root penetration, a phenomenon known as mechanical impedance.
Transplanting
During transplantation, use a sharpened hori-hori knife to prune circling roots. A clean cut at the root tip stimulates the production of new root hairs, which increases the surface area for water absorption. This is critical for maintaining turgor pressure during the transplant shock phase when the plant is most vulnerable to wilting.
Pro-Tip: Clean root cuts trigger the release of cytokinins from the root apical meristems. This hormonal signal tells the plant to prioritize root architecture over leaf expansion, ensuring a stable foundation.
Establishing
As the plant enters its rapid growth phase, use sharpened bypass pruners to remove non-productive suckers. The hack here is to use a ceramic pull-through sharpener for field touch-ups every 30 minutes of continuous use. This maintains a microscopic serration that prevents the blade from sliding off the slick epidermis of the stem.
Pro-Tip: Sharp tools minimize the release of volatile organic compounds (VOCs) that attract herbivorous insects. A clean wound heals 40 percent faster than a jagged tear, reducing the window for pest detection.
The Clinic:
Physiological disorders often stem from poor tool maintenance or soil imbalances. Monitor your crops for these specific indicators:
- Symptom: Ragged, brown edges on pruned stems.
Solution: This is mechanical necrosis. Re-sharpen blades using a 1,000-grit whetstone to ensure the blade severs the cell walls without crushing them. - Symptom: Interveinal chlorosis (yellowing between green veins) on new growth.
Solution: This indicates a Magnesium deficiency or an iron lockout. Check soil pH; if it is above 7.2, iron becomes insoluble. Amend with elemental sulfur to lower pH. - Symptom: Stunted growth and purple tinting on the underside of leaves.
Solution: Phosphorus deficiency. Apply a 0-20-0 superphosphate amendment. This often occurs in cold soils where microbial activity is low, hindering phosphorus uptake. - Fix-It for Nitrogen Chlorosis: If older leaves turn pale yellow, the plant is translocating nitrogen to new growth. Apply a quick-release high-N organic fertilizer (10-0-0) to restore the photosynthetic capacity of the lower canopy.
Maintenance:
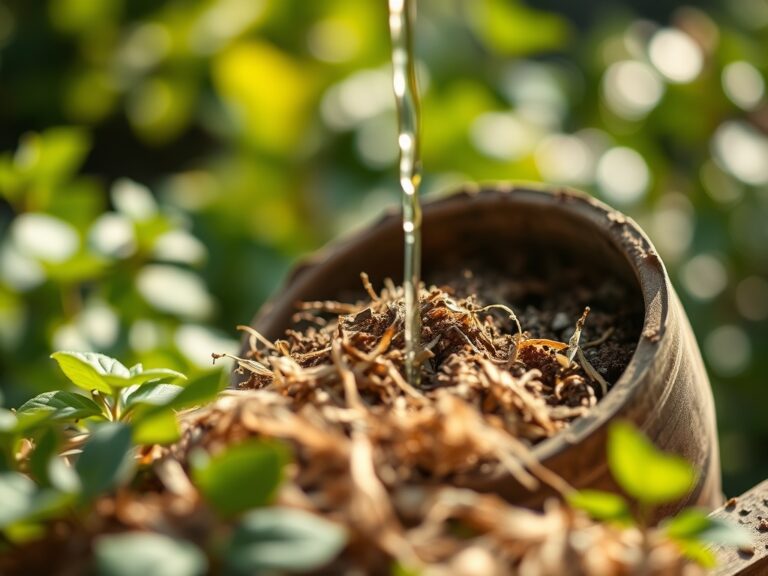
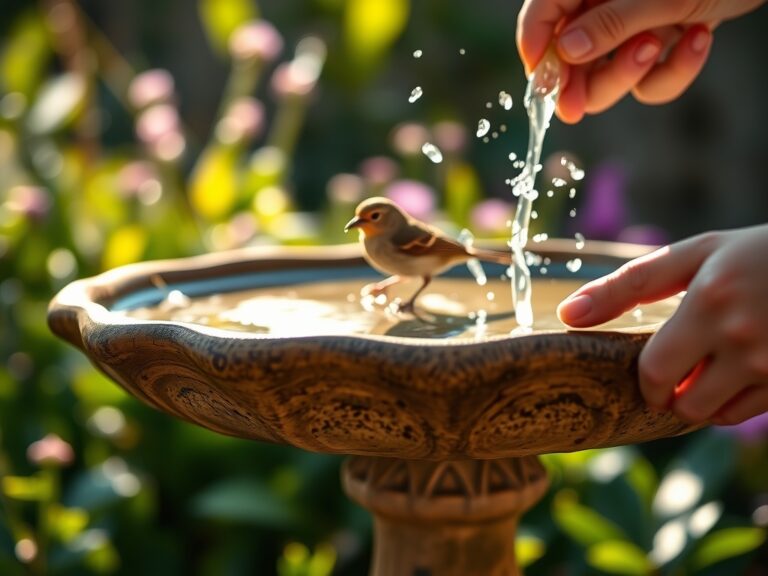
A master horticulturist manages the environment with mathematical precision. Deliver 1.5 inches of water per week at the drip line using a soaker hose to avoid wetting the foliage, which can lead to fungal spores germinating on pruning wounds. Use a soil moisture meter to ensure the root zone stays between 60 and 80 percent field capacity. After each use, wipe your bypass pruners with isopropyl alcohol to prevent the cross-contamination of pathogens between plants. Coat the metal surfaces with a thin layer of mineral oil to prevent oxidation, which can pit the metal and ruin a honed edge.
The Yield:
Harvesting is the final act of pruning. For leafy greens, harvest in the early morning when turgor pressure is at its maximum. Use a sharpened harvest knife to make a single, swift cut at the base of the plant. For fruiting crops like tomatoes or peppers, use snips to leave a small portion of the pedicel attached; this prevents the entry of rot-inducing bacteria into the fruit shoulder. Immediately move harvested material to a cool, shaded area to reduce the rate of senescence and field heat. Hydro-cooling—submerging the produce in 55-degree Fahrenheit water—can extend shelf life by slowing the plant's metabolic respiration.
FAQ:
How often should I use the sharpening hack?
Sharpen your primary bypass pruners every 4 to 6 hours of heavy use. For spades and shovels, reset the edge once per season or after hitting stones, which can cause micro-chipping in the steel.
Does sharpening tools affect plant disease?
Yes. Sharp tools create smaller, cleaner wounds that callus quickly. Dull tools create jagged tears that hold moisture and provide entry points for fungal spores and bacterial pathogens like Botrytis cinerea.
What is the best angle for sharpening garden shears?
Maintain a 20 to 25-degree angle on the factory bevel. This specific geometry provides enough mass behind the edge to prevent folding while remaining sharp enough to slice through fibrous plant tissue without crushing.
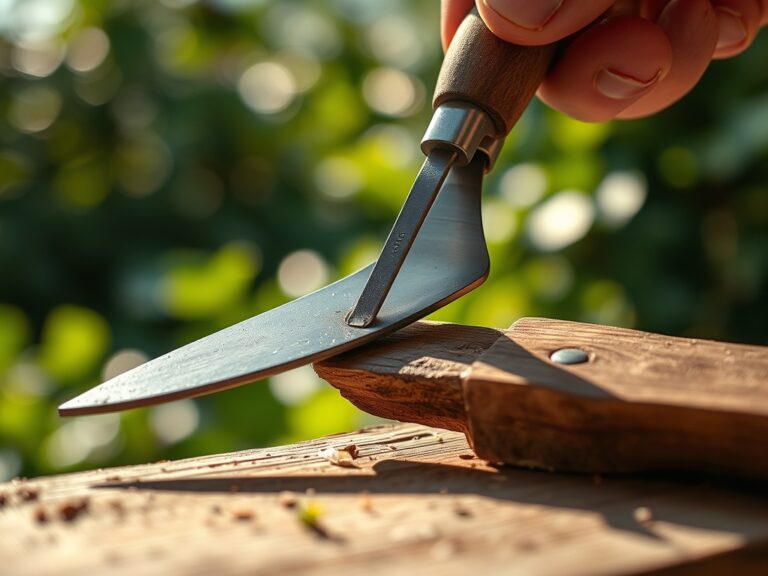
Can I use a file on all my garden tools?
Use a mill file for coarse tools like shovels or hoes. For precision cutting tools like pruners or grafting knives, always transition to a fine-grit whetstone to remove the burr and achieve a surgical finish.