9 Best Compact Tool Pouches for Light Garden Care
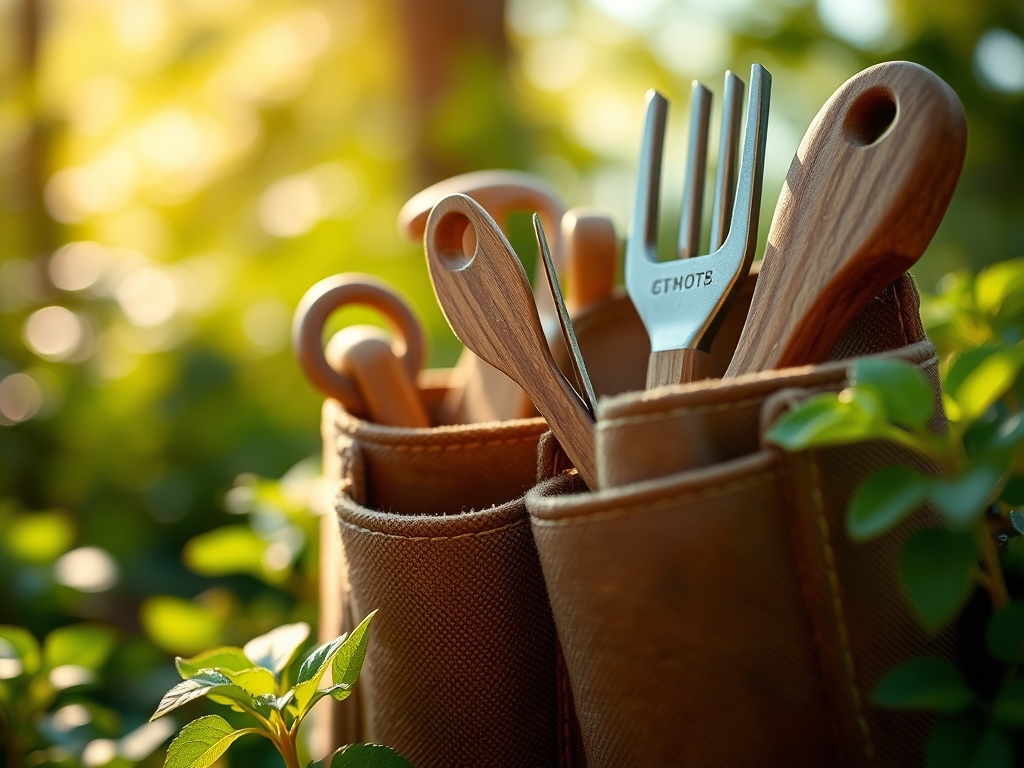
Crushed stems of Mentha spicata release volatile oils that signal a breach in cell walls; meanwhile, the turgor pressure in a well hydrated Rosa rugosa stem resists the blade of a sharp bypass pruner. Efficiency in the field depends on immediate access to specialized implements. Selecting the best tool pouches for garden care requires an understanding of weight distribution and material durability to prevent physical fatigue during long sessions in the rhizosphere. A compact pouch must secure a hori-hori knife and precision snips without impeding the gardener's range of motion or damaging delicate apical meristems as they move through dense foliage.
Materials:
The success of any botanical endeavor begins with the substrate. A **friable loam** with a composition of 40 percent sand, 40 percent silt, and 20 percent clay provides the ideal Cation Exchange Capacity (CEC) for nutrient retention. For light garden care, maintain a **soil pH between 6.0 and 7.0** to ensure maximum bioavailability of essential elements. During the vegetative stage, apply a fertilizer with an **NPK ratio of 10-5-5** to support leafy growth. As the plant transitions to the reproductive phase, shift to a **5-10-10 ratio** to prioritize phosphorus for flower and fruit development. The physical texture of the soil should allow for rapid gas exchange; compacted soils suffocate aerobic bacteria and lead to root senescence. High quality pouches are often constructed from heavy duty 1200D polyester or top grain leather to withstand the abrasive nature of mineral heavy soils and sharp steel edges.
Timing:
Successful cultivation is governed by the Hardiness Zones established by the USDA. In Zones 7 through 9, the primary growing window opens when soil temperatures consistently reach 65 degrees Fahrenheit. Gardeners must track the "Biological Clock" of their specimens; this is the physiological transition from vegetative biomass production to reproductive flowering. This shift is triggered by the photoperiod, where specific durations of darkness induce the production of florigen. Observe the last frost date with precision. Planting too early in Zone 6 (typically before late May) risks chilling injury, which disrupts the lipid structure of cell membranes and halts metabolic activity. A compact pouch allows for the rapid deployment of row covers or cloches when localized microclimates drop below the critical 32 degree Fahrenheit threshold.
Phases:
Sowing
Direct sow seeds at a depth exactly three times the diameter of the seed to ensure adequate moisture contact without exhausting the endosperm's energy reserves before emergence. Use a dibber kept in your pouch for uniform depth.
Pro-Tip: Proper sowing depth ensures the hypocotyl reaches the surface before the seed's stored carbohydrates are depleted. This prevents "damping off," a condition often exacerbated by poor air circulation and excessive moisture at the soil line.
Transplanting
When moving seedlings, preserve the integrity of the root ball to minimize transplant shock. Dig a hole twice the width of the root system but no deeper than the original container.
Pro-Tip: Mycorrhizal symbiosis is enhanced when you dust the root zone with fungal spores during transplanting. These fungi extend the reach of the root system, increasing the surface area for phosphorus uptake by a factor of ten.
Establishing
During the first 14 to 21 days, focus on root expansion rather than upward growth. Maintain consistent moisture levels to prevent the wilting point, where turgor pressure drops and cellular collapse occurs.
Pro-Tip: Pinching off early flower buds redirects the plant's energy from reproduction back to vegetative growth and root establishment. This process, driven by auxin suppression, results in a more robust vascular system and higher long term yields.
The Clinic:
Physiological disorders often mimic infectious diseases but result from environmental or nutritional stress.
- Blossom End Rot: This appears as a necrotic, sunken spot on the distal end of the fruit. It is caused by a calcium deficiency within the fruit tissue, often due to fluctuations in soil moisture that impede calcium transport through the xylem. Solution: Maintain consistent irrigation and ensure soil pH is above 6.0.
- Iron Chlorosis: Characterized by interveinal yellowing on new leaves while veins remain green. This occurs when the soil pH is too high, locking iron in an insoluble form. Solution: Apply chelated iron or lower pH using elemental sulfur.
- Nitrogen Deficiency: Older leaves turn uniform pale green or yellow as the plant mobilizes mobile nitrogen to support new growth. Solution: Top dress with a high nitrogen organic amendment like blood meal (12-0-0).
- Oedema: Small bumps or blisters appear on the underside of leaves. This is a water imbalance where the roots take up water faster than the leaves can transpire it. Solution: Improve air circulation and reduce watering frequency during humid conditions.
Maintenance:
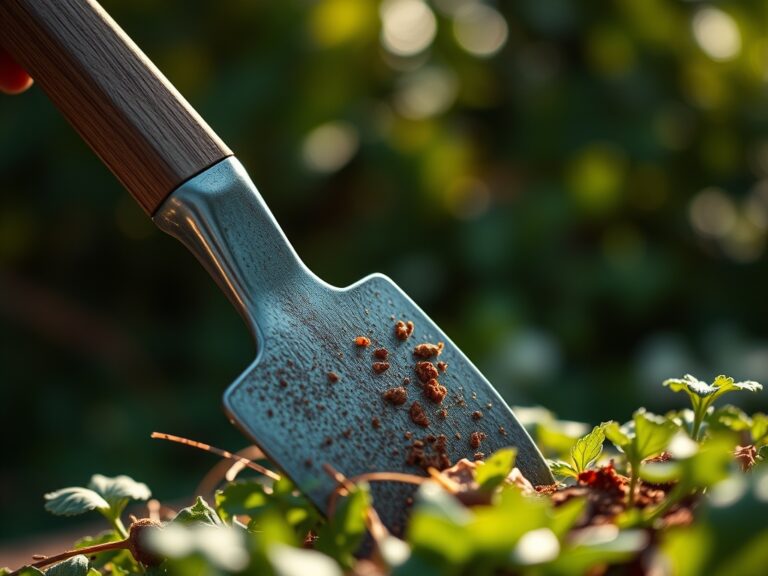
Precision maintenance requires a strict regimen. Apply 1.5 inches of water per week directly at the drip line to encourage deep root penetration; avoid overhead irrigation which increases the risk of fungal pathogens on the phyllosphere. Use a soil moisture meter daily to check the top 4 inches of the profile. Keep your bypass pruners sharp and disinfected with 70 percent isopropyl alcohol between every cut to prevent the mechanical transmission of pathogens. When using a hori-hori knife for weeding, insert the blade vertically to sever the taproot of perennial weeds like Taraxacum officinale. Ensure your tool pouch is cleaned of debris weekly to prevent the buildup of soil borne spores that can degrade both the fabric and your steel implements.
The Yield:
Harvesting is the culmination of metabolic processes. For leafy greens, harvest in the early morning when turgor pressure is at its peak and temperatures are lowest. This preserves the crispness of the cell walls. For fruiting bodies, wait for the "ground color" to shift from green to the cultivar's mature hue. Use sharp snips from your pouch to make clean cuts; jagged tears create entry points for opportunistic fungi. Post harvest, immediately move produce to a cool environment to slow the rate of senescence and respiration. This "field heat" removal extends the shelf life by preserving the sugars and acids developed during the ripening phase.
FAQ:
What is the best material for a tool pouch?
Heavy duty 1200D polyester or top grain leather offers the highest resistance to punctures from pruners. Leather molds to the tools over time, while synthetic fabrics provide superior moisture resistance and are easier to decontaminate after use.
How do I prevent tool pouch fatigue?
Select a pouch with a wide belt loop or an integrated padded belt. Distributing the weight across the iliac crest reduces lumbar strain. Keep only essential tools like a hori-hori and pruners to minimize the load during extended sessions.
Can I wash my garden tool pouch?
Synthetic pouches can be scrubbed with a mild detergent and a stiff brush to remove soil and pathogens. Leather pouches require specialized saddle soap and periodic conditioning with neatsfoot oil to prevent cracking and maintain structural integrity over several seasons.
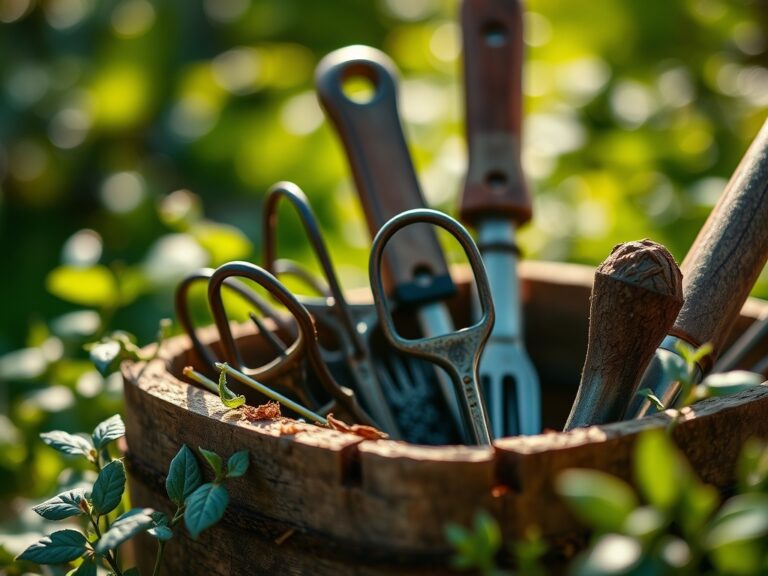
Why should I use a pouch instead of a bucket?
A pouch keeps your hands free for climbing ladders or stabilizing plants while keeping tools within reach. It prevents the constant bending required to retrieve items from a bucket, which reduces ergonomic stress on the spine and knees.