7 Steps to Prepare a Seasonal Tool Maintenance Project
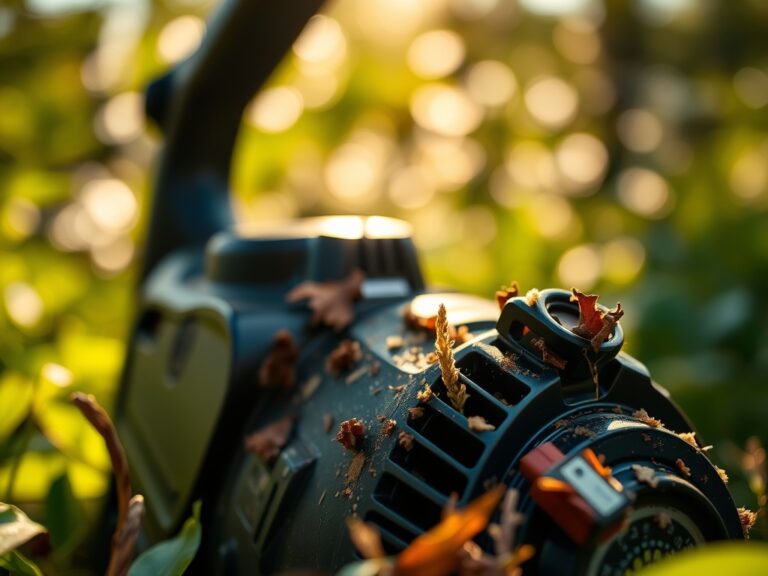
The smell of damp earth and the iron tang of oxidized steel signal the transition from active growth to seasonal dormancy. When the turgor pressure in plant stems begins to drop and the photoperiod shortens; the physical demands on your equipment shift. Understanding how to prepare a garden for a tool maintenance project requires a systematic audit of both the landscape and the inventory. Neglected blades tear through vascular tissue rather than slicing it; leading to pathogen entry points that can decimate a stand of perennials during the winter months.
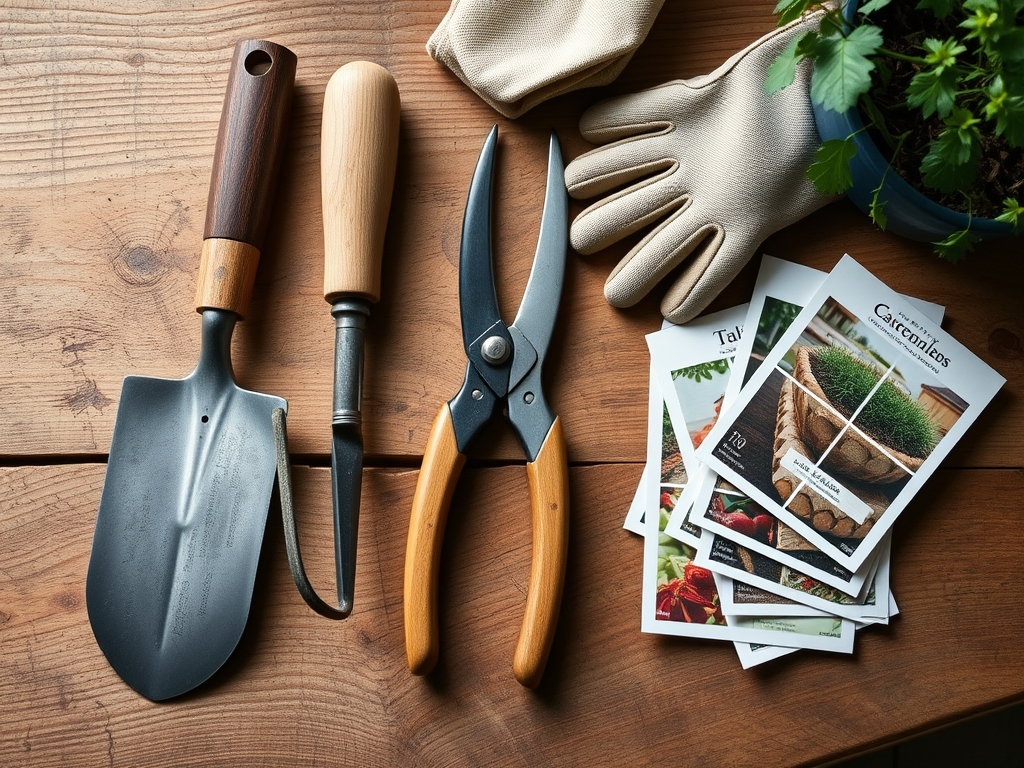
A successful maintenance cycle ensures that every cut made during the dormant season is clean and precise. This process begins by clearing the workspace and assessing the current state of the rhizosphere. As plants enter senescence; the energy is pulled from the foliage into the root systems. This is the critical window to gather your shears; loppers; and spades for a full overhaul. Proper preparation prevents the spread of soil-borne fungi and ensures that your mechanical interventions do not hinder the biological recovery of your cultivars.
Materials:
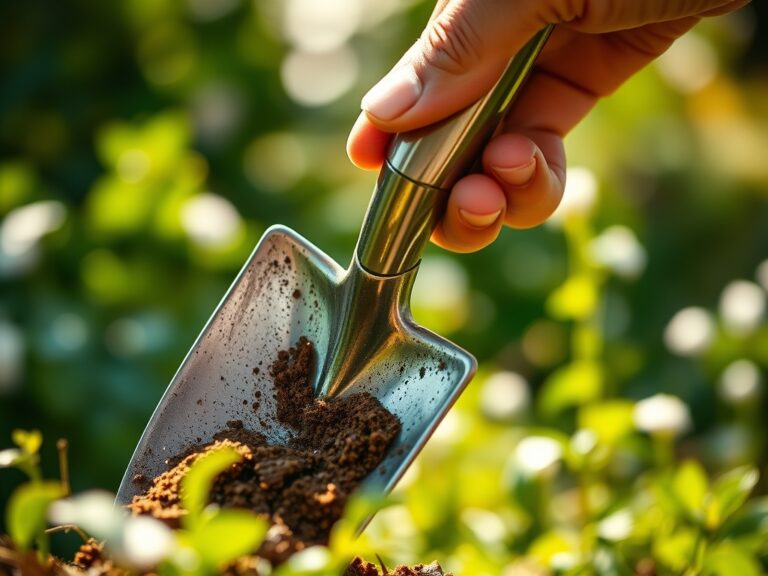
The foundation of any garden project is the substrate. For a maintenance staging area; you require a friable loam with a Cation Exchange Capacity (CEC) between 15 and 25 meq/100g. This soil texture allows for adequate drainage while holding onto essential ions. Before you begin moving heavy equipment; verify that your soil pH sits between 6.2 and 6.8 to ensure nutrient availability for the surrounding flora.
Your fertilization regimen during this preparation phase should focus on root resilience rather than vegetative flush. Use a low-nitrogen formula with an NPK ratio of 5-10-15. The high potassium (K) content strengthens cell walls and improves cold hardiness. Avoid high-nitrogen blends like 20-10-10; as these trigger succulent new growth that is highly susceptible to frost damage and mechanical bruising from dull tools.
Timing:
Hardiness Zones 4 through 7 should initiate tool maintenance projects approximately two to three weeks before the first projected frost. In Zone 8 and higher; the window extends into late autumn when the "Biological Clock" of the plants shifts from the reproductive stage to metabolic slowdown. Observe the leaf margins; once the chlorophyll begins to degrade and anthocyanins or carotenoids become visible; the plant has moved into the senescence phase.
The ideal temperature window for outdoor tool cleaning and sharpening is between 50 and 65 degrees Fahrenheit. High humidity levels during this process can lead to flash-rusting on high-carbon steel blades. Monitoring the dew point is essential; keep it below 55 degrees to ensure that lubricants and protectants cure properly on the metal surfaces.
Phases:

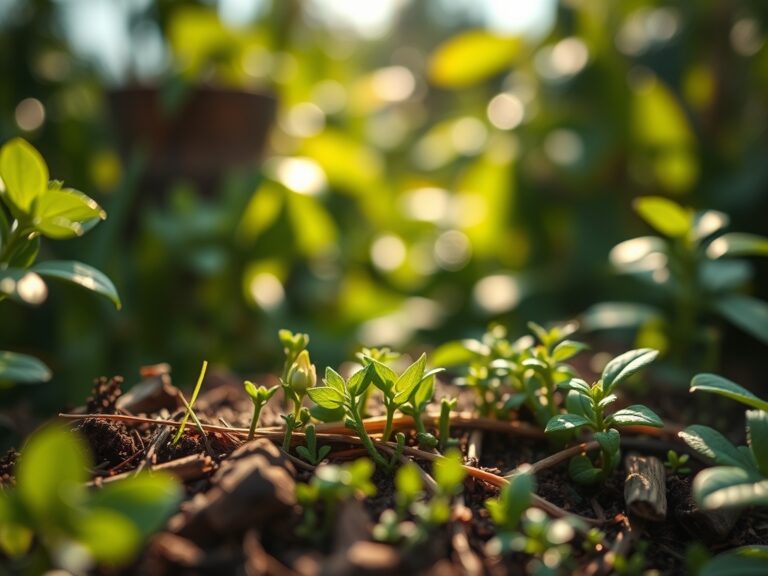
Sowing
While not sowing seeds in the traditional sense; this phase involves "sowing" the infrastructure for your maintenance. Clear a 10-foot by 10-foot area of all organic debris. Lay down a heavy-duty canvas to prevent metal filings or oil runoff from contaminating the soil biology.
Pro-Tip: Maintaining a clean perimeter protects the mycorrhizal symbiosis in the soil. Heavy foot traffic or chemical spills can crush the delicate hyphae that extend the root system's reach; reducing the plant's ability to uptake phosphorus by up to 80 percent.
Transplanting
Move containerized plants and delicate perennials away from the maintenance zone. This prevents accidental mechanical damage. If a plant must remain; use a physical barrier to shield the apical meristems from falling debris or tool handles.
Pro-Tip: Moving plants during their dormant phase minimizes the risk of transplant shock. By reducing the transpiration rate through lower temperatures; the plant can focus its limited ATP reserves on root establishment rather than maintaining leaf turgor.
Establishing
Establish a dedicated sharpening station equipped with a bench vise and whetstones. Organize your tools by their mechanical function: cutting; digging; and weeding. Use a soil moisture meter to ensure the surrounding garden beds are at 40 percent field capacity; this prevents the soil from compacting if you must step into the beds during the project.
Pro-Tip: Consistent soil moisture levels prevent auxin suppression. When a plant is stressed by drought or compaction; it produces abscisic acid which halts growth. Keeping the soil hydrated ensures the plant remains biologically active enough to seal any accidental nicks or cuts.
The Clinic:
Symptom: Interveinal chlorosis on older leaves.
Solution: This indicates a Magnesium deficiency. Apply Epsom salts (Magnesium Sulfate) at a rate of 1 tablespoon per gallon of water to restore the central atom of the chlorophyll molecule.
Symptom: Necrotic spots on leaf tips and margins.
Solution: Often a sign of Potassium deficiency or salt buildup. Flush the root zone with 3 inches of water to leach excess salts and supplement with a 0-0-50 sulfate of potash application.
Symptom: Stunted growth with dark purple or blue-green foliage.
Solution: This is a classic Phosphorus deficiency. The plant cannot transfer energy (ATP). Incorporate bone meal or rock phosphate into the top 2 inches of soil to improve energy transport.
Fix-It: For general Nitrogen chlorosis (pale yellow leaves); apply a quick-release calcium nitrate solution. Ensure the soil temperature is above 55 degrees for effective microbial conversion.
Maintenance:
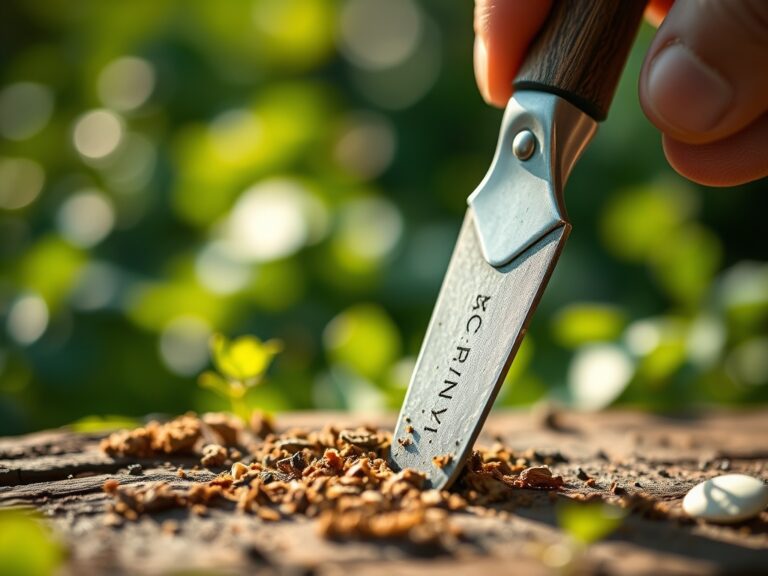
Precision is the hallmark of a professional horticulturist. Use a hori-hori knife to remove weeds by the root; ensuring you do not leave the taproot behind to regenerate. When pruning; use bypass pruners for living tissue and anvil pruners only for dead wood. The bypass action mimics a pair of scissors; preventing the crushing of the xylem and phloem vessels.
Irrigation must be targeted. Provide 1.5 inches of water per week at the drip line of your shrubs and trees. Use a soil moisture meter daily to check the top 6 inches of the soil profile. If the meter reads below level 3; supplemental irrigation is required to maintain the biological integrity of the root zone while you focus on your tool maintenance.
The Yield:
When harvesting the final herbs or late-season vegetables before the big maintenance push; timing is everything. Harvest at 0600 hours when the plants are at peak turgor. Use a sharpened bypass pruner to make a clean 45-degree cut.
To maintain "day-one" freshness; immediately plunge the cut ends into 40-degree water. This rapid cooling reduces the respiration rate and slows down the enzymatic breakdown of sugars. For woody stems; a slight crush of the bottom 0.5 inch increases the surface area for water uptake; extending the post-harvest life by up to 48 hours.
FAQ:
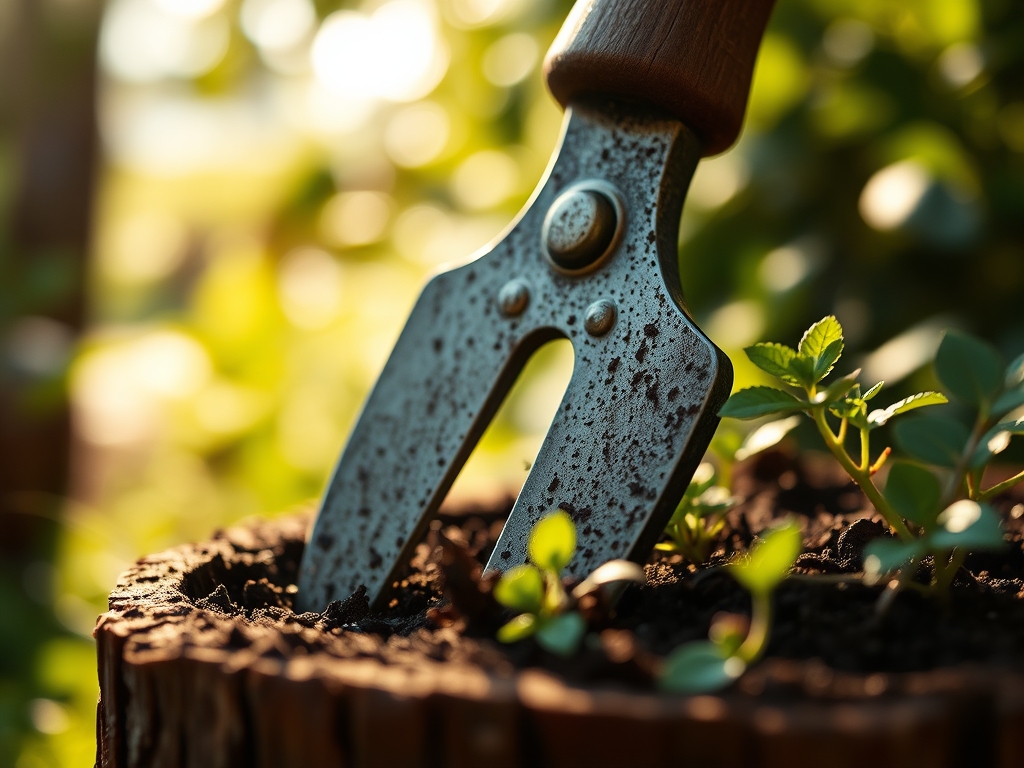
How do I clean rust off my garden spade?
Use a wire brush or 80-grit sandpaper to remove surface oxidation. For deep pitting; soak the metal in a 5 percent acetic acid solution for 12 hours. Rinse; dry thoroughly; and apply a thin coat of mineral oil.
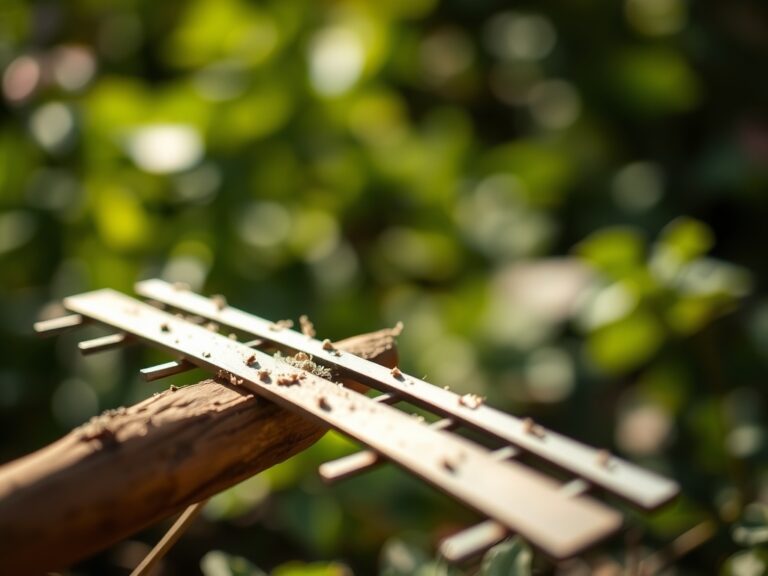
What is the best way to sharpen bypass pruners?
Use a 400-grit diamond file. Follow the factory bevel of the cutting blade; usually between 20 and 30 degrees. Only sharpen the outside edge. Stroke the file away from your body in one smooth; continuous motion.
Can I use motor oil to lubricate my tools?
Avoid motor oil as it contains additives toxic to soil microbes. Use food-grade mineral oil or lanolin. These provide a moisture barrier without leaching petroleum distillates into the rhizosphere when you return the tools to the soil.
Why are my pruning cuts not healing?
Dull blades cause "crush" injuries rather than clean slices. This damages the cambium layer; preventing the formation of callus tissue. Ensure your tools are sharp enough to slice through a sheet of paper without tearing before making any cuts.