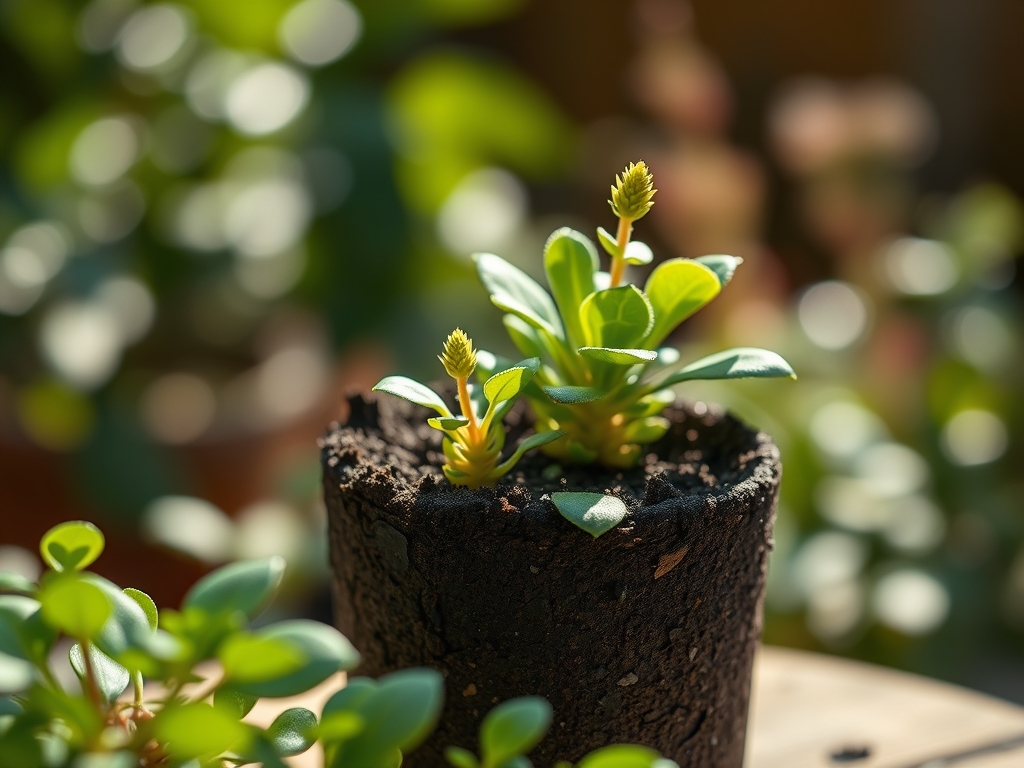
6 Air-Permeable Steps for Repotting a ZZ Plant
The smell of damp, oxygenated earth signals the beginning of a successful transition for Zamioculcas zamiifolia. When you grasp a healthy specimen, the turgor pressure within its waxy pinnate leaves should feel rigid; a lack of resistance indicates cellular dehydration or root compromise. Mastering the steps for repotting a ZZ plant requires an understanding of its unique succulent anatomy. These plants store massive amounts of water in underground rhizomes, making them susceptible to anaerobic conditions if the substrate lacks sufficient porosity. Successful repotting ensures the rhizosphere remains aerated while providing the structural support necessary for its heavy, upright stems. You must monitor the pot for physical deformation. As the rhizomes expand, they exert significant outward force, often warping plastic nursery pots or cracking ceramic vessels. This mechanical pressure is the primary indicator that the plant has exhausted its current volume and requires a larger vessel to maintain its metabolic rate. Proper timing and substrate selection prevent the onset of root rot, the most common cause of physiological decline in this species.
Materials:
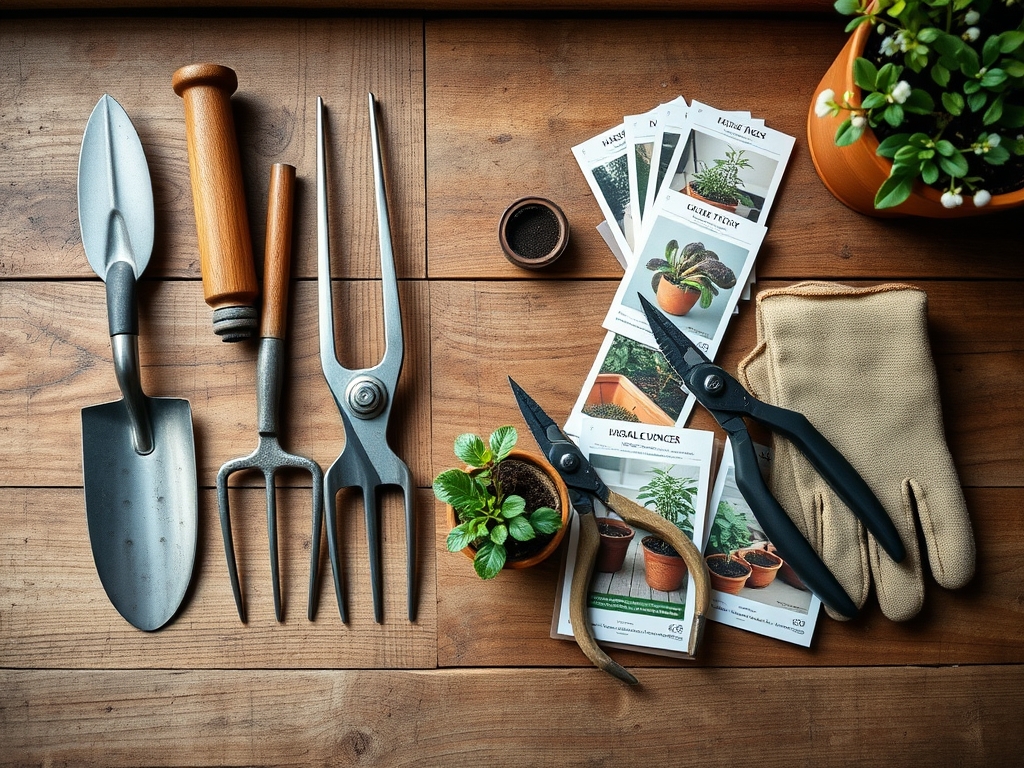
The ideal substrate for a ZZ plant is a friable loam characterized by high macroporosity. You must avoid standard potting soils that lack inorganic aggregates. Aim for a soil pH between **6.0 and 7.0** to ensure optimal nutrient bioavailability. The Cation Exchange Capacity (CEC) should be moderate, allowing the soil to hold onto essential ions without becoming waterlogged.
Prepare a custom mix using a 1:1:1 ratio of pine bark fines, coarse perlite, and coconut coir. For nutrient supplementation, incorporate a slow-release fertilizer with an NPK ratio of 10-10-10 or 20-20-20 at half the manufacturer's recommended strength. This balanced ratio supports both foliar expansion and rhizome development. The physical texture must be gritty; when squeezed, the moist mix should fall apart immediately upon releasing pressure. This ensures that the oxygen diffusion rate remains high, protecting the roots from the fungal pathogens that thrive in compacted, low-oxygen environments.
Timing:
Zamioculcas zamiifolia is typically grown as an indoor specimen, but its biological clock remains tethered to light intensity and ambient temperature. The optimal window for repotting occurs during the spring or early summer, specifically when indoor temperatures consistently remain between 65 and 75 degrees Fahrenheit. In USDA Hardiness Zones 10 through 12, where the plant can survive outdoors, repotting should be completed at least six weeks before the first potential temperature drop below 50 degrees Fahrenheit.
The plant enters a period of active vegetative growth as the photoperiod increases. Transitioning the plant during this phase allows it to utilize its peak metabolic energy for root establishment. Avoid repotting during the winter senescence period. During low-light months, the plant's transpiration rate slows significantly. Moving it to a larger pot with more soil volume during winter increases the risk of "perched water tables," where the bottom of the pot remains saturated for too long because the plant is not actively pulling moisture through its vascular system.
Phases:

Sowing and Extraction
Begin by withholding water for seven to ten days prior to the procedure. Dry soil is less heavy and more likely to pull away from the root ball without causing mechanical damage to the fine root hairs. Turn the pot on its side and apply even pressure to the exterior walls. If the plant is stuck, use a hori-hori knife to slide along the inner circumference, severing any roots that have fused to the container.
Pro-Tip: Minimizing root disturbance preserves the existing mycorrhizal symbiosis. These beneficial fungi assist the plant in phosphorus uptake; excessive washing of the roots can strip these colonies and stall growth for months.
Transplanting and Positioning
Select a new container that is no more than two inches wider in diameter than the previous one. Place a layer of the prepared substrate at the bottom. Center the ZZ plant so that the top of the rhizomes sits approximately one inch below the rim of the pot. This headspace allows for efficient top-watering without soil overflow. Fill the voids with the gritty mix, tapping the pot against a hard surface to settle the particles.
Pro-Tip: Do not bury the stems deeper than they were previously situated. Deep planting can lead to stem rot due to the suppression of gas exchange at the base of the petioles, a condition that interferes with the plant's natural auxin distribution.
Establishing and Recovery
After the substrate is settled, move the plant to a location with bright, indirect light (approximately 200 to 400 foot-candles). Do not water immediately. Wait three to five days before the first irrigation. This delay allows any micro-fractures in the rhizomes or roots to callus over, preventing opportunistic pathogens from entering the vascular system.
Pro-Tip: Maintaining high humidity (around 50 percent) during the first week post-repotting reduces the vapor pressure deficit. This helps the plant maintain turgor pressure while its root system adapts to the new substrate.
The Clinic:
Monitoring the physiological state of your ZZ plant post-repotting is critical for long-term health.
- Symptom: Yellowing of lower leaves (Nitrogen Chlorosis).
- Solution: This often indicates a lack of mobile nutrients or a pH imbalance. Check the soil pH to ensure it hasn't drifted above 7.5. If pH is correct, apply a liquid fertilizer with a higher Nitrogen (N) value to restore chlorophyll production.
- Symptom: Soft, mushy rhizomes with a foul odor.
- Solution: This is a sign of anaerobic rot. Remove the plant from the pot, excise the necrotic tissue with sterilized bypass pruners, and repot in a mix with 50 percent more perlite for increased aeration.
- Symptom: Leaf wrinkling despite moist soil.
- Solution: This suggests root death; the plant cannot take up water. Check for root rot or "fertilizer burn" caused by an accumulation of mineral salts. Flush the substrate with distilled water until the electrical conductivity (EC) of the runoff drops.
Maintenance:
Precision is required for ZZ plant irrigation. Use a soil moisture meter to verify that the substrate is dry through at least 75 percent of the pot depth before watering. When you irrigate, apply water until it flows freely from the drainage holes, ensuring the entire root mass is hydrated. On average, this equates to roughly 1.5 inches of water every two to three weeks, depending on ambient humidity.
Clean the pinnate leaves monthly with a damp microfiber cloth. Dust accumulation interferes with the stomatal gas exchange and reduces the efficiency of photosynthesis. For maintenance pruning, use bypass pruners to remove any senescent (yellowing or brown) stems at the soil line. This redirects the plant's energy toward the production of new, vigorous "spears."
The Yield:
While the ZZ plant is not an edible crop, its "yield" is measured in biomass and aesthetic symmetry. To maximize the visual impact of new growth, ensure the plant receives consistent light from all sides. If the plant becomes "leggy," it is an indication of low light levels; increase the light intensity to maintain the compact, vertical habit of the stems. Post-repotting, you can expect a flush of new growth within six to eight weeks if the temperature and nutrient levels remain stable.
FAQ:
What is the best soil for a ZZ plant?
A well-draining, gritty mix with a pH of 6.0 to 7.0 is ideal. Use a blend of one part potting soil, one part perlite, and one part pine bark to ensure high oxygen levels in the rhizosphere.
How do I know when to repot?
Repot when the rhizomes visibly distort the plastic pot or when roots emerge from the drainage holes. This usually occurs every two to three years for mature specimens growing in optimal conditions.
Can I use a pot without drainage holes?
No. Drainage is mandatory to prevent water from pooling at the base. Standing water creates anaerobic conditions that lead to rapid rhizome decay and the eventual death of the entire vascular system.
Why are the leaves turning yellow after repotting?
This is often a sign of transplant shock or overwatering. Ensure the plant is not sitting in saturated soil and allow the substrate to dry out completely before the next irrigation cycle to encourage root recovery.