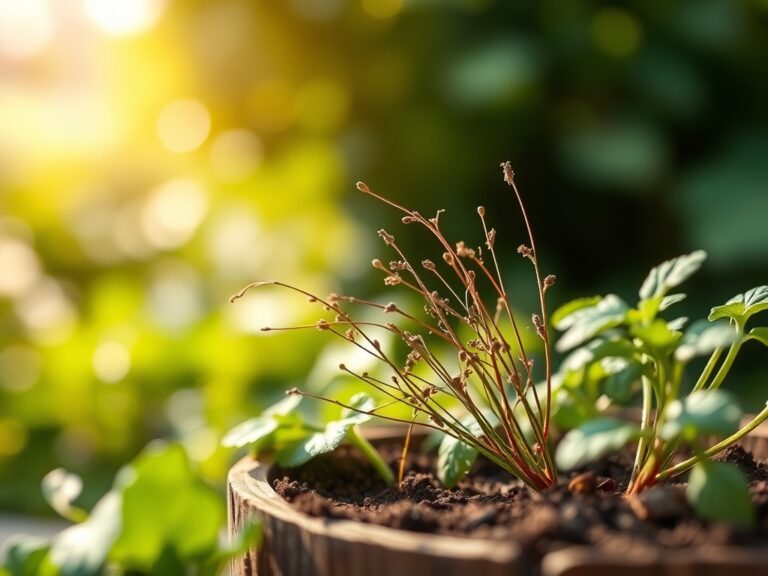
9 Protection Steps to Build a Vegetable Garden Wall
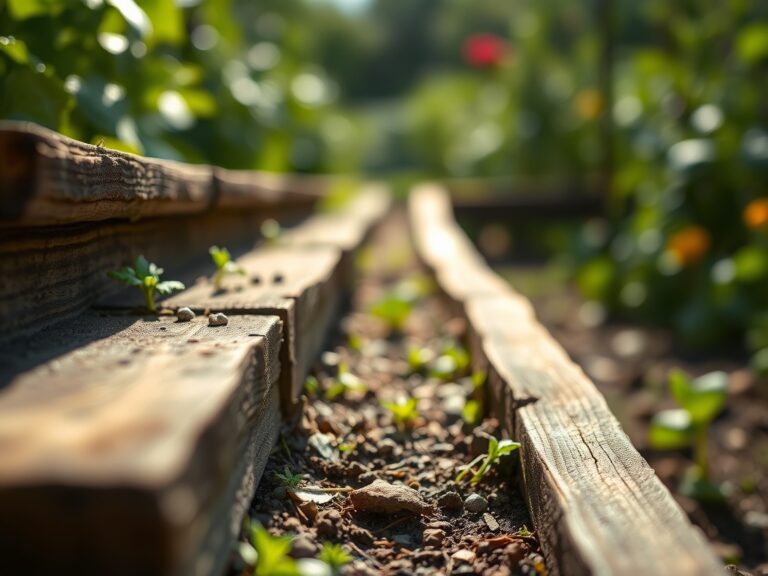
Crushing a handful of damp, friable loam reveals the metallic scent of geosmin and the gritty reality of a high Cation Exchange Capacity (CEC). A healthy leaf maintains high turgor pressure; it feels rigid and cool to the touch because of efficient transpiration through the stomata. Achieving this level of plant health requires structural integrity. These specific steps for building a vegetable garden wall ensure that your rhizosphere remains protected from erosion and temperature fluctuations. A vertical or terraced wall provides a physical barrier against wind and stabilizes the soil temperature, which is critical for root development in early spring. By elevating the growing space, you gain absolute control over the drainage and nutrient density of the substrate. This guide focuses on the engineering and biological requirements for a wall that supports high-yield vegetable production. We will examine the mechanical stabilization of the soil and the chemical requirements of the plants within. Construction must be precise; a failure in the wall leads to soil compaction and root asphyxiation.
Materials
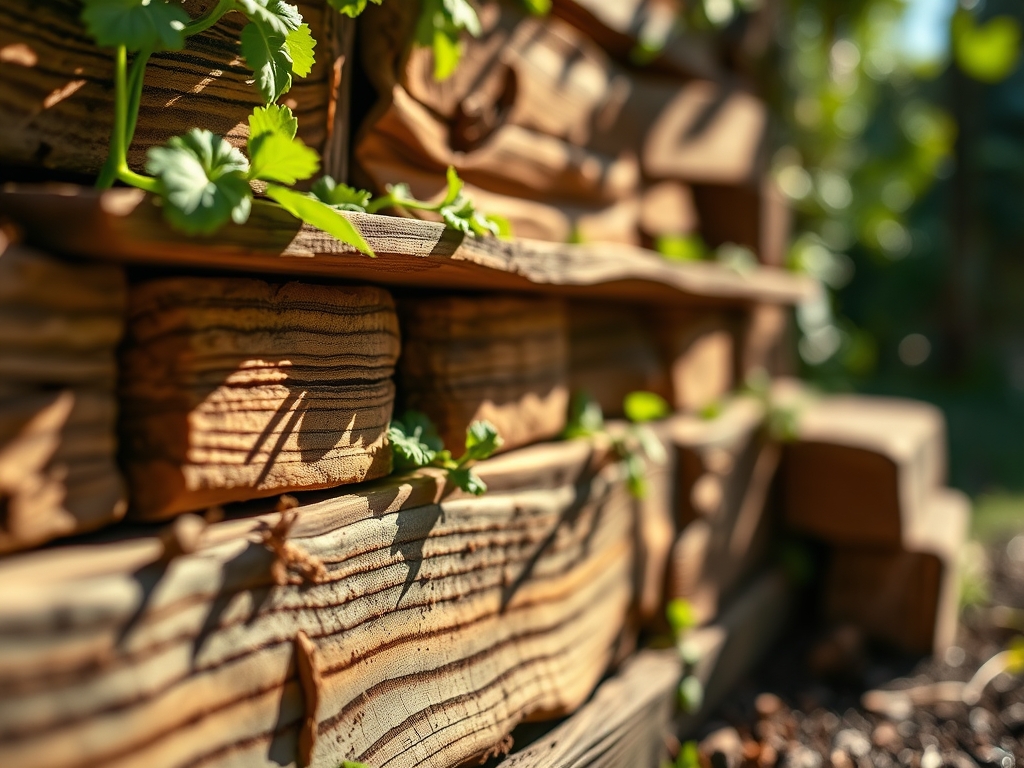
The structural components must be chemically inert to avoid leaching heavy metals or altering the soil pH, which should be maintained between 6.2 and 6.8 for most vegetable crops. Use rot-resistant cedar or pressure-treated wood rated for ground contact; alternatively, use interlocking concrete blocks. For the substrate, aim for a friable loam consisting of 40 percent sand, 40 percent silt, and 20 percent clay. This balance ensures oxygen reaches the roots while retaining moisture.
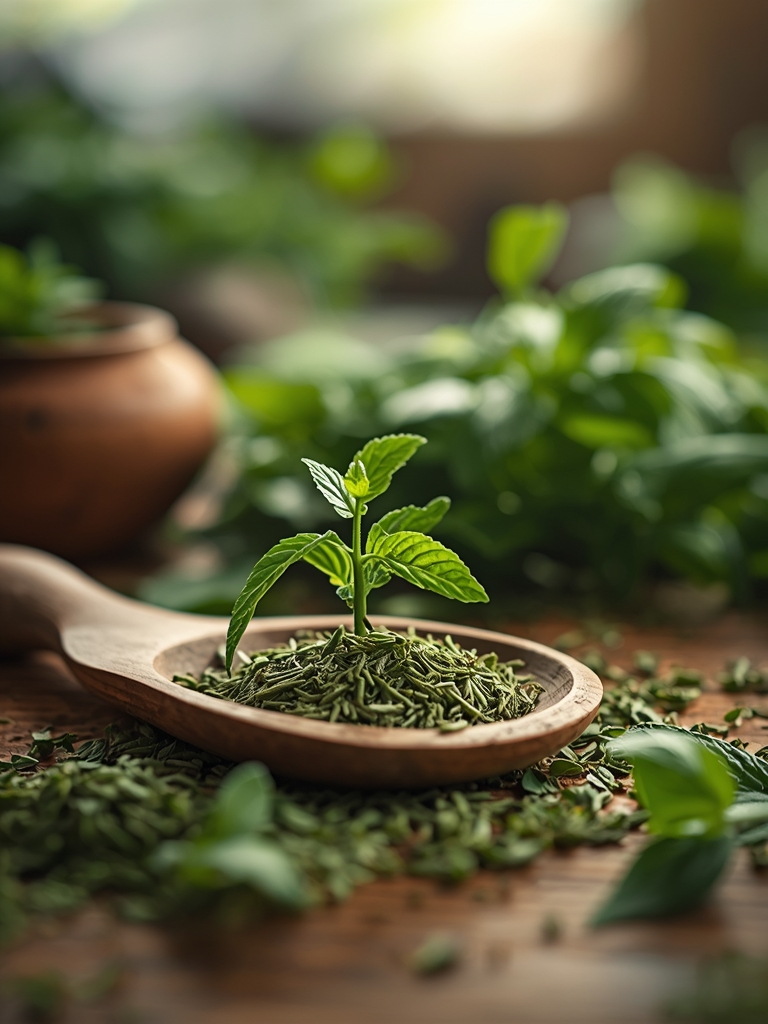
Nutrient management starts with the base layer. Incorporate a slow-release organic fertilizer with an NPK ratio of 5-10-5 to encourage root establishment without triggering excessive vegetative growth that attracts aphids. High phosphorus (the middle number) is essential for ATP production and cellular energy transfer during the early stages of plant development. Ensure your mix includes perlite or coarse sand to maintain a bulk density of approximately 1.1 to 1.3 grams per cubic centimeter. This density allows for rapid root penetration and gas exchange.
Timing
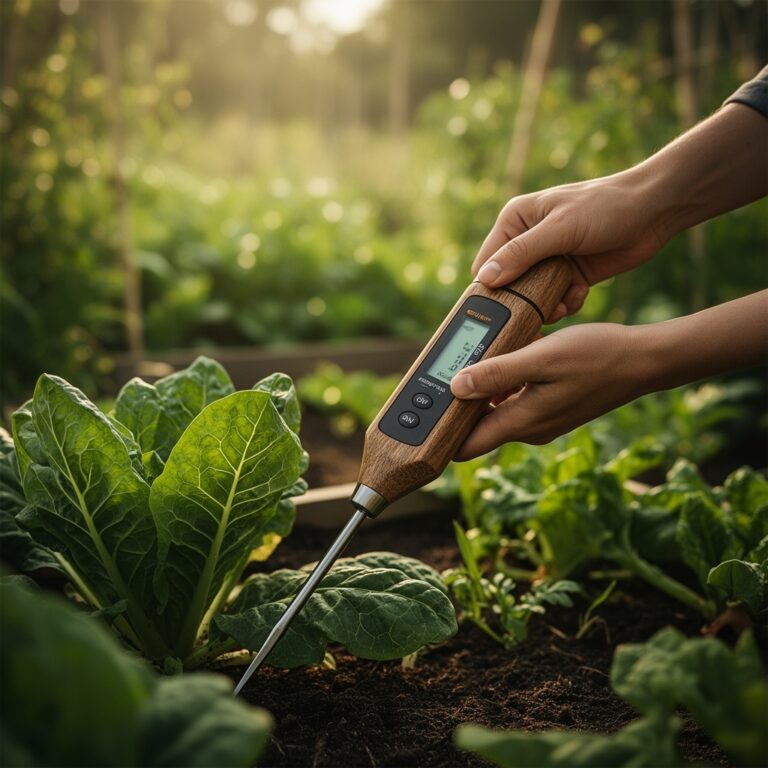
Success depends on the Hardiness Zone and the specific frost-date windows of your microclimate. In Zones 5 through 7, the construction of the wall should be completed at least four weeks before the last predicted frost. This allows the soil to settle and the microbial community to stabilize. The biological clock of a vegetable plant is governed by the photoperiod and thermal accumulation, often measured in Growing Degree Days (GDD).
Cold-season crops like kale and spinach can be transitioned to the wall when soil temperatures reach a consistent 45 degrees Fahrenheit. Warm-season crops, such as solanaceous plants (tomatoes and peppers), require a minimum soil temperature of 65 degrees Fahrenheit. If you plant too early, the plant enters a state of semi-dormancy; the metabolic rate slows, and the risk of fungal pathogens in the root zone increases. Monitor the transition from the vegetative stage (leaf production) to the reproductive stage (flowering) by tracking the cumulative heat units.
Phases
Sowing
Direct sow seeds at a depth exactly three times the diameter of the seed. For small seeds like carrots, this means a shallow 1/8 inch depth. Maintain consistent moisture to ensure the seed coat softens and allows the radicle to emerge.
Pro-Tip: Maintain high humidity during germination to prevent the desiccation of the delicate hypocotyl. This is vital because imbibition, the process of the seed absorbing water, triggers the metabolic enzymes necessary for growth.
Transplanting
When moving seedlings to the wall, ensure the root ball is thoroughly saturated. Dig a hole twice the width of the root system. Place the plant so the crown is level with the soil surface to prevent stem rot.
Pro-Tip: Apply a mycorrhizal inoculant to the planting hole. This creates a mycorrhizal symbiosis where fungal hyphae extend the reach of the root system; this increases the plant's ability to uptake phosphorus and water by up to 10 times.
Establishing
During the first 14 days, the plant focuses on root expansion. Avoid high-nitrogen fertilizers during this window to prevent the plant from prioritizing foliage over roots.
Pro-Tip: Use a light mulch to suppress auxin suppression in the lower nodes. By stabilizing soil temperature, you prevent the stress signals that cause a plant to bolt or flower prematurely; this keeps the plant in a productive vegetative state longer.
The Clinic
Physiological disorders often mimic disease but are caused by environmental or nutritional imbalances.
Symptom: Blossom-end rot (dark, leathery spots on the bottom of fruit).
Solution: This is a calcium transport issue. Maintain consistent soil moisture to ensure calcium moves through the xylem. Do not over-fertilize with potassium, as it competes with calcium for uptake.
Symptom: Leaf curling and stunted growth.
Solution: Check for herbicide drift or extreme temperature fluctuations. Ensure the wall is not reflecting excessive heat onto the plants.
Symptom: Interveinal chlorosis (yellowing between green leaf veins).
Solution: This indicates a magnesium deficiency or high pH. Apply magnesium sulfate (Epsom salts) at a rate of 1 tablespoon per gallon of water.
Fix-It: Nitrogen Chlorosis
If the oldest leaves turn uniformly pale yellow, the plant is scavenging nitrogen for new growth. Apply a liquid fish emulsion with an NPK of 5-1-1 for immediate uptake through the roots and foliage.
Maintenance
Precision is the difference between a surviving garden and a thriving one. Deliver 1.5 inches of water per week directly to the drip line. Use a soil moisture meter to ensure the moisture has penetrated at least 6 inches deep; surface watering encourages shallow, weak root systems.
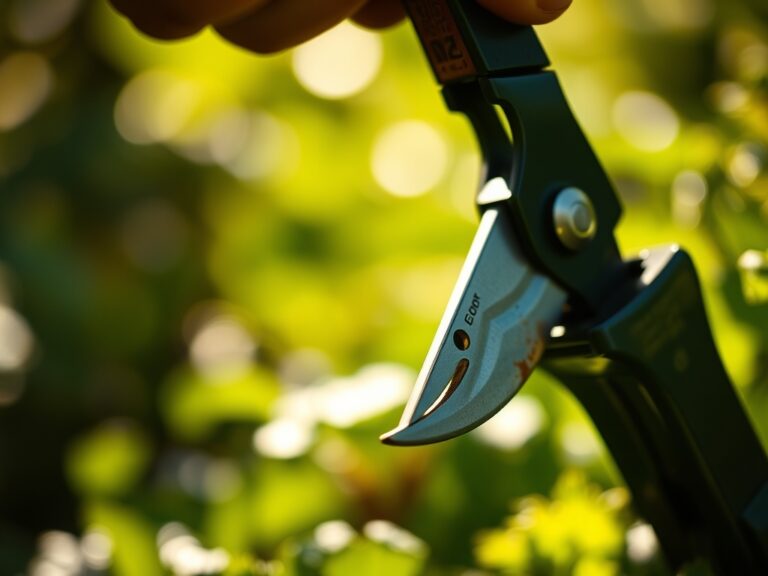
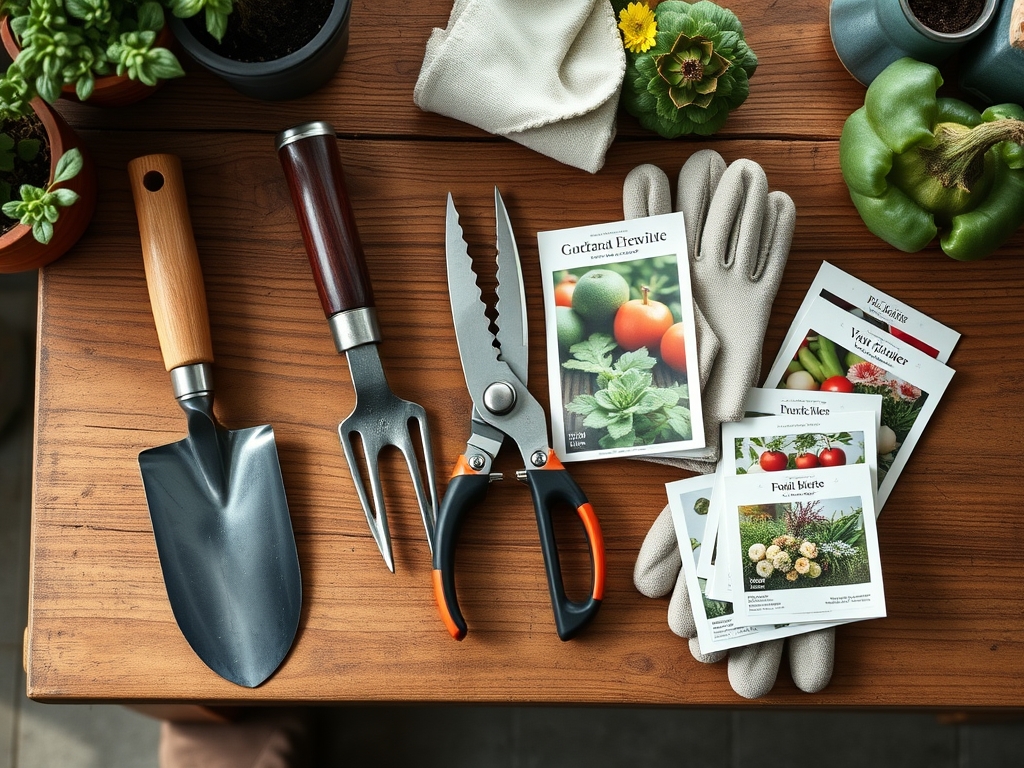
Keep your bypass pruners sterilized with 70 percent isopropyl alcohol to prevent the spread of pathogens. Use a hori-hori knife to remove weeds by the root; this prevents the weed from regenerating from rhizomes left in the soil. Monitor the cation exchange capacity by adding organic compost annually; this increases the soil's ability to hold onto positively charged nutrients like potassium, calcium, and magnesium.
The Yield
Harvesting is a biological intervention. For leafy greens, harvest in the early morning when turgor pressure is at its peak; this ensures the leaves are crisp and have the highest nutrient density. Use a sharp blade to make clean cuts; ragged tears increase the surface area for water loss and pathogen entry.
For fruiting crops like peppers or tomatoes, harvest when the fruit reaches its "breaker stage" or full color. Post-harvest, move the produce immediately to a cool, shaded area. This slows down senescence, the biological aging process, by reducing the respiration rate of the harvested tissue. For maximum "day-one" freshness, hydro-cool leafy vegetables by submerging them in cold water for 30 seconds to remove field heat.
FAQ
How deep should the soil be in a garden wall?
For most vegetables, a minimum depth of 12 to 18 inches is required. This volume provides enough space for root expansion and ensures adequate moisture retention to prevent rapid desiccation of the rhizosphere during high-heat events.
What is the best NPK ratio for a new wall?
Start with a 5-10-5 ratio. The higher phosphorus content supports root development and structural integrity. Once the plants reach the vegetative stage, you can transition to a balanced 10-10-10 or a nitrogen-heavy mix depending on the crop.
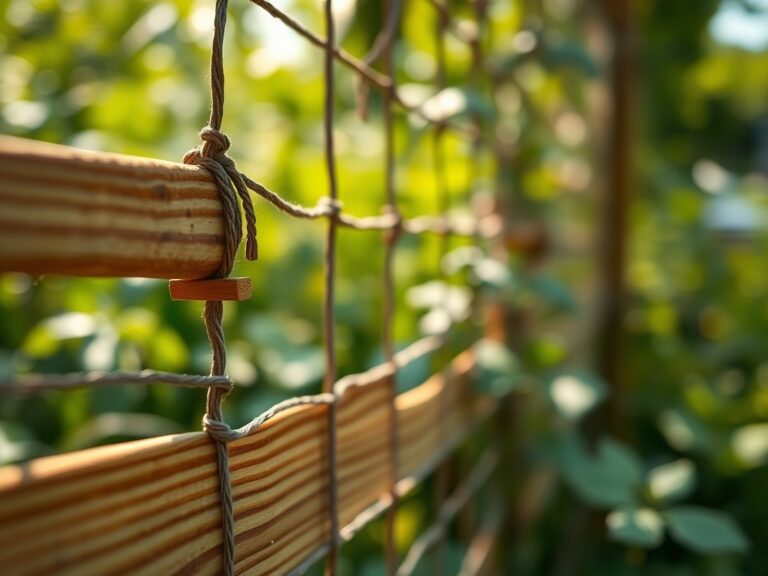
How do I prevent soil from washing out of the wall?
Line the interior of the wall with geotechnical filter fabric. This allows water to drain freely while preventing fine soil particles from escaping. Ensure the base of the wall has a perforated drain pipe topped with crushed stone.
Can I use recycled wood for my garden wall?
Avoid wood treated with chromated copper arsenate (CCA), as arsenic can leach into the soil. Use cedar, redwood, or newer heat-treated timbers. If using old wood, line the interior with heavy-duty plastic to create a physical barrier.
How often should I test the soil pH?
Test the soil once per year in the early spring. Soil pH can shift as organic matter decomposes or as minerals are leached by irrigation. Maintaining a pH between 6.2 and 6.8 optimizes nutrient availability for the plants.