7 Steps to Maintain a Compost Tea Brewer
Learning how to prepare a compost tea brewer for use transforms raw organic matter into a liquid biofertilizer that floods plant roots with beneficial bacteria, nematodes, and fungal colonies. The smell of finished tea resembles wet forest soil after spring rain. Within 24 to 36 hours, a properly maintained brewer converts stable compost into an aerobic suspension that delivers soluble nutrients and microorganisms directly to the rhizosphere, bypassing the slower mineralization pathways of top-dressed amendments.
Materials
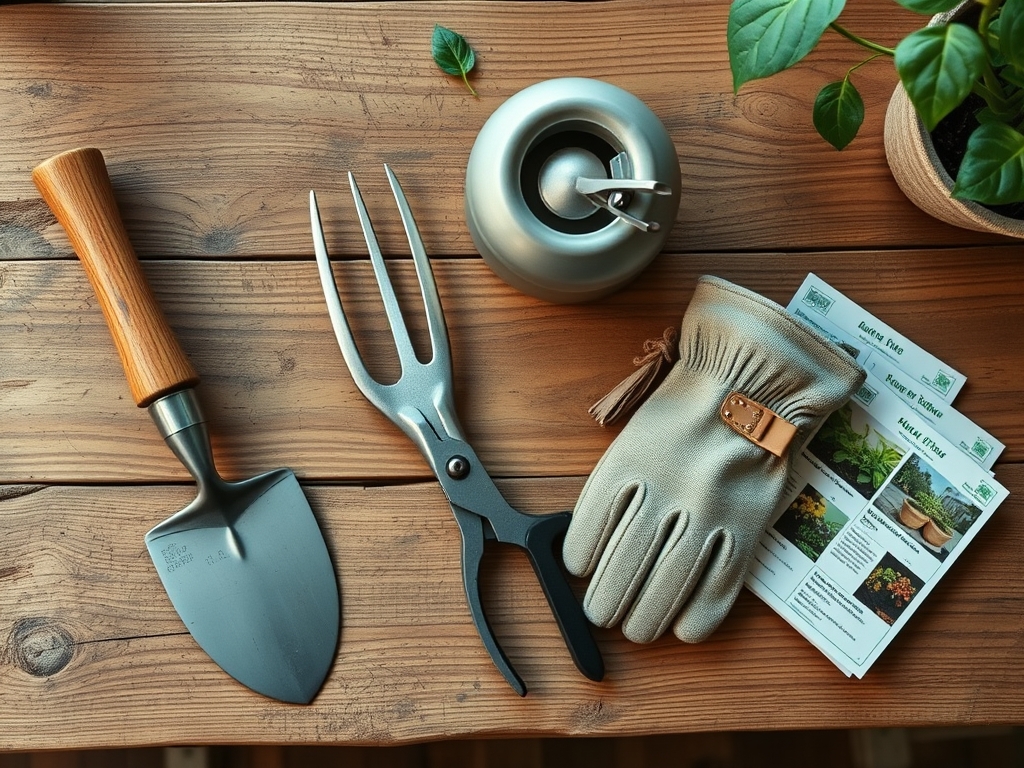
Select a brewing vessel rated for potable water, typically food-grade HDPE plastic or stainless steel, with capacity between 5 and 50 gallons. An aquarium air pump rated at 4 watts per gallon ensures dissolved oxygen remains above 6 ppm throughout the brew cycle. Use 2 feet of silicone airline tubing per gallon and a ceramic or weighted air stone to create fine bubbles.
For compost feedstock, source thermophilically processed material with a carbon-to-nitrogen ratio near 25:1 and a finished NPK analysis approximating 1-1-1. Vermicompost from Eisenia fetida worm bins offers higher concentrations of humic acids and plant growth-promoting rhizobacteria. Add 2 cups of compost per 5 gallons of dechlorinated water.
Microbial foods accelerate population growth. Unsulfured blackstrap molasses (NPK 1-0-5) feeds bacterial populations at 1 tablespoon per 5 gallons. Kelp meal (NPK 1-0.1-2) supports fungal hyphae and supplies cytokinins and auxins. Fish hydrolysate (NPK 4-1-1) provides amino acids and increases actinomycete populations. Avoid chlorinated municipal water; let it sit uncovered for 24 hours or use an activated carbon filter to remove residual chlorine and chloramine, both of which disrupt microbial cell membranes.
Timing
Brew compost tea when soil temperatures exceed 50°F and root systems actively uptake nutrients. In USDA Hardiness Zones 3 through 5, begin brewing two weeks after the last frost date, typically mid-May through early June. Zones 6 through 8 can start in mid-April. Zones 9 through 11 maintain suitable brewing conditions year-round but benefit most during vegetative growth surges in early spring and late summer.
Apply tea within 4 hours of brewing completion. Microbial populations peak at 24 hours, then decline as dissolved oxygen drops and anaerobic species proliferate. Schedule brews to match irrigation windows. Early morning application allows microbial colonization before UV radiation peaks at midday.
Phases

Preparation Phase: Sanitize the brewer with a 3% hydrogen peroxide solution. Rinse thoroughly. Fill with non-chlorinated water at 65 to 75°F, the optimal range for mesophilic bacteria. Install air stones and confirm bubble size stays below 50 microns for maximum oxygen transfer efficiency. Add compost inside a 400-micron mesh bag to prevent particulate clogging in spray equipment.
Pro-Tip: Pre-charge the compost with mycorrhizal inoculant (Glomus intraradices or Rhizophagus irregularis) at 1 teaspoon per cup of compost 12 hours before brewing to amplify fungal propagule density by 300%.
Brewing Phase: Introduce molasses and other microbial foods. Maintain continuous aeration for 24 to 36 hours. Monitor dissolved oxygen with a meter; readings below 5 ppm signal insufficient aeration or excessive organic load. Water temperature should remain stable within 2 degrees. A sudden foam layer indicates bacterial bloom, expected between hours 18 and 24. The tea will shift from earthy brown to a lighter tan with a yeasty, slightly sweet aroma.
Pro-Tip: Add soluble kelp extract at hour 20 to stimulate fungal sporulation. This timing aligns with peak bacterial populations and minimizes nutrient lockup in microbial biomass.
Application Phase: Dilute finished tea 1:4 with water for foliar feeding or apply undiluted as a soil drench. Use a backpack sprayer with a 50-mesh filter or watering can for immediate application. Target 1 gallon of tea per 100 square feet of soil surface. For foliar application, coat leaf surfaces until runoff occurs, focusing on lower stomata-dense regions. Apply at dawn when stomata open and evapotranspiration rates stay low.
Pro-Tip: Incorporate humid acid concentrate at 1 ounce per 5 gallons during application to improve cation exchange capacity and chelate micronutrients, increasing iron and manganese availability by 40%.
Troubleshooting
Symptom: Foul sulfur or ammonia odor.
Solution: Anaerobic conditions developed. Dissolved oxygen dropped below 2 ppm. Discard the batch. Increase aeration capacity by 50% or reduce compost load to 1.5 cups per 5 gallons.
Symptom: Thick scum layer and no bubbles visible.
Solution: Air stone clogged with biofilm. Remove and scrub with a stiff brush under hot water. Replace air stones every 15 brew cycles.
Symptom: Tea remains dark brown with low foam after 36 hours.
Solution: Insufficient microbial foods or cold water temperature. Raise water temperature to 70°F and add 1 additional tablespoon of molasses. Extend brew to 48 hours maximum.
Symptom: White filamentous strands in finished tea.
Solution: Fungal hyphae overgrowth, typical with kelp-heavy recipes. This is desirable for fungal-dominated teas. Strain through 200-micron filter before foliar use to prevent nozzle clogs.
Symptom: Plant leaves show tip burn three days post-application.
Solution: Excessive nitrogen from over-concentrated fish hydrolysate or undiluted tea. Flush soil with 2 inches of water and dilute future batches to 1:8 for sensitive annuals.
Maintenance
Clean the brewer after each use with a soft sponge and unscented dish soap. Rinse three times. Once monthly, soak all components in a 10% white vinegar solution for 30 minutes to dissolve mineral scale and biofilm. Inspect tubing for cracks or opacity; replace every 40 brew cycles. Store air pumps in a dry location to prevent diaphragm degradation.
Replace air stones when bubble size exceeds 100 microns or output volume drops by 30%. Test pumps quarterly by measuring airflow with a flow meter; output should stay within 10% of rated capacity. Inspect check valves for backflow; water intrusion destroys pump motors.
Run a blank brew (water and molasses only, no compost) every tenth cycle to flush residual salts and verify microbial food dissolution rates. Store compost feedstock in breathable burlap sacks at 50 to 60% moisture content and temperatures below 70°F to preserve microbial viability.
FAQ
How long does brewed compost tea remain effective?
Peak microbial activity lasts 4 hours after brewing stops. Populations decline 50% every 2 hours as oxygen depletes. Apply immediately for maximum benefit.
Can I brew tea indoors?
Yes, but ensure adequate ventilation. Carbon dioxide from microbial respiration can accumulate in sealed spaces. Maintain air exchange of 0.5 room volumes per hour.
What is the ideal compost age for brewing?
Use compost cured for 60 to 90 days. Younger material contains unstable organic acids that inhibit beneficial species. Over-cured compost (beyond 180 days) has reduced microbial diversity.
Should I add compost tea to potting soil?
Yes. Drench container plants with undiluted tea every 14 days. Soilless media lack native microorganisms; tea inoculation improves nutrient cycling and root colonization by 60%.
Does water pH affect brewing?
Optimal pH ranges from 6.5 to 7.5. Below 6.0, bacterial growth slows. Above 8.0, ammonia toxicity increases. Adjust with citric acid or potassium bicarbonate before adding compost.