8 Steps to Build a Sturdy Garden Pond Bridge
Crossing water without fear requires solid footing and a structure that breathes with the landscape rather than fights it. Steps for building a garden bridge over a pond begin with understanding weight distribution across joists, the natural expansion of lumber exposed to moisture, and the engineering principles that separate a picturesque crossing from a maintenance headache. The morning you complete your bridge, you will stand at its center and feel only slight spring under your weight, no wobble, no creak that suggests imminent collapse.
Materials
Pressure-treated lumber rated for ground contact serves as the backbone. Southern yellow pine treated to 0.60 PCF retention resists rot for two decades when submerged bases meet water. Cedar offers natural resistance but costs 40% more per board foot and splits easier during fastener installation.
Concrete footings require Type II Portland cement mixed at 4:2:1 ratios with gravel and sand. Each pier footer should cure 28 days before bearing structural loads. Galvanized joist hangers rated for exterior use prevent lateral movement. Stainless steel lag bolts, 3/8 inch diameter and 6 inches long, secure beams to posts without the corrosion bloom that weakens connections within three seasons.
Composite decking eliminates splinters but requires ventilation underneath to prevent mold growth. Its coefficient of thermal expansion means a 12-foot span gains 1/4 inch length between winter lows and summer peaks. Spacing gaps at 1/8 inch accommodates this movement.
For soil stabilization around footings, apply dolomitic limestone at pH 6.5 to reduce acidity that accelerates metal corrosion. Mycorrhizal fungi inoculant mixed into backfill at 2 ounces per cubic foot improves drainage and root colonization if you plant ornamental grasses nearby for erosion control.
Timing
Construction windows align with Hardiness Zones and water table fluctuations. Zones 5 through 7 offer optimal building conditions between late April and mid-October when frost heave risk drops below 5% and concrete curing occurs above 50°F ambient temperature for seven consecutive days.
Late summer construction in Zones 8 through 10 avoids monsoon saturation that undermines footing placement. Check 30-year flood plain maps. A 100-year flood elevation mark should sit 18 inches below your bridge deck surface.
Winter construction risks concrete spalling when overnight temperatures dip below 40°F during the critical first week of curing. Use calcium chloride accelerators only as a last resort since they reduce final compressive strength by 12%.
Phases

Foundation Phase: Excavate footing holes to 42 inches depth in freeze-prone zones, extending below frost line by 6 inches. Set sono-tubes plumb using a 4-foot level checked on two perpendicular faces. Pour footings with 1-inch rebar cages tied at 8-inch intervals. Allow 21 days minimum cure time before loading.
Pro-Tip: Embed galvanized post anchors while concrete remains workable. Adjustable anchors compensate for up to 1.5 inches of misalignment during the beam installation phase.
Framing Phase: Cut 2×8 joists to span width plus 12 inches overhang on each bank. Space joists 16 inches on center for foot traffic, 12 inches for riding mower crossings. Install blocking between joists at mid-span to prevent lateral twist. Each joist must bear on solid blocking or a beam, never hanging free.
Treat all cut ends with copper naphthenate preservative applied at 0.06 pounds per cubic foot penetration. Factory-treated lumber loses protection where saws expose raw grain.
Pro-Tip: Crown joists upward. Sight down each board's edge and install the natural arch facing up. This pre-camber counteracts deflection under load, keeping the deck plane flat after three seasons of settling.
Decking Phase: Run boards perpendicular to traffic flow for maximum strength. Stagger end joints across at least three joists. Pre-drill holes 1/16 inch smaller than fastener diameter to prevent splits within 2 inches of board ends. Drive screws until flush, not countersunk. Over-driving compresses wood fibers and creates water pockets.
Pro-Tip: Apply penetrating oil finish within 48 hours of installation. Raw wood absorbs moisture unevenly during the first month, causing cup and twist. Two coats of tung oil at 24-hour intervals seal grain and stabilize dimensional movement.
Troubleshooting
Symptom: Deck boards cup upward at edges within first year.
Solution: Boards installed bark-side down trap moisture against joists. Remove, flip, and reinstall growth-ring side up. Increase airflow beneath bridge by trimming vegetation within 3 feet of structure.
Symptom: Lag bolts loosen annually despite retightening.
Solution: Wood compression around fasteners creates gaps. Replace with through-bolts and washers large enough to span 3 inches. Torque nuts to 45 foot-pounds, checking with calibrated wrench.
Symptom: Green algae colonizes shaded deck surfaces.
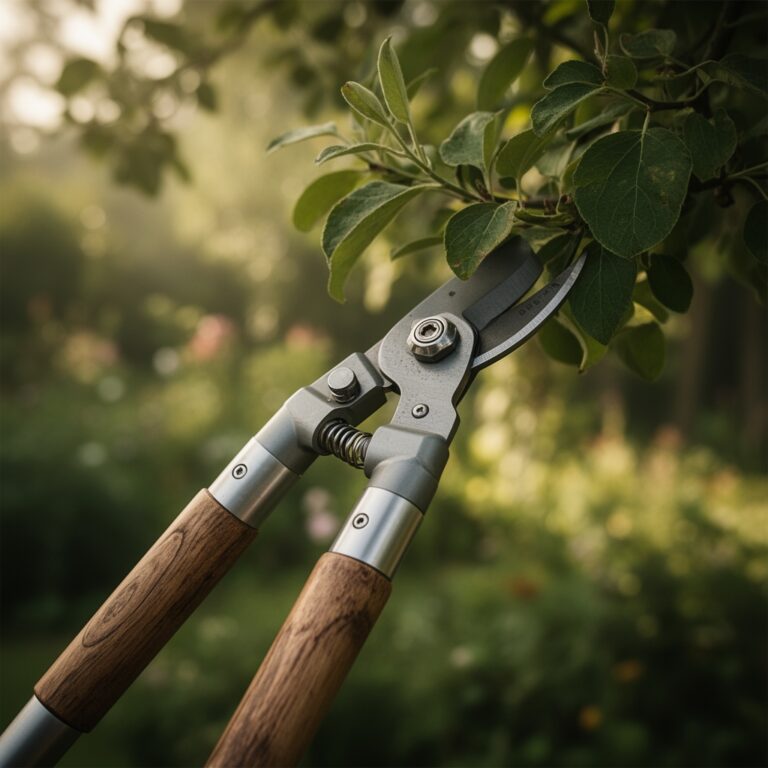
Solution: Zinc sulfate solution at 1 pound per 5 gallons water kills algae without harming fish. Scrub surface with stiff brush after 20-minute dwell time. Improve sunlight penetration by pruning overhanging branches to allow 4 hours direct light daily.
Symptom: Posts lean 2 degrees off vertical after winter.
Solution: Frost jacking lifted footings unevenly. Jack bridge, excavate beneath leaning footing, and pour 6-inch concrete pad extension. Reset post anchor level.
Symptom: Handrail wobbles despite secure mounting.
Solution: Rail posts spaced over 4 feet apart flex under lateral load. Add intermediate posts at 48-inch maximum spacing. Through-bolt each post with two 1/2-inch bolts offset vertically by 4 inches.
Maintenance
Inspect fasteners every April. Retighten any bolt showing more than 1/4 turn of play. Apply penetrating oil annually to maintain moisture barrier. Sweep debris monthly to prevent organic matter decay that holds moisture against wood.
Check footings for settling by stretching string lines between posts. Any deviation beyond 1/4 inch over 8 feet requires shimming or footing repair. Replace boards showing soft spots detected by ice pick probe penetrating more than 1/4 inch.
Clear vegetation within 2-foot radius of each footing to reduce moisture retention and carpenter ant habitat. Trim aquatic plants growing against submerged beams to maintain 6-inch clearance for water flow and visual inspection access.
FAQ
How wide should a pond bridge be?
36 inches minimum for foot traffic, 48 inches for wheelchair access, 60 inches for garden cart or mower passage.
What span length requires center support piers?
Spans exceeding 8 feet with 2×8 joists or 12 feet with 2×10 joists need mid-span piers to prevent excessive deflection.
Do bridges need railings?
Railings become necessary when deck height exceeds 30 inches above water or ground level, per residential building codes in most jurisdictions.
Can I build directly on pond banks?
No. Footings must sit on undisturbed soil or engineered fill, never loose bank material prone to erosion and settling.
How much weight can a garden bridge hold?
Properly constructed bridges with joists at 16-inch spacing support 40 pounds per square foot live load plus 10 pounds dead load.