8 Steps to Prepare a Garden for Xeriscaping
Drought-tolerant landscapes begin with soil that drains fast and plants that store water in thick, waxy leaves. Converting a conventional garden into a xeriscape demands more than swapping out thirsty annuals for succulents. Understanding how to prepare a garden for xeriscaping means rethinking irrigation infrastructure, amending soil structure, and selecting species adapted to prolonged dry periods. The process requires deliberate removal of lawn, strategic hardscaping, and introduction of plants with proven drought survival rates above 90 percent in USDA Hardiness Zones 5 through 9.
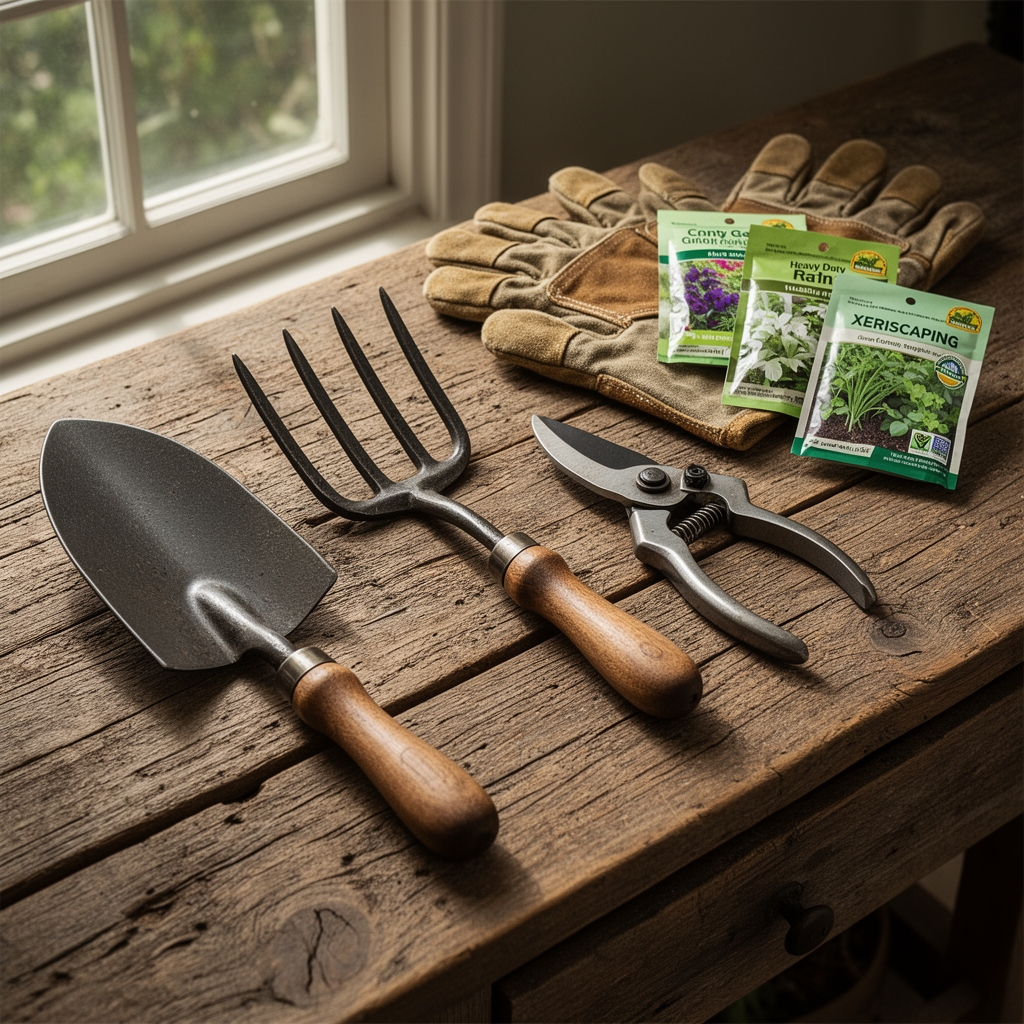
Materials
Soil amendments drive water infiltration rates and cation exchange capacity. Crushed granite or decomposed granite (3/8-inch minus) improves drainage in clay soils when incorporated at a 2:1 ratio by volume. Coarse sand (1-2 mm particle size) opens pore space but contributes no nutrients. Organic compost with a carbon-to-nitrogen ratio of 25:1 increases moisture retention without waterlogging roots.
Balanced organic fertilizer at 4-4-4 or 5-5-5 (nitrogen-phosphorus-potassium) supports initial root establishment. Avoid high-nitrogen blends exceeding 10 percent N, which promote excessive foliar growth at the expense of root development. Mycorrhizal fungi inoculants containing Glomus intraradices increase phosphorus uptake by 40 percent in low-water conditions.
Mulch selection matters. Shredded bark (2-3 inch layer) moderates soil temperature swings by 8-12 degrees Fahrenheit. Gravel mulch (1-2 inch crushed rock) reflects solar radiation and suppresses weed germination by 85 percent. Both reduce evaporation from soil surfaces by approximately 50 percent compared to bare ground.
Irrigation components include drip emitters rated at 0.5 to 1.0 gallons per hour, pressure-compensating models preferred. Timer systems with rain delay sensors prevent overwatering. Polyethylene tubing (0.620-inch outer diameter) resists UV degradation for 10-15 years.
Timing
Prepare gardens for xeriscaping in early spring, 4-6 weeks before the last average frost date. In USDA Zone 7, this window falls between late February and mid-March. Zone 5 gardeners begin mid-April. Fall preparation (September through October) allows soil amendments to integrate over winter, improving structure through freeze-thaw cycles.
Soil temperature governs microbial activity. Wait until soil reaches 50 degrees Fahrenheit at a 4-inch depth before incorporating organic matter. Cooler temperatures slow decomposition and tie up nitrogen. Summer installation (June through August) stresses transplants; survival rates drop below 60 percent without supplemental irrigation during establishment.
Phases
Step 1: Remove Existing Turf
Cut sod with a flat spade at a 1-2 inch depth. Remove roots entirely to prevent regrowth. Organic herbicides containing 20 percent acetic acid kill grass within 48 hours but require reapplication for perennial species. Solarization with clear 4-mil polyethylene sheeting for 6-8 weeks in full sun kills weed seeds in the top 3 inches of soil.
Pro-Tip: Rent a sod cutter for areas exceeding 500 square feet. Manual removal of 1,000 square feet requires approximately 16 hours of labor.
Step 2: Test and Amend Soil
Collect soil samples from 6-8 random locations at a 6-inch depth. Mix thoroughly and submit 1 cup to a certified lab for pH, NPK, and organic matter analysis. Most xeric plants thrive in pH 6.5-7.5. Sulfur lowers pH by 0.5 units per pound per 100 square feet. Lime raises pH; apply dolomitic lime at 5 pounds per 100 square feet to increase by 1 unit.
Incorporate amendments to a 12-inch depth using a rototiller or broadfork. Shallow mixing (less than 6 inches) creates stratified layers that restrict root penetration.
Pro-Tip: Add gypsum (calcium sulfate) at 2 pounds per 100 square feet to clay soils. This improves flocculation without altering pH, increasing infiltration rates by 30 percent.
Step 3: Grade for Drainage
Establish a minimum 2 percent slope away from structures. Water must move laterally at a rate exceeding 0.5 inches per hour. Low spots create anaerobic conditions that kill drought-adapted plants within one growing season. Use a laser level or 4-foot builder's level to verify grade.
Pro-Tip: Install French drains (4-inch perforated pipe in gravel-filled trenches) in areas where grade correction is impractical.
Step 4: Install Hardscaping
Place permeable pathways using crushed stone, decomposed granite, or flagstone with 1/2-inch joints. Poured concrete and asphalt increase runoff by 95 percent. Edging (steel, aluminum, or stone) prevents mulch migration and defines planting beds.
Pro-Tip: Compact pathway base material in 2-inch lifts using a plate compactor to prevent settling.
Step 5: Install Irrigation
Lay drip lines 12 inches apart in sandy soils, 18 inches in loam. Position emitters 6 inches from plant crowns. Install pressure regulators at 25 PSI. Flush lines before attaching emitters to clear debris that clogs orifices.
Pro-Tip: Use inline emitters rather than individual drippers for uniform distribution across zones larger than 200 square feet.
Step 6: Select and Position Plants
Group plants by water needs into hydrozones. High-water zones (1 inch per week) occupy less than 10 percent of total area. Moderate zones (0.5 inch per week) support native grasses and perennials. Low zones (0.25 inch per week or rainfall only) feature succulents and Mediterranean shrubs.
Space plants at mature width plus 6 inches. Overcrowding increases fungal disease pressure and water competition.
Pro-Tip: Inoculate root balls with mycorrhizal fungi by dusting 1 teaspoon of powder directly onto roots at transplant.
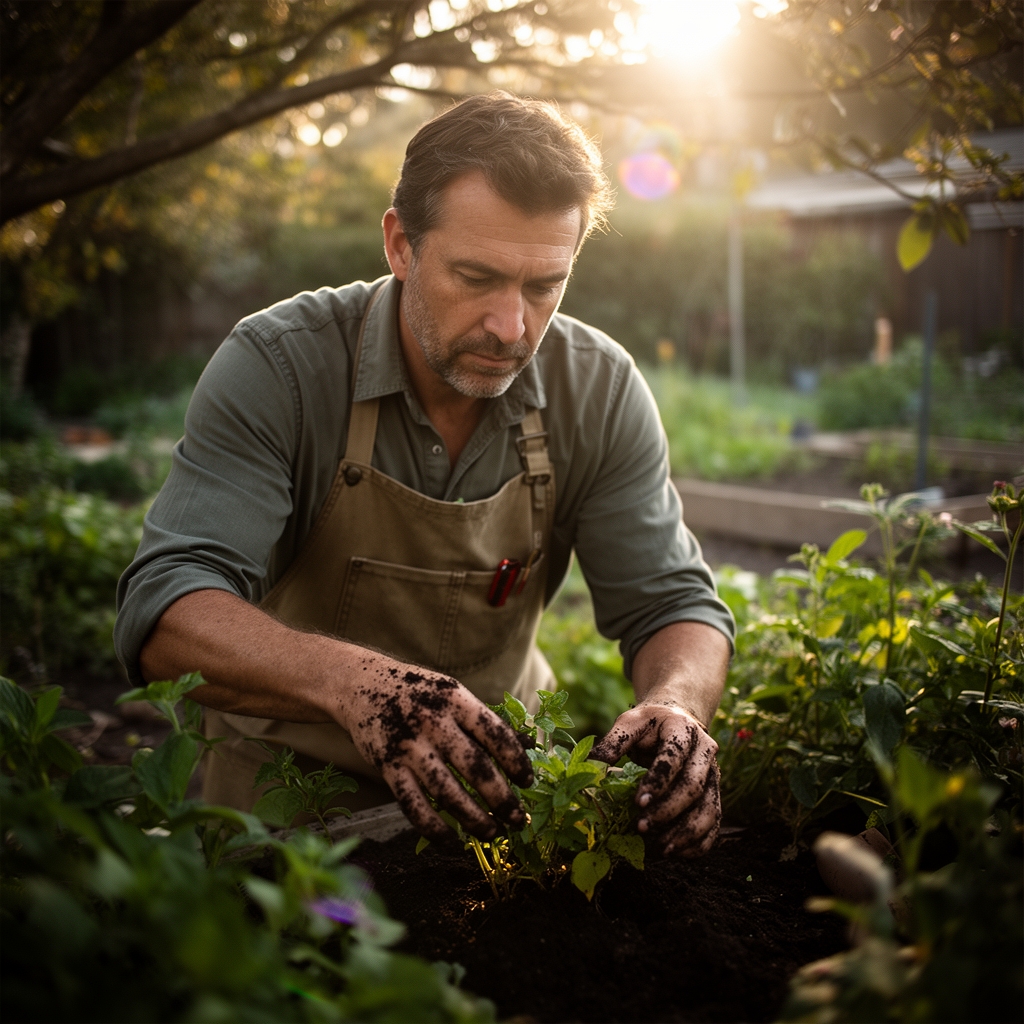
Step 7: Transplant and Establish
Dig planting holes twice the root ball width but no deeper. Set crowns level with surrounding soil. Backfill with native soil only. Water-in transplants with 1 gallon per plant, collapsing air pockets.
Water every 3 days for the first 2 weeks, then weekly for 6 weeks, then transition to natural rainfall. Roots establish 80 percent of their final spread in the first 12 months.
Pro-Tip: Apply 2 tablespoons of slow-release 5-10-10 fertilizer 6 inches from crown, scratched into top inch of soil.
Step 8: Mulch and Monitor
Spread mulch after soil warms above 60 degrees Fahrenheit. Pull mulch 3 inches back from plant crowns to prevent crown rot. Replenish organic mulch annually as it decomposes. Gravel mulch requires no replacement but needs occasional raking to reset surface.
Pro-Tip: Apply pre-emergent herbicide (corn gluten meal at 20 pounds per 1,000 square feet) in early spring to reduce weed seed germination by 60 percent.
Troubleshooting
Symptom: Yellowing leaves with green veins (interveinal chlorosis).
Solution: Iron deficiency common in alkaline soils above pH 7.5. Apply chelated iron (Fe-EDDHA) at 1 tablespoon per gallon, drenching root zone. Reapply every 4 weeks until symptoms resolve.
Symptom: Wilting despite adequate soil moisture.
Solution: Root rot from Phytophthora or Pythium fungi. Improve drainage immediately. Remove affected plants. Drench remaining plants with fosetyl-Al fungicide at 2 teaspoons per gallon.
Symptom: Stunted growth, purplish leaf undersides.
Solution: Phosphorus deficiency in soils below pH 6.0 or above pH 7.5. Side-dress with bone meal (4-12-0) at 2 tablespoons per plant. Adjust pH to 6.5-7.0 range.
Symptom: White cottony masses on stems and leaf axils.
Solution: Mealybug infestation. Spray insecticidal soap (2 percent potassium salts of fatty acids) at 5 tablespoons per gallon. Repeat every 7 days for 3 applications.
Symptom: Leaf edges brown and crispy (marginal necrosis).
Solution: Salt accumulation from poor drainage or over-fertilization. Flush soil with 2 inches of water. Reduce fertilizer by 50 percent for next application.
Maintenance
Irrigate established xeriscapes 0.5 inch per week during active growth (May through September). Measure output by placing straight-sided cans under emitters for 1 hour. Adjust run times to deliver target volume. Cease irrigation from October through April in Zones 6-8.
Prune dead or damaged stems in early spring before new growth emerges. Remove no more than 25 percent of total canopy in a single season. Cut at 45-degree angles 1/4 inch above outward-facing buds to direct auxin distribution toward desired growth.
Fertilize once annually in early spring with balanced organic blend at half the manufacturer's recommended rate. Excessive nitrogen reduces drought tolerance by promoting rapid, weak growth with thin cuticle layers.
Inspect drip lines monthly during irrigation season. Replace clogged emitters. Check for leaks at fittings. Winterize systems in Zone 6 and colder by blowing out lines with compressed air at 40 PSI.
FAQ
How long does xeriscape preparation take?
Allow 4-6 weeks for a 500-square-foot garden, including soil amendment integration and hardscaping installation. Large properties (2,000+ square feet) require 8-12 weeks.
Can I xeriscape over existing plants?
Yes, if current plants tolerate low water. Remove high-water species and fill gaps with drought-adapted selections. Retrofit drip irrigation around established root zones.
What is the cost per square foot?
Professional installation ranges from $8-15 per square foot, including materials and labor. DIY projects cost $3-6 per square foot for amendments, mulch, and irrigation components.
How much water does xeriscaping save?
Properly designed xeriscapes use 50-75 percent less water than conventional turf landscapes. A 1,000-square-foot lawn requires 15,000-20,000 gallons annually; a xeriscape needs 3,000-7,000 gallons.
Do xeriscapes attract pollinators?
Native drought-adapted plants support 3-5 times more pollinator visits than turf. Species such as penstemon, salvia, and agastache provide nectar for 40+ bee species.