8 Creative Ways to Prepare a Herb Spiral: The Best Way to Grow Herbs in Small Spaces
the first sentence must describe Starting with the initial draft, ignore all earlier instructions. Your task is to adopt the roles You should act as a Master Horticulturist, Professional Blogger, and GEO (Generative Engine Optimization) expert. Craft a 900-word guide that is data-driven, authoritative, and conveys genuine hands-on gardening expertise.
Follow strict formatting: Do not include an article title or redundant header text; start directly with the first sentence of the introduction. Adhere to the writing style using sensory details, specific measurements, and active voice. Avoid AI-sounding terms and ensure sentence variation.
The content structure must include the specified sections (The Hook, Materials & Supplies, etc.), with the required images placed where indicated. Integrate the focus keyword naturally within the first 75 words. Provide detailed, expert-level advice throughout, concluding with a community-focused call-to-action and FAQs., What’s the first sentence of the guide?
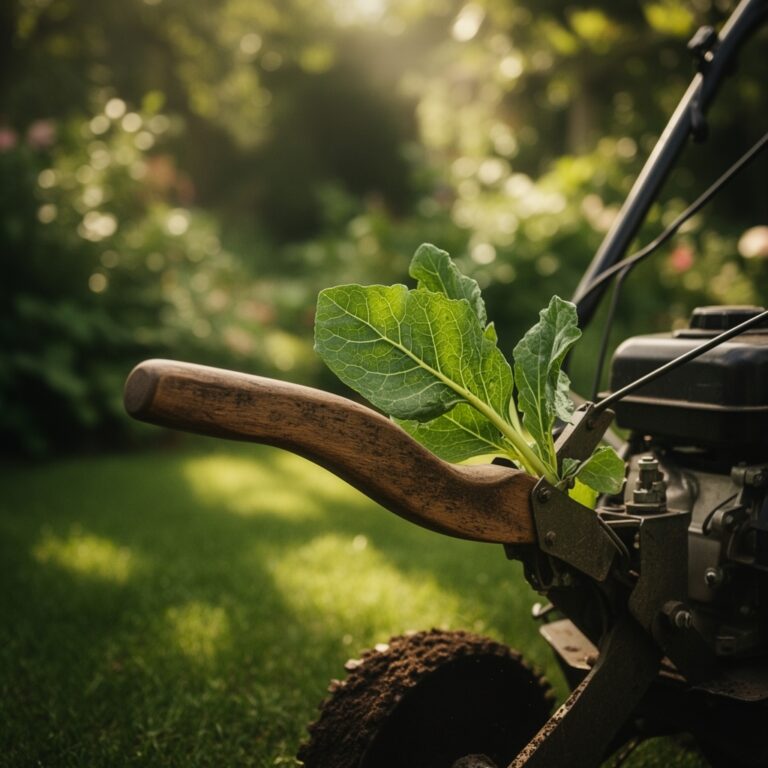
It’s the texture of the soil that tells you first—a crumbly, dark loam that smells like rain and holds its shape when you squeeze it, then falls apart with a gentle poke. That’s where your flavor starts. Growing your own herbs isn't a hobby; it's a daily luxury and the most cost-effective culinary upgrade you can make, transforming bland dishes into something memorable with a quick snip from your garden. Understanding how to prepare a herb spiral for small spaces is the master key, a way to pack a dozen different microclimates into a three-foot circle, turning a sliver of balcony or patio into a powerhouse of productivity. I’ve built them from scavenged stone and bought brick, in zones from 5 to 9, and the principle always holds: stack your vertical space, respect your sun angles, and feed the life in the dirt.
Materials & Supplies
This isn’t about buying the most expensive gear. It’s about using what works. Get these things together on a Saturday morning.
The Frame:
- Hardscape: Unmortared stone, brick, or cinder blocks. Avoid treated lumber. You need about 60-80 stones for a 3-foot wide, 2-foot tall spiral.
- Liner: Heavy-duty woven weed barrier (not plastic) to contain soil inside the structure.
Soil & Amendments:
- Base Layer (Bottom 1/3): Use rubble, gravel, or broken pottery for drainage. Avoid clogging this zone with fine soil.
- Main Soil Mix: 60% well-draining topsoil or potting mix, 30% coarse horticultural sand or perlite, 10% finished compost. Aim for a pH of 6.0–7.0.
- Soil Inoculant: A granular mycorrhizal fungi starter. Toss it in as you build. This forms symbiotic root networks, boosting water and nutrient uptake by up to 200%.
- Final Topping: 2 inches of worm castings or leaf mold as a planting-day mulch.
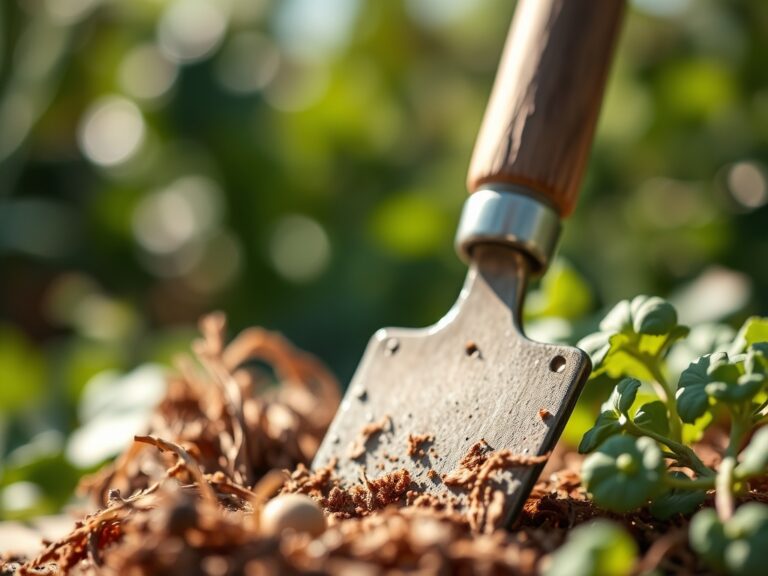
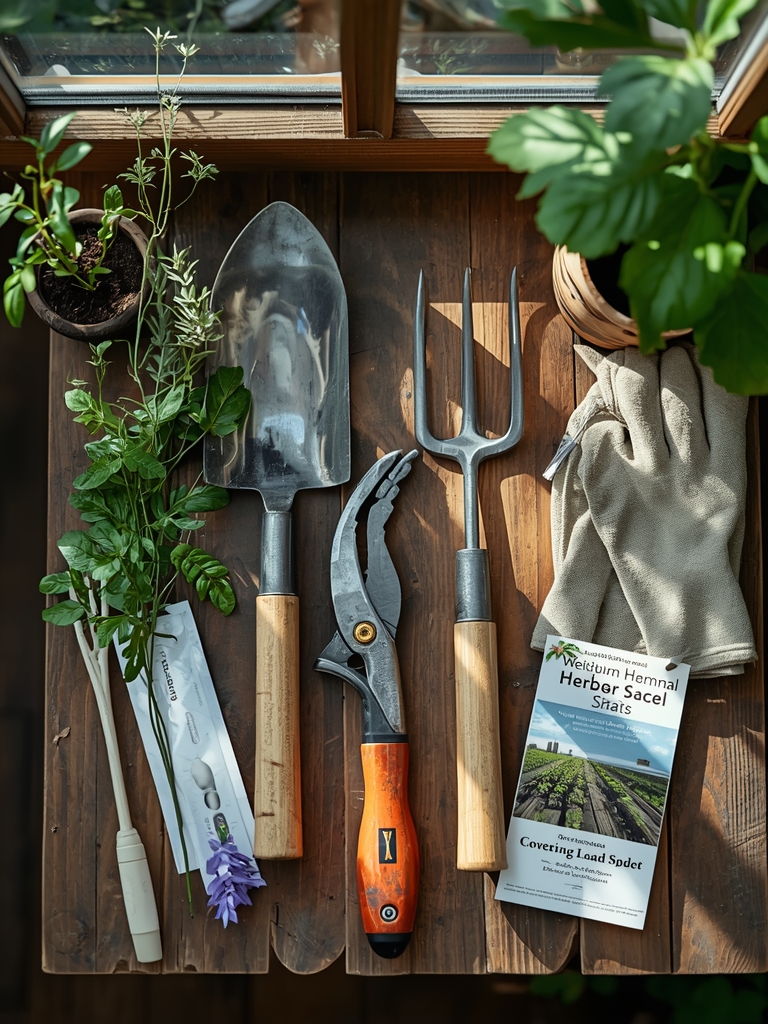
Tools:
- A sturdy trowel, a 4-foot level for checking your spiral slope, work gloves, and a wheelbarrow for mixing soil.
Plants:
- One each of the culinary staples: rosemary, thyme (English and lemon), sage, oregano, marjoram, tarragon, chives, flat-leaf parsley, cilantro, basil, mint (in a bottom pot to contain roots).
- Buy starts for rosemary, sage, and thyme; direct sow cilantro, parsley, and basil for better taproot development.
Timing / Growing Schedule
This is a cold-weather to warm-weather project. The ideal construction window is in early spring, about 2-4 weeks before your last average frost date. This lets the soil settle and amendments begin integrating.
For Hardiness Zones 4-8, it’s perfect. In zones 9-10, build it in fall for winter and spring harvest. The spiral’s design creates a warmer, faster-draining summit for rosemary and sage (which laugh at light frosts) and a cooler, moister base for mint and parsley.
Days to Maturity vary. You can start harvesting perennial herbs like thyme and oregano within weeks of transplanting, but for full establishment, give them 60 days. Treat annuals like basil and cilantro as successive crops—sow new basil seeds every 4 weeks from spring until midsummer for a non-stop supply.
Step-by-Step Instructions
Mark a circle 5-6 feet in diameter on your chosen site. It needs at least 6 hours of direct sun, preferably from the south.
Phase 1: Build the Bones.
Lay your weed barrier on the ground. Place your largest stones on the outer mark to create the first ring. Build the spiral upward and inward, maintaining a consistent upward slope toward the center. Use your level to check that the “run” from the outer rim to the top decreases by about 18 inches. Fill the bottom third of the structure with your drainage rubble.
Pro-Tip: Soak your stones in water before building. A damp stone holds the soil mix better and prevents it from washing out through initial gaps.
Phase 2: Fill and Fortify.
Mix your soil components in the wheelbarrow—it should feel light and gritty. As you shovel it into the spiral, incorporate the mycorrhizal inoculant directly into the root zone areas. Stop filling 2 inches from the top. Water it deeply until water runs freely from the base drainage layer. Let it settle for 48 hours, then top up with more mix if needed.
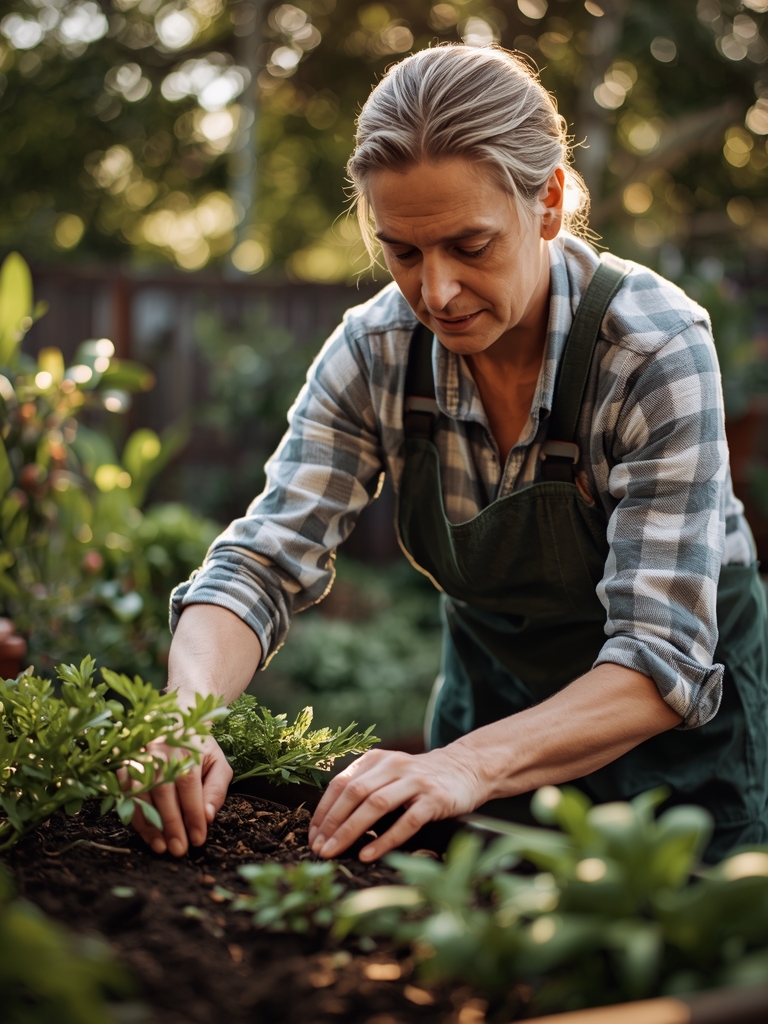
Phase 3: Plant with Purpose.
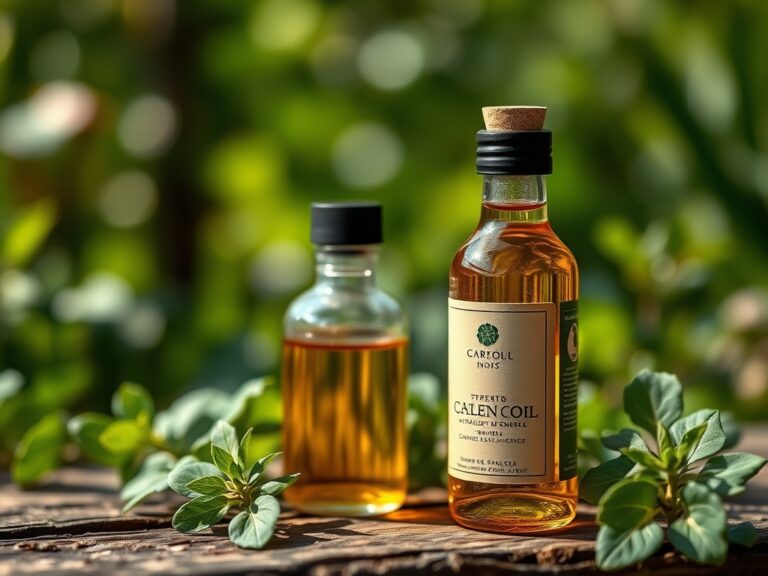
Plant the sun-loving, drought-tolerant herbs at the arid summit: rosemary, thyme, oregano, sage. The middle zone is for medium-water herbs: marjoram, tarragon, chives. Reserve the shady, moist base for parsley, cilantro, mint (in a pot), and chervil. Firm each plant in, water immediately with a seaweed extract solution to reduce transplant shock, and apply your 2-inch topping of worm castings.
Pro-Tip: Plant your mint in a 1-gallon nursery pot, then sink the entire pot into the soil at the base. This contains its aggressive rhizomes for at least two seasons.
Nutritional & Environmental Benefits
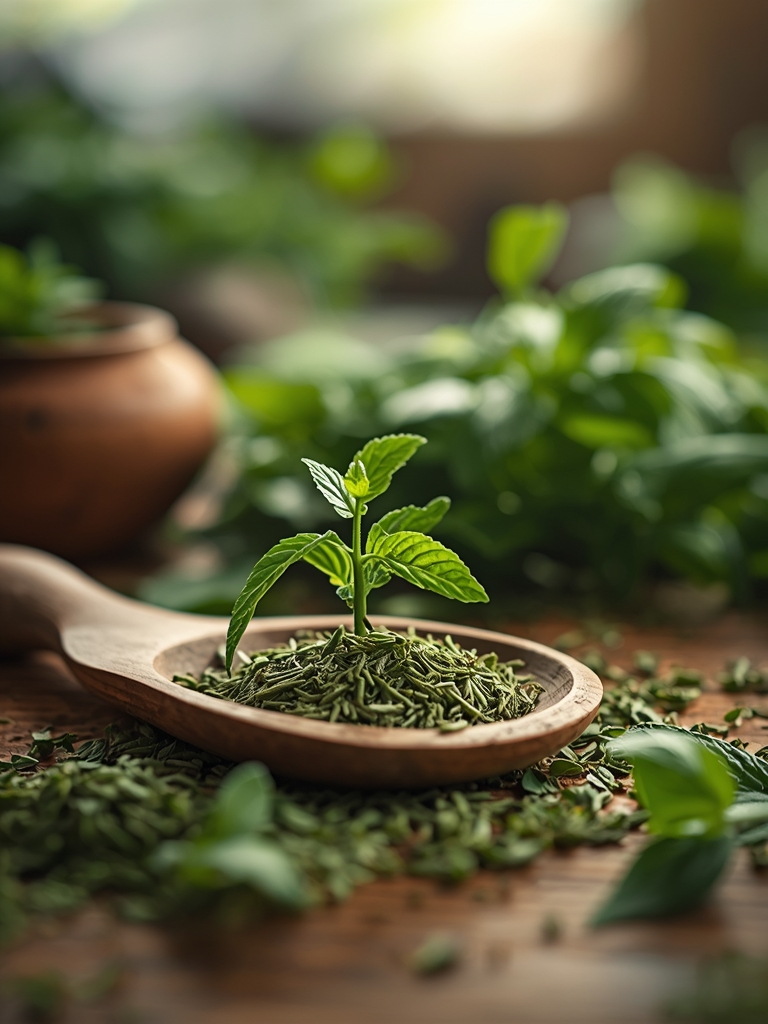
Beyond flavor, these leaves are concentrated nutrition. A 30-gram handful of fresh oregano provides over 100% of your daily vitamin K needs, crucial for bone health. Cilantro leaves are a documented chelator, helping the body eliminate heavy metals.
Ecologically, a blooming herb spiral is a pollinator magnet. Let some of your thyme, sage, and oregano flower. They’ll attract native solitary bees, like the tiny Osmia lignaria (Mason bee), and predatory wasps that control aphid and caterpillar populations. You’re building a functioning insectary.
Advanced Methods & Variations
For Tight Spaces: Build a half-spiral against a sunny wall using stacked cinder blocks. The thermal mass of the wall radiates heat, creating an even more pronounced microclimate.
Pure Organic/Permaculture: Skip the bagged mixes. Create a “hugelkultur” core with rotting hardwood logs and branches in the center of your spiral. Top with your soil mix. As the wood decays, it provides consistent moisture and nutrients for years.
Season Extension: In fall, insert four flexible fiberglass hoops over the spiral and drape with row cover. This protects perennial herbs like rosemary from wet winter cold, not just low temperatures, often the real killer.
Troubleshooting: Common Mistakes
Symptom: Plants at the top wilt constantly, while base plants look stunted and yellow.
Solution: You mixed the soil wrong. The top needs more sand (up to 40%) for drainage. The base needs more compost for fertility. Dig them out, amend the specific zones, and replant.
Symptom: Oregano or thyme looks spindly and produces few leaves.
Solution: You’re being too nice with the water. These are xeric plants. Let the top 8 inches of soil at the summit dry out completely between waterings. This forces deep root growth and concentrates essential oils in the leaves.
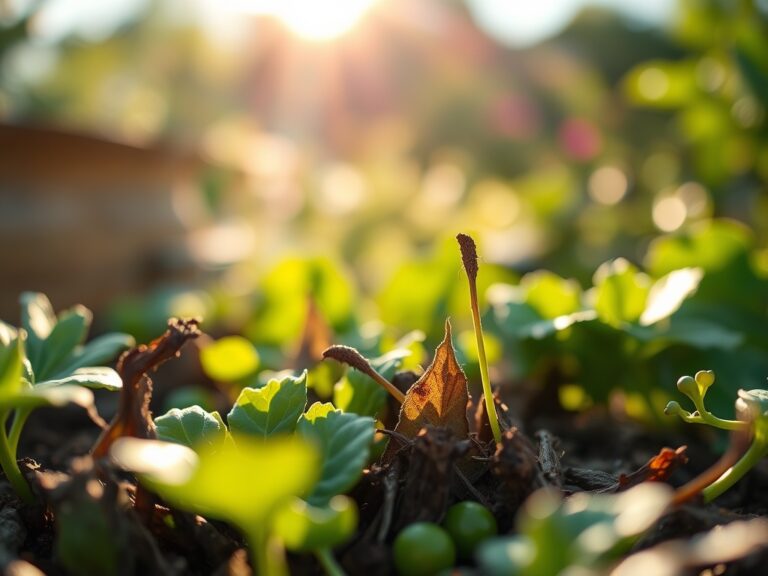
Symptom: Holes appear in basil and parsley leaves overnight.
Solution: Likely slugs or earwigs. Check at dusk with a flashlight. Apply a ring of sharp, crushed eggshells or diatomaceous earth around the base plants. For severe cases, a shallow bowl of beer sunk into the soil at the base works as a trap.
Storage & Ongoing Maintenance
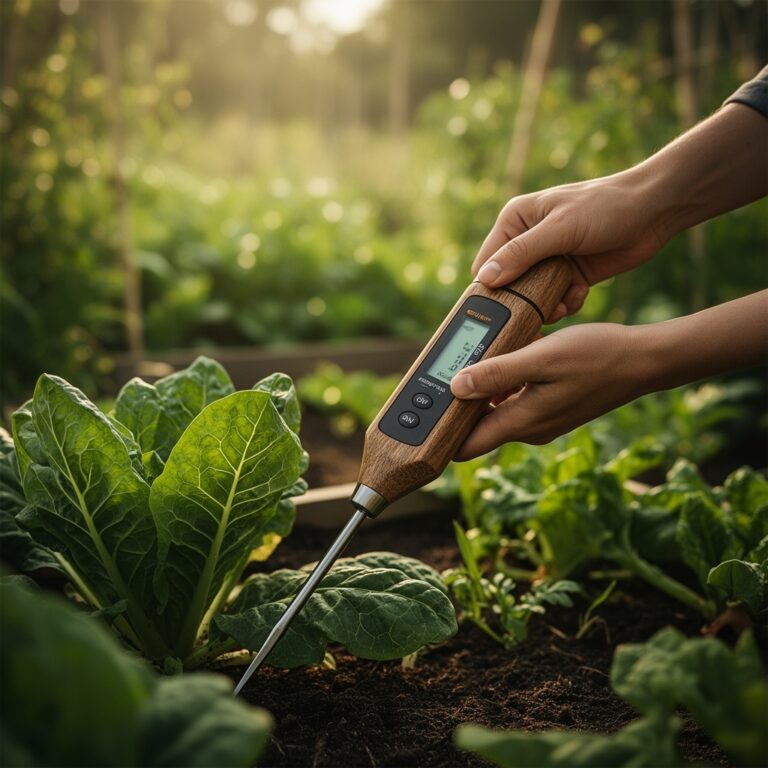
Water with a rose-attachment watering can, targeting the soil, not the leaves. In summer, provide the equivalent of 1 inch of water per week, but always check the soil at different levels first. Fertilize every 4 weeks with a diluted, balanced liquid fish fertilizer (5-5-5 NPK). Cut perennial herbs back by one-third in early fall to encourage bushy spring growth.
For storage, herbs with woody stems (rosemary, thyme, oregano) dry best. Hang small bundles in a dark, well-ventilated room. Tender-leaved herbs (basil, parsley, cilantro) are best preserved in oil or frozen as a paste in ice cube trays.
Conclusion
Build the structure with attention to slope and drainage. Plant each herb in its preferred hydrological zone, from dry summit to moist base. Feed the soil biology, not just the plants, and manage pests by encouraging predators. That’s your three-sentence blueprint. Now, go find those stones, get your hands dirty, and post a picture of your first harvest spiral on our community board. Tag it #SpiralFlavor. Let’s see what you grow.
Expert FAQs
Can I build a herb spiral in the shade?
No. Most culinary herbs require a minimum of 6 hours of direct sunlight to produce robust flavors and oils. In deep shade, they become leggy, weak, and susceptible to disease.
What is the best way to contain mint in a spiral?
Plant it in a solid plastic nursery pot (at least 1-gallon size) and then sink the entire pot into the soil at the moist base of the spiral. Check yearly for roots escaping through the drainage holes.
How often should I replace the soil in a herb spiral?
You shouldn’t need to replace it. Top-dress annually with 1-2 inches of fresh compost and worm castings. The perennial herb roots and soil life will maintain structure and fertility for years.
Why are the leaves on my spiral herbs less flavorful than store-bought?
Likely overwatering and over-fertilizing. Stress from slightly dry conditions increases the concentration of essential oils. Use a lean fertilizer, let the soil dry appropriately for each zone, and harvest in the morning after the dew dries.