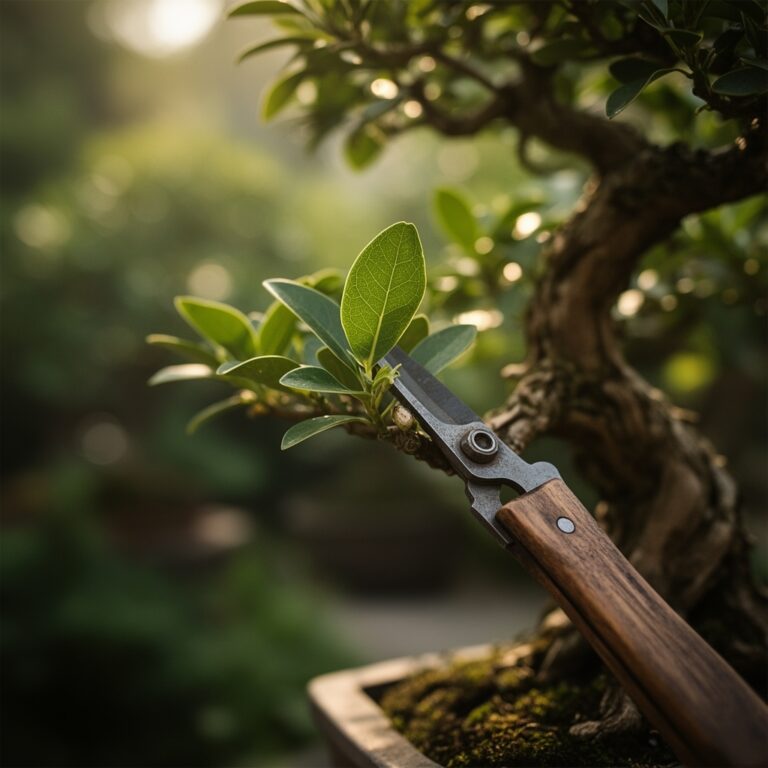
7 Airflow Tips to Use a Garden Pruner for Pruning
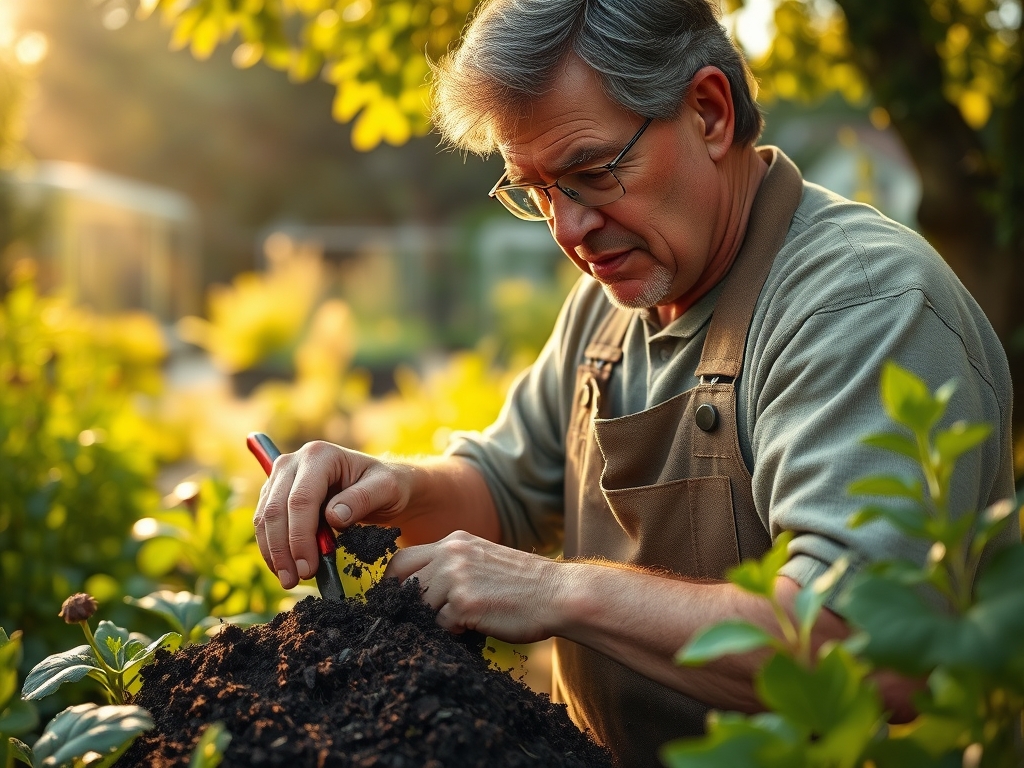
The smell of damp earth after a morning irrigation cycle signals the peak of metabolic activity within the rhizosphere. When you grasp a tomato stem, you should feel the firm turgor pressure of a plant fully hydrated and ready for structural management. Using a garden pruner for vegetable pruning is not merely an aesthetic choice; it is a calculated intervention in the plant's hydraulic and photosynthetic systems. By removing strategic foliage, you redirect the flow of auxins and carbohydrates toward developing fruit rather than redundant vegetative biomass. This process reduces the relative humidity within the canopy, effectively lowering the dew point on leaf surfaces where fungal pathogens germinate. A single bypass cut, executed at a 45 degree angle, can alter the trajectory of a plant's seasonal yield by maximizing light penetration to the lower nodes. Precision in these mechanical edits ensures that the vascular tissue remains intact, preventing the localized necrosis that often follows jagged or blunt tissue compression.
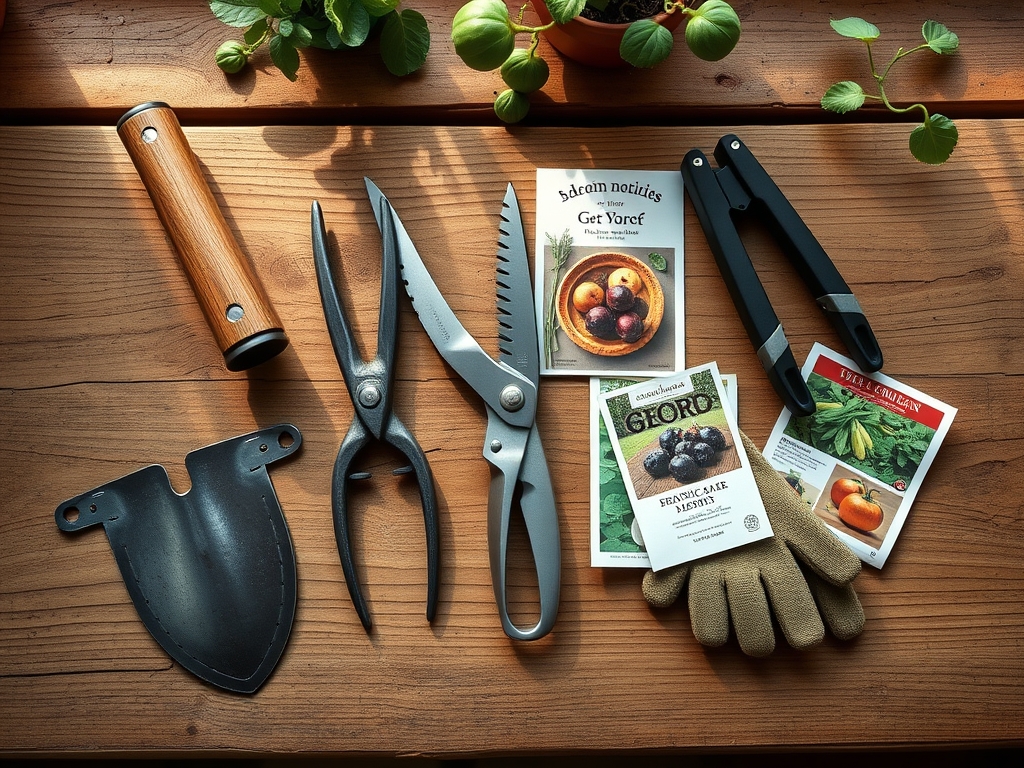
Materials:
Vegetable health begins with a substrate that possesses a high Cation Exchange Capacity (CEC), typically ranging from **15 to 25 meq/100g**. The ideal substrate is a friable loam with a soil pH maintained between **6.2 and 6.8** to ensure maximum bioavailability of micronutrients like manganese and iron. For heavy feeders like Solanaceae or Cucurbitaceae, the NPK ratio during the vegetative phase should favor nitrogen, such as a **10-5-5** formulation, to build the structural frame. Once the plant transitions to the reproductive stage, shift to a **5-10-10** or **4-12-12** ratio to prioritize phosphorus and potassium for fruit development. Ensure the soil contains at least **5 percent organic matter** to facilitate the movement of water and air through the pore spaces, preventing the anaerobic conditions that lead to root rot.
Timing:
Hardiness Zones dictate the window of opportunity for aggressive pruning. In Zones 5 through 7, the primary pruning window opens in late June and extends through mid August. You must monitor the frost-free dates; the final heavy pruning should occur at least four weeks before the first expected frost to allow the plant to seal its vascular wounds. The biological clock of the vegetable plant is governed by the photoperiod and thermal units. For indeterminate varieties, pruning must commence once the plant reaches 18 to 24 inches in height. This is the critical transition from the vegetative stage to the reproductive stage. Pruning during the heat of the day (above 85 degrees Fahrenheit) is discouraged as it increases transpiration stress; instead, execute cuts in the early morning when turgor pressure is at its peak.
Phases:
Sowing and Seedling Development
In the initial phase, focus on root architecture. Maintain a consistent soil temperature of 70 degrees Fahrenheit for optimal germination. Ensure the media is not overly saturated, as oxygen is required for cellular respiration in the emerging radicle.
Pro-Tip: Avoid early pruning of the cotyledons. These embryonic leaves provide the initial burst of energy required for the first true leaves to develop. Removing them prematurely disrupts the initial carbon fix, stalling the plant's growth curve.
Transplanting and Hardening Off
When moving plants to the field, ensure the root ball is intact. Use a hori-hori knife to slice through any circling roots in pot-bound starts. This mechanical disruption encourages lateral root branching into the surrounding soil matrix.
Pro-Tip: Apply a mycorrhizal inoculant during transplanting. This symbiotic relationship expands the root's effective surface area by up to 100 times, significantly increasing the uptake of immobile phosphorus through fungal hyphae.
Establishing and Structural Pruning
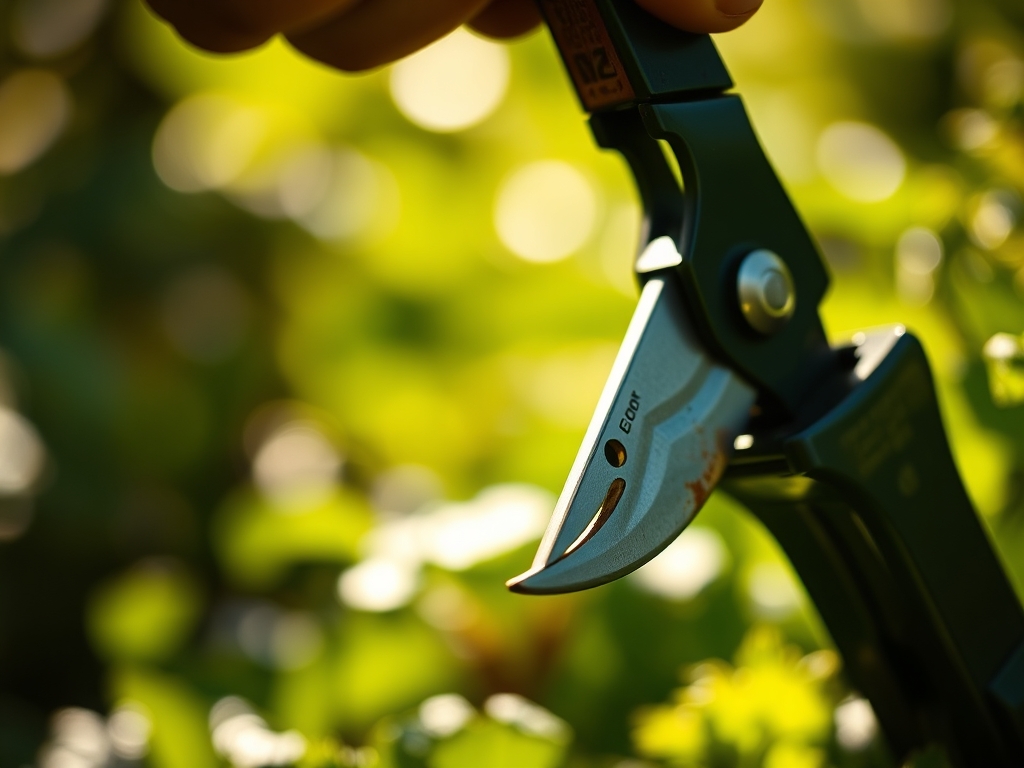
Once the plant is established, use a bypass pruner to remove "suckers" or axillary shoots. These emerge at the junction between the main stem and the leaf petiole. Removing these shoots focuses energy on the primary terminal bud.
Pro-Tip: This process utilizes auxin suppression. By removing the axillary buds, you maintain apical dominance, which forces the plant to allocate sugars to the fruit clusters rather than creating a dense, airless canopy that invites Botrytis cinerea.
The Clinic:
Physiological disorders often mimic infectious diseases but result from environmental or nutritional imbalances.
- Symptom: Blossom End Rot (dark, leathery spots on fruit base).
Solution: This is a calcium transport issue, often caused by erratic watering rather than a soil deficiency. Maintain consistent soil moisture to ensure calcium moves through the xylem. - Symptom: Leaf Roll (upward curling of older leaves).
Solution: This is often a physiological response to excessive heat or high light intensity. Provide temporary shade or increase irrigation to maintain turgor. - Symptom: Nitrogen Chlorosis (yellowing of older, lower leaves).
Solution: Apply a water-soluble fertilizer with a high nitrogen count. Nitrogen is a mobile nutrient; the plant scavenges it from old growth to support new terminal expansion. - Symptom: Interveinal Chlorosis (yellowing between green veins).
Solution: This typically indicates a Magnesium deficiency. Apply a foliar spray of Epsom salts (magnesium sulfate) at a rate of one tablespoon per gallon of water for rapid absorption.
Maintenance:
Precision maintenance requires data. Use a soil moisture meter to ensure the root zone receives exactly 1.5 inches of water per week, delivered at the drip line to avoid wetting the foliage. Overhead irrigation should be avoided as it promotes the spread of bacterial speck and blight. Keep your bypass pruners sharp and sterilized with a 70 percent isopropyl alcohol solution between every plant to prevent cross-contamination of viral pathogens like Tobacco Mosaic Virus. For weeding near the base of delicate vegetables, use a hori-hori knife to extract taproots without disturbing the shallow lateral roots of your crop. Monitor the electrical conductivity (EC) of your soil if using synthetic fertilizers; an EC above 2.5 mS/cm can lead to salt burn and root desiccation.
The Yield:
Harvesting is the final stage of the pruning cycle. For peppers and eggplants, use your pruners to cut the pedicel rather than pulling the fruit, which can tear the main stem's epidermis. Harvest tomatoes when they reach the "breaker stage," which is when they are 30 to 50 percent colored. This prevents fruit cracking and reduces the risk of bird damage. For leafy greens, harvest in the pre-dawn hours when the leaves are most turgid. Post-harvest, immediately submerge produce in 40 degree Fahrenheit water to remove field heat. This process, known as hydro-cooling, slows down cellular senescence and preserves the crisp texture and nutritional density of the vegetable for maximum shelf life.
FAQ:
How do I stop my tomato plants from getting too bushy?
Use a garden pruner for vegetable pruning to remove all suckers below the first fruit cluster. This increases airflow and redirects energy to fruit production. Maintain a single or double leader system for maximum efficiency.
When is the best time of day to prune vegetables?
Prune in the early morning after the dew has evaporated but before the heat of the day. This ensures the plant has high turgor pressure to seal wounds quickly without excessive moisture loss.
Can I prune vegetables during the flowering stage?
Yes, but focus only on removing non-fruiting lateral branches and yellowing lower leaves. Excessive pruning during flowering can trigger a stress response, causing the plant to drop its blossoms and reducing your total yield.
How do I prevent disease when using pruners?
Sterilize your blades with 70 percent isopropyl alcohol or a 10 percent bleach solution between every plant. This prevents the mechanical transmission of soil-borne pathogens and systemic viruses through the open vascular cuts.