7 Steps to Prepare a Grow Room with Proper Airflow
Learning how to prepare a grow room with ventilation begins the moment you recognize that stagnant air is the enemy of robust plant metabolism. Indoor cultivation demands engineered air movement that mimics the natural tropospheric churn outside. Without calculated airflow, your canopy suffocates in its own transpired moisture, inviting fungal pathogens and stunting auxin distribution. A properly ventilated grow room sustains photosynthetic efficiency and regulates leaf-surface vapor pressure deficit within the 0.8 to 1.2 kPa range that research consistently identifies as optimal for vegetative growth.
Materials
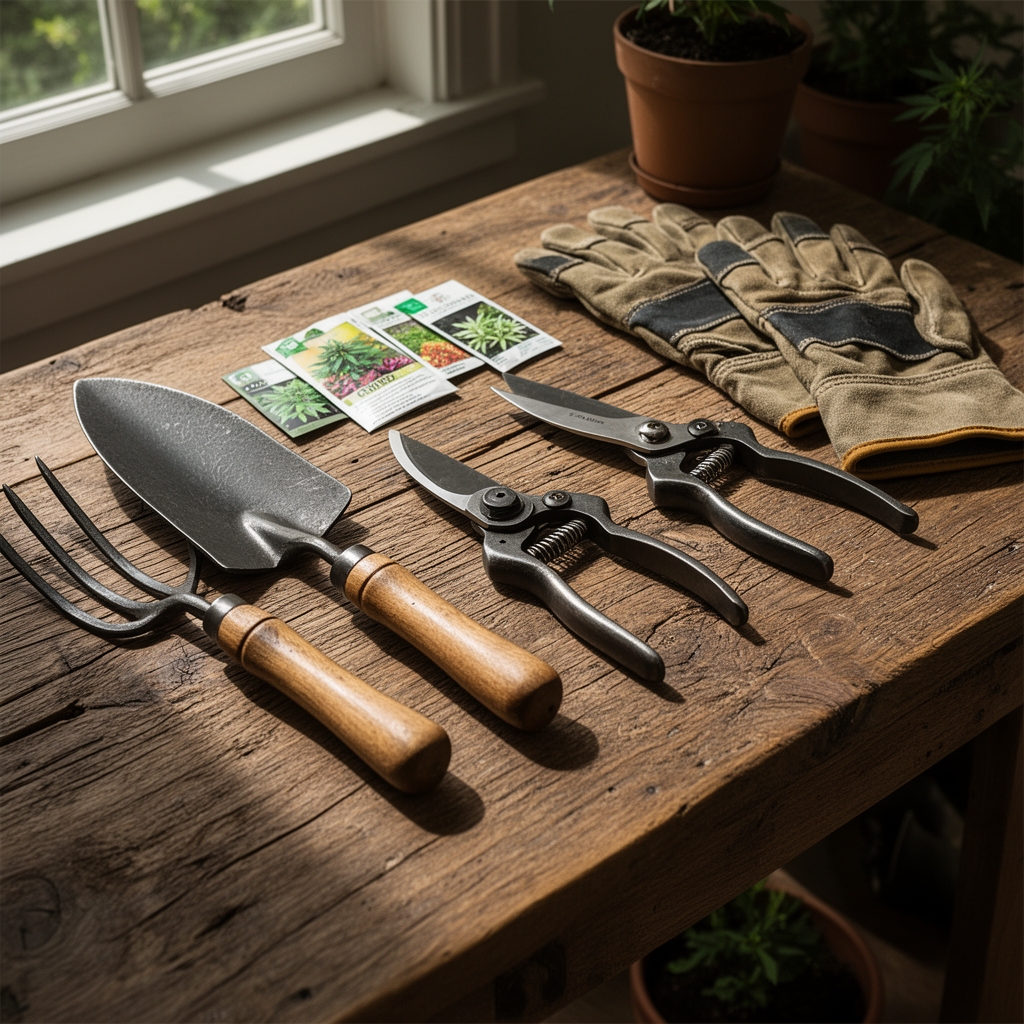
Assemble your ventilation infrastructure before introducing plants. You will need an inline exhaust fan rated for your cubic footage multiplied by 1.5 to account for ducting friction loss. A 4x4x8-foot space requires 192 cubic feet per minute minimum extraction. Pair this with passive intake vents positioned low on the opposite wall, each totaling 150 percent of your exhaust vent diameter to prevent negative pressure collapse.
Carbon filters rated for your CFM handle volatile organic compounds that signal stress. Mount them inside the room before the exhaust fan. Oscillating circulation fans, two minimum, create cross-currents at canopy height. Choose models delivering 30 to 50 air changes per hour.
For substrate preparation, select peat-based media amended with perlite at 30 percent volume. Buffer to pH 5.8 to 6.2 for soilless mixes. Incorporate a balanced organic amendment at 4-4-4 NPK such as kelp and neem meal, applying 2 tablespoons per gallon of medium. Mycorrhizal fungi inoculant at 0.1 gram per plant colonizes root zones and increases cation exchange capacity by 15 to 40 percent depending on species.
Timing
Execute room preparation two weeks before introducing seedlings or clones. This allows time for environmental stabilization and equipment stress testing. If you garden within USDA Hardiness Zones 3 through 7, coordinate indoor cycles with outdoor frost dates to transition plants in late May after soil temperatures exceed 60 degrees Fahrenheit.
Indoor environments operate independently of seasonal photoperiods, but mimicking natural light cycles during vegetative phases improves circadian rhythm expression. Run ventilation systems 24 hours daily. Timer-controlled exhaust fans that cycle off create humidity spikes and invite powdery mildew.
Phases

Sowing and Germination
Begin seeds in 72-cell trays under humidity domes. Maintain 75 to 80 degrees Fahrenheit soil temperature using bottom heat mats. Once cotyledons emerge, introduce gentle airflow at 100 feet per minute across the canopy surface. This strengthens hypocotyls and prevents damping-off pathogens.
Pro-Tip: Inoculate seed-starting mix with Trichoderma harzianum at 1 gram per liter of water. This biocontrol fungus colonizes root tissue and suppresses Pythium and Rhizoctonia by 60 to 80 percent in controlled trials.
Transplanting and Early Vegetative Growth
Transfer seedlings at the two-true-leaf stage into final containers. Position circulation fans to produce a subtle sway in the stem, approximately 10 to 15 degrees of deflection. This mechanical stress triggers thigmomorphogenesis, increasing stem diameter by 20 percent and lignin deposition.
Ensure exhaust fans pull air through the canopy layer, not above it. Hot, moisture-saturated air accumulates at the ceiling. Ducting positioned 6 inches below the light fixtures captures this thermal plume before it descends and condenses on foliage.
Pro-Tip: Prune lateral branches at a 45-degree angle 1/4 inch above the node. This orientation prevents water accumulation on the cut surface and accelerates callus formation through optimized auxin flow.
Establishment and Canopy Development
As plants mature, increase air velocity to 150 to 200 feet per minute. Dense canopies restrict airflow to interior foliage. Install a second oscillating fan beneath the canopy to drive air upward through the plant mass. This vertical mixing disrupts microenvironments where humidity exceeds 70 percent and Botrytis cinerea spores germinate.
Monitor temperature gradients. A difference greater than 5 degrees Fahrenheit between canopy and room air indicates insufficient circulation. Adjust fan angles and increase extraction rates accordingly.
Pro-Tip: Defoliate selectively by removing senescent leaves with petioles that snap cleanly rather than bend. This textural cue indicates natural abscission zone formation and minimizes wound stress.
Troubleshooting
Symptom: Interveinal chlorosis on new growth.
Solution: Iron deficiency induced by alkaline pH. Drench substrate with chelated iron (Fe-DTPA) at 2 grams per gallon. Verify pH remains below 6.5.
Symptom: Leaf edges cupping upward, crispy texture.
Solution: Vapor pressure deficit too high. Relative humidity has fallen below 40 percent. Add a cool-mist humidifier and reduce fan speed by 20 percent.
Symptom: White powdery spots on upper leaf surfaces.
Solution: Powdery mildew (Erysiphe cichoracearum). Increase airflow immediately. Apply potassium bicarbonate solution at 2 teaspoons per quart weekly.
Symptom: Stems elongate, internodal spacing exceeds 3 inches.
Solution: Etiolation from insufficient light or excessive heat. Lower ambient temperature to 72 degrees Fahrenheit and increase photon flux density by 100 micromoles.
Maintenance
Replace carbon filters every 18 months or when you detect odor breakthrough. Clean oscillating fan blades monthly with isopropyl alcohol to prevent dust accumulation that reduces airflow by 15 percent per quarter-inch of buildup.
Water plants when the top 2 inches of substrate feel dry to touch. Provide 1 inch of water per week adjusted for transpiration rate. In mature canopies under high-intensity lighting, this may increase to 1.5 inches.
Inspect ducting every three months for light leaks that disrupt photoperiod and for loose connections that reduce static pressure. Seal all joints with aluminum foil tape rated for HVAC applications.
FAQ
How many air changes per hour does a grow room need?
Target 40 to 60 complete air exchanges hourly. Calculate room volume, multiply by 50, then divide by 60 to determine required CFM.
Can I use bathroom exhaust fans?
No. Bathroom fans lack the static pressure capacity to pull air through carbon filters and ducting. Invest in inline centrifugal fans rated for horticultural use.
Where should I position intake vents?
Low on the wall opposite the exhaust, ideally 12 inches above floor level. Cool air enters, warms as it rises through the canopy, then exits at the ceiling.
Do I need CO2 supplementation with good ventilation?
Not in sealed spaces. Proper ventilation replenishes atmospheric CO2 at 400 ppm naturally. Supplementation benefits only sealed rooms with minimal air exchange.
How do I prevent negative pressure from collapsing walls?
Size passive intakes at 150 percent of exhaust duct area. For a 6-inch exhaust (28 square inches), provide 42 square inches of intake area total.