9 Steps to Prepare a Seed Tray for Indoor Microgreens
Growing microgreens indoors begins with proper seed tray preparation, a critical step that determines germination rates, root architecture, and harvest yields within seven to fourteen days. Understanding how to prepare a seed tray for indoor microgreens transforms a simple plastic container into a controlled environment where brassicas, legumes, and amaranths develop optimal nutrient density. The substrate composition, drainage architecture, and initial moisture levels govern whether seeds will achieve 85% germination or suffer from damping-off disease.
Materials
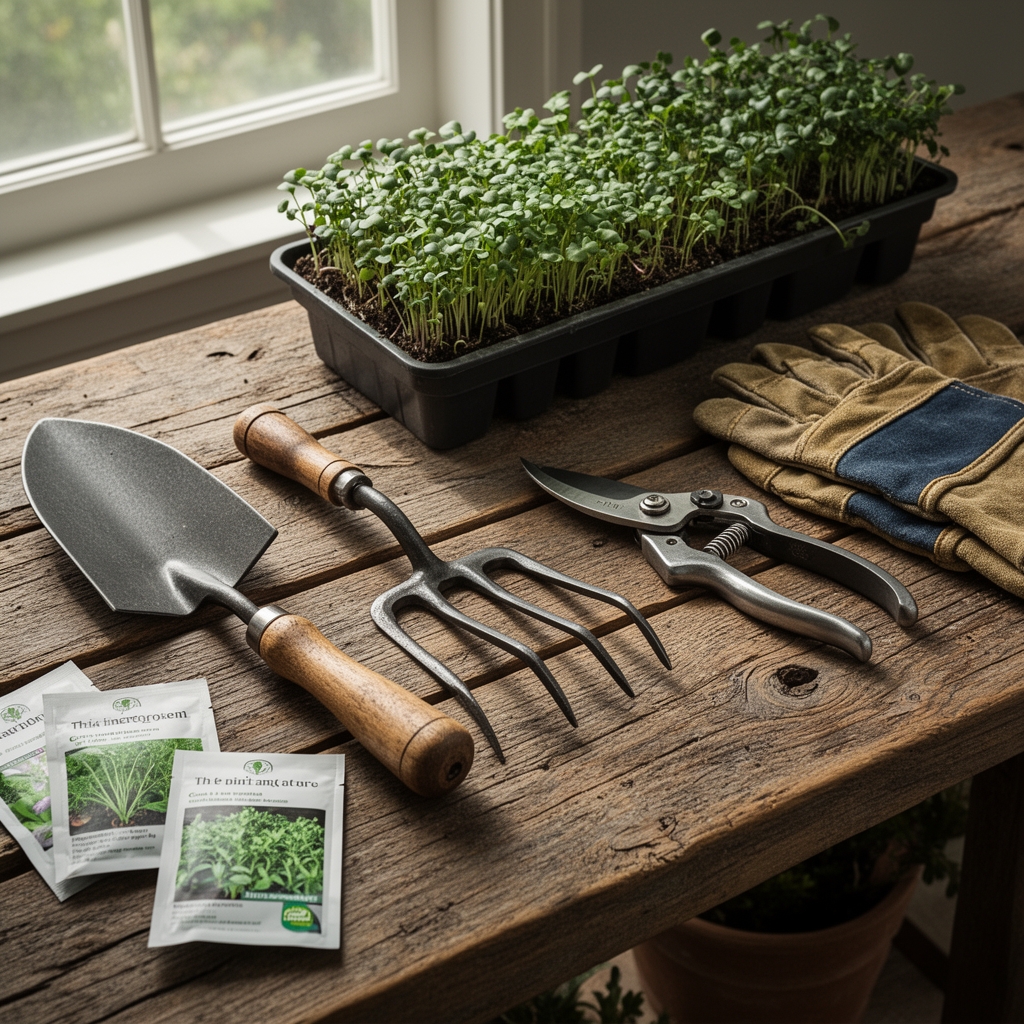
Select standard 10×20-inch propagation trays with drainage holes spaced at 1.5-inch intervals. Capillary matting or coconut coir mats serve as sterile growing media, maintaining pH 6.0-6.5 and supporting rapid radicle emergence. Avoid garden soil, which harbors Pythium and Rhizoctonia pathogens that thrive in the humid microgreen environment.
For substrate nutrition, incorporate a balanced 4-4-4 organic meal blend at 0.25 pounds per square foot if growing for longer than ten days. Shorter cycles require no fertilization, as cotyledon reserves provide adequate phosphorus and nitrogen. Seed-starting mixes combining 70% peat moss and 30% perlite offer cation exchange capacity between 10-15 meq/100g, binding ammonium ions while preventing compaction.
Supplement materials include hydrogen peroxide (3% solution) for pre-soak sanitation, spray bottles delivering 0.5-ounce mist patterns, and weight plates (5 pounds per standard tray) for blackout-phase compression. Mycorrhizal fungi inoculants remain unnecessary, as microgreens harvest before symbiotic colonization occurs.
Timing
Indoor microgreen cultivation bypasses hardiness zone constraints, operating year-round under controlled 68-72°F ambient temperatures. However, seasonal light quality affects growth rates. Winter production (December through February) requires supplemental T5 fluorescent or LED arrays delivering 400-600 micromoles per square meter per second for 12-16 hours daily. Summer months provide adequate natural light near south-facing windows, reducing electricity costs by 60%.
Plan successive sowings every five days to maintain continuous harvest cycles. Radish and mustard varieties mature in seven to nine days, while sunflower and pea shoots require twelve to sixteen days from sowing to cutting height (2-3 inches). Frost dates become irrelevant indoors, but initiate production planning eight weeks before anticipated demand peaks.
Phases
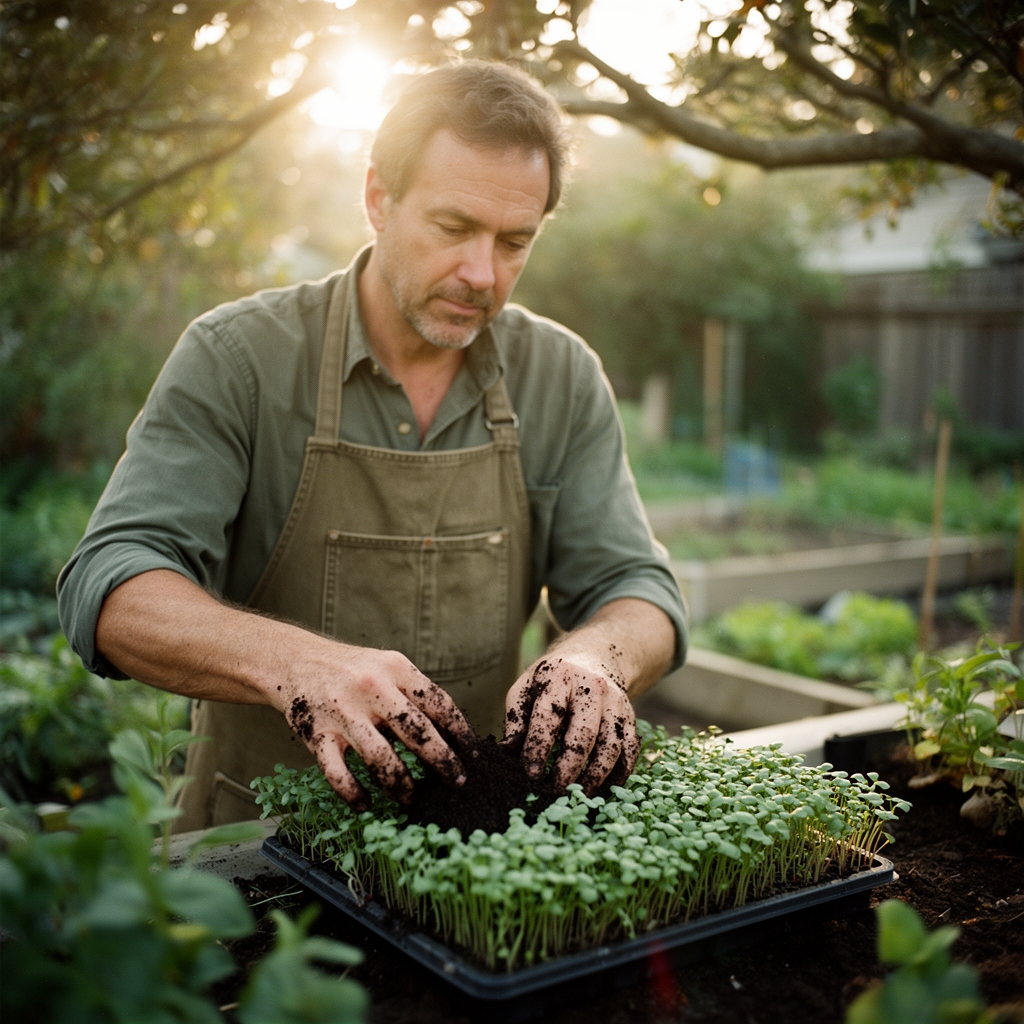
Sowing Phase
Pre-moisten the growing medium until water drips freely from drainage holes, then allow fifteen minutes for gravity drainage. Measure seed density by weight: 0.5 ounces for small seeds (alfalfa, clover) or 1.5 ounces for large seeds (sunflower, pea) per 10×20 tray. Broadcast seeds in overlapping patterns, achieving 50-60% surface coverage without stacking.
Mist the seed layer with 2 ounces of water using a fine-spray nozzle. Cover with an inverted identical tray or humidity dome. Stack weighted trays (5 pounds maximum) to encourage geotropic root penetration and strengthen stem structure through mechanical resistance.
Pro-Tip: Soak large seeds (pea, sunflower) in room-temperature water for eight to twelve hours before sowing. This hydration activates gibberellin production, advancing germination by 24-36 hours and improving uniformity by 40%.
Transplanting Phase
Microgreens do not transplant. This phase involves transitioning from blackout to light exposure. Monitor daily for radicle emergence and hypocotyl elongation. When 80% of seeds show 0.5-inch white stems (typically 36-48 hours post-sowing), remove the cover and weights.
Position trays under grow lights set 4-6 inches above the canopy. Maintain photoperiod at 14-16 hours, allowing auxin distribution to regulate phototropic straightening. Poor light intensity produces etiolated, weak stems prone to collapse.
Pro-Tip: Introduce airflow at 50-100 cubic feet per minute using oscillating fans positioned 3 feet from trays. Gentle movement stimulates thigmomorphogenesis, increasing stem diameter by 15-20% and reducing fungal spore settlement.
Establishing Phase
Continue bottom watering by pouring 8-12 ounces into the drainage tray beneath the growing tray. Capillary action draws moisture upward without wetting foliage, preventing Botrytis infection. Refill the reservoir every 12-24 hours as substrate color lightens from dark brown to tan.
Harvest when cotyledons fully expand and the first true leaves begin emerging (typically day seven for fast species). Cut 0.5 inches above the substrate using sanitized scissors. Rinse harvested greens in 38°F water containing 1 tablespoon white vinegar per gallon to remove seed hulls and reduce microbial load.
Pro-Tip: Measure substrate electrical conductivity (EC) if reusing trays. Values exceeding 2.0 mS/cm indicate salt accumulation requiring substrate replacement. Nutrient buildup stunts germination and causes marginal leaf necrosis.
Troubleshooting
Symptom: White cottony growth on substrate surface and stem bases within 48 hours of sowing.
Solution: Damping-off fungus (Pythium aphanidermatum) thrives in saturated, poorly aerated conditions. Reduce initial moisture by 30%, increase air circulation to 100 CFM, and sanitize trays with 10% bleach solution between uses.
Symptom: Yellow, elongated stems exceeding 4 inches with small, pale cotyledons.
Solution: Etiolation results from insufficient light intensity or premature blackout removal. Position lights closer (4 inches) and verify output reaches 400 micromoles. Delay cover removal until hypocotyls reach 0.75 inches.
Symptom: Uneven germination with 40-50% bare patches.
Solution: Seed viability declines or uneven moisture distribution. Test germination rates on paper towels before bulk sowing (target 85% minimum). Ensure complete substrate saturation, checking tray corners and edges.
Symptom: Brown leaf margins and stunted growth at day five.
Solution: Excessive fertilizer concentration or chlorinated water damage. Use dechlorinated water (leave tap water exposed for 24 hours) and eliminate fertilizer for crops harvested under ten days.
Symptom: Fuzzy white root hairs mistaken for mold.
Solution: Root hairs are normal anatomical structures maximizing surface area for water absorption. True mold appears gray-green with musty odor, while root hairs remain bright white and odorless.
Maintenance
Water bottom trays with 10-12 ounces every 24 hours once greens reach 1 inch height. Monitor substrate moisture by lifting trays; a properly hydrated 10×20 tray weighs 4-5 pounds. Maintain ambient humidity between 40-60% using hygrometers placed at canopy level.
Prune any mold-affected sections immediately, removing a 2-inch radius around infection sites. Sanitize scissors with 70% isopropyl alcohol between cuts to prevent pathogen transfer.
Rotate trays 180 degrees daily to counteract phototropic leaning toward light sources. This ensures uniform stem development across the entire growing surface.
FAQ
How long does substrate last for multiple plantings?
Discard substrate after each harvest. Decomposing root material harbors pathogens, and spent growing media loses structural integrity, collapsing under subsequent watering cycles.
Can I use garden soil for microgreens?
No. Garden soil contains weed seeds, soilborne diseases, and inconsistent particle sizes that compact under frequent watering, suffocating developing roots.
What temperature range optimizes germination?
Maintain 68-72°F for brassicas and legumes. Temperatures below 60°F delay germination by 3-4 days, while heat above 78°F triggers thermal dormancy in lettuce varieties.
Do microgreens need fertilizer?
Crops harvested within ten days survive on seed endosperm reserves. Extended growth (pea shoots, sunflower) benefits from 4-4-4 organic fertilizer incorporated at sowing.
How do I prevent mold without chemicals?
Reduce humidity below 60%, provide continuous air circulation at 75 CFM, and avoid top watering. Hydrogen peroxide (1 teaspoon per quart water) offers organic fungal suppression during initial watering.