9 Essential Steps to Prune a Bonsai Tree for Beginners
The first cut into a live branch changes everything. Steps for pruning a bonsai tree for beginners require understanding that each snip redirects sap flow, triggers auxin redistribution, and determines whether your miniature tree becomes a refined specimen or a malformed shrub. The shears meet cambium at precise angles, and the tree responds by pushing energy into dormant buds you selected. This is not gardening as decoration. This is controlled manipulation of apical dominance and wound response.
Materials and Tools
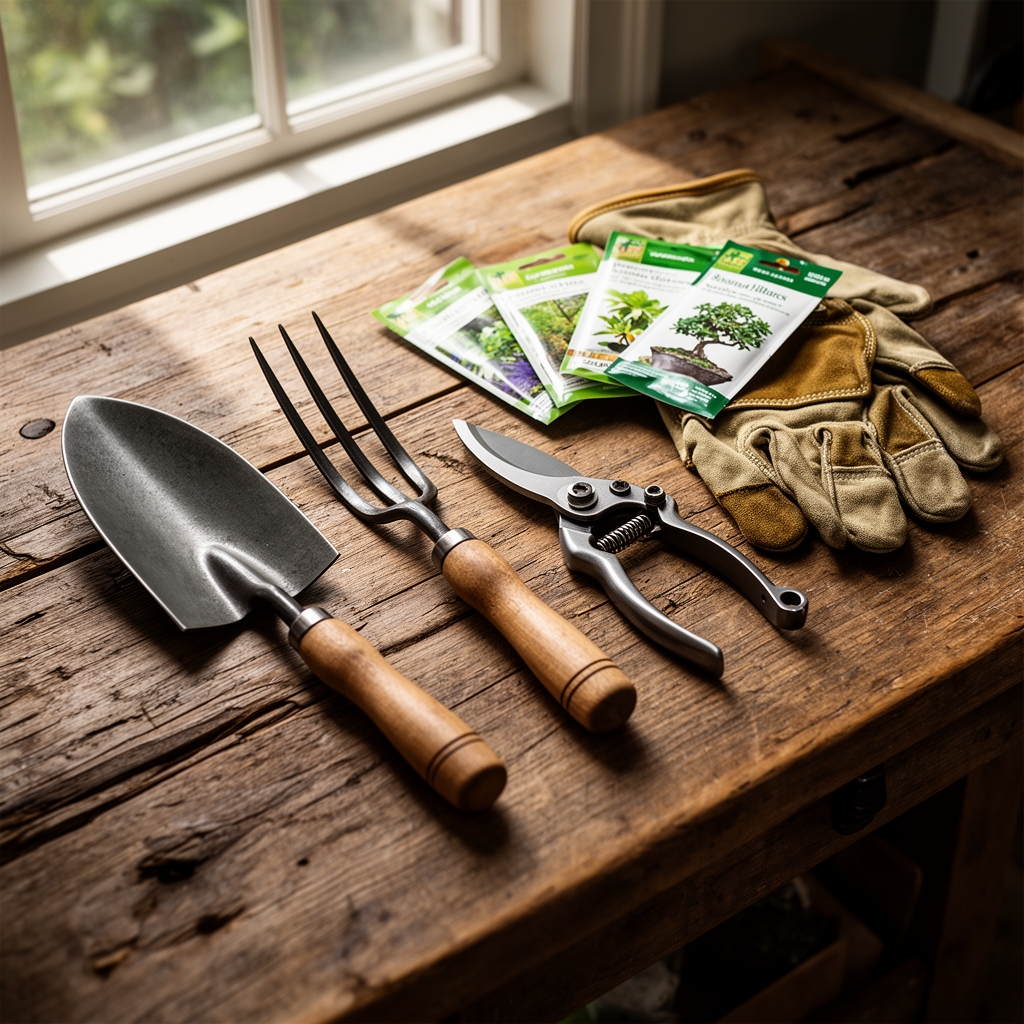
Concave cutters remove branches flush to the trunk, leaving a hollow that heals without bulging. Bypass pruning shears with blades under 1.5 inches handle shoots up to pencil thickness. Wire cutters prevent bark tearing when removing training wire. A root hook exposes surface roots during repotting sessions that follow heavy pruning.
Fertilizer selection aligns with pruning intensity. After structural pruning, apply 2-3-1 NPK ratios to discourage excessive vegetative growth while supporting root recovery. During refinement phases, shift to 6-6-6 balanced formulas diluted to half strength. Organic composted bark (pH 5.5-6.5) amends akadama soil, increasing cation exchange capacity by 18-22% compared to pure inorganic substrates.
Wound sealant containing copper naphthenate prevents pathogen entry on cuts exceeding 0.25 inches in diameter. Sterilize all cutting tools in 10% bleach solution between trees to prevent fireblight and anthracnose transmission.
Timing and Climate Considerations
Hardiness zones dictate dormant-season pruning windows. In zones 6-8, structural pruning occurs between December and February when carbohydrate reserves concentrate in root systems. Sap flow remains minimal, and wound response delays until spring.
Tropical and subtropical species in zones 9-11 follow different protocols. Ficus, jade, and schefflera tolerate pruning year-round but respond most vigorously six weeks before the longest day of the year, when photoperiod triggers maximum auxin production.
Deciduous species require pruning after leaf drop but before buds swell. For maples and elms, this window spans 8-10 weeks, typically from late November through January in zone 7. Bleeding species such as birch must be pruned in late summer after lignification completes to prevent excessive sap loss.
Frost dates matter. Final pruning should conclude four weeks before the last expected frost to prevent cold damage to fresh wounds. Callus tissue formation requires temperatures above 50°F sustained for 12-15 days.
The Nine Pruning Phases

Phase 1: Assessment. Identify the primary trunk line from nebari to apex. Mark branches that disrupt the taper ratio (base diameter should exceed apex diameter by 3:1 minimum). Tag crossing branches, bar branches growing directly toward the viewer, and whorls of three or more branches emerging from a single node.
Phase 2: Structural Removal. Eliminate the largest offending branches first. Cut 0.125 inches above the branch collar using concave cutters at a 45-degree angle. This angle maximizes cambium contact area while preventing water accumulation in the wound.
Pro-Tip: Remove no more than 30% of total foliage mass in a single session. Greater removal triggers survival response, pushing multiple shoots from remaining nodes and destroying branch structure.
Phase 3: Secondary Branch Selection. Establish triangular branch placement. The first major branch emerges at one-third the trunk height. The second appears on the opposite side, slightly higher. The third sits on the back plane for depth perception.
Phase 4: Directional Pruning. Cut 0.0625 inches above outward-facing buds. The shoot emerging from that bud will extend in the direction the bud faces. Inward-facing buds create congestion. Downward buds yield weeping growth unsuitable for most styles except cascade forms.
Phase 5: Thinning. Remove entire shoots at their base rather than heading them back. Heading cuts stimulate multiple weak shoots. Thinning cuts redirect energy into remaining branches, increasing their diameter growth by 15-20% in the subsequent growing season.
Pro-Tip: The one-third rule applies to individual branches. Remove growth extending beyond one-third the distance from trunk to desired final branch length.
Phase 6: Detail Work. Address shoots growing vertically from horizontal branches. Eliminate downward growth except in cascade or semi-cascade designs. Prune shoots emerging from the underside of branches.
Phase 7: Canopy Refinement. Create triangular silhouettes when viewed from the side. The canopy base should exceed apex width by 1.5:1. This ratio ensures lower branches receive adequate light for photosynthesis maintenance.
Phase 8: Wound Treatment. Apply sealant to cuts exceeding 0.25 inches. Allow smaller cuts to heal naturally. Excessive sealant application traps moisture and encourages fungal colonization.
Phase 9: Post-Pruning Protection. Place pruned trees in shade for seven days. Direct sun increases transpiration demand while reduced foliage mass limits water uptake capacity. Mycorrhizal fungi inoculation at this stage improves nutrient uptake during recovery.
Pro-Tip: Document each pruning session with photographs from four angles. Compare annual images to track taper development and branch ramification progress.
Troubleshooting Common Problems
Symptom: Dieback of pruned branches with blackened cambium.
Solution: Fusarium or pythium infection from contaminated tools. Re-cut 0.5 inches below the blackened tissue into healthy wood. Sterilize tools. Apply copper fungicide to fresh cuts.
Symptom: Excessive shoot proliferation from pruning sites (witch's broom effect).
Solution: Over-fertilization post-pruning or cuts made during active growth. Reduce nitrogen to 2% of NPK formula. Remove all but the single best-positioned shoot.
Symptom: Wounds fail to callus after six months.
Solution: Insufficient carbohydrate reserves or root damage. Suspend pruning for one full growing season. Apply 0-10-10 formula to boost root development. Verify soil pH remains between 5.8 and 6.5.
Symptom: Branch hollowing near large pruning scars.
Solution: Wood-boring beetle larvae. Inspect wounds weekly during May and June. Apply permethrin-based paste to active galleries. Seal entry holes with grafting wax.
Maintenance Protocols
Water to field capacity when the top 0.5 inches of soil dries. This typically requires daily watering for deciduous species in summer, every three days in spring and fall. Conifers tolerate slightly drier conditions, needing water when the top 0.75 inches dries.
Feed every 14 days during active growth with soluble fertilizer at 50% package strength. Cease feeding six weeks before the first frost date to promote lignification. Resume feeding when new leaves reach 25% of mature size in spring.
Repot every two to three years for deciduous species, every four to five years for conifers. Root pruning removes 30-40% of root mass, focusing on thick descending roots while preserving fine feeder roots where mycorrhizal associations concentrate.
Rotate the tree 90 degrees every week to ensure even light distribution. This prevents phototropic bending and maintains symmetrical foliage density.
Frequently Asked Questions
When should I prune flowering bonsai?
Prune spring-flowering species immediately after bloom. Prune summer-flowering varieties in late winter. This timing preserves flower bud formation on one-year-old wood.
How do I know if I pruned too much?
The tree fails to push new growth within three weeks of pruning during the growing season. Leaves yellow uniformly rather than at the pruning sites. Reduce subsequent pruning by half.
Can I prune roots and branches simultaneously?
Only during repotting if foliage reduction does not exceed 20%. Greater reduction overwhelms the tree's ability to balance transpiration and uptake.
Why do my cuts turn brown instead of healing?
Cuts made with dull blades crush cambium cells rather than severing them cleanly. Sharpen or replace blades when they require more than light pressure to cut green shoots.
How long until my tree looks refined?
Primary branch structure develops in three to five years. Fine ramification requiring tertiary and quaternary branching takes eight to twelve years for deciduous species, fifteen to twenty years for most conifers.