9 Bark and Moss Steps to Use Specialized Orchid Soil
The sharp snap of a firm orchid root indicates high turgor pressure; it is the primary metric of success for any epiphytic grower. When you squeeze a handful of high quality substrate, you should feel the coarse resistance of fir bark and the spongy compression of long-fiber sphagnum. Using a specialized orchid soil is not about providing dirt; it is about replicating an aerial environment where gas exchange is constant and drainage is instantaneous. Orchids in the wild do not sit in anaerobic mud. They cling to bark where their velamen, a silvery outer layer of dead cells, absorbs atmospheric moisture. In a home or greenhouse setting, your choice of medium dictates the health of the rhizosphere. If the medium is too dense, carbon dioxide builds up and the roots suffocate within forty eight hours. If it is too loose, the plant desiccates. You are balancing water retention against oxygen availability. This guide provides the technical framework for mastering this balance through the precise application of bark and moss components.
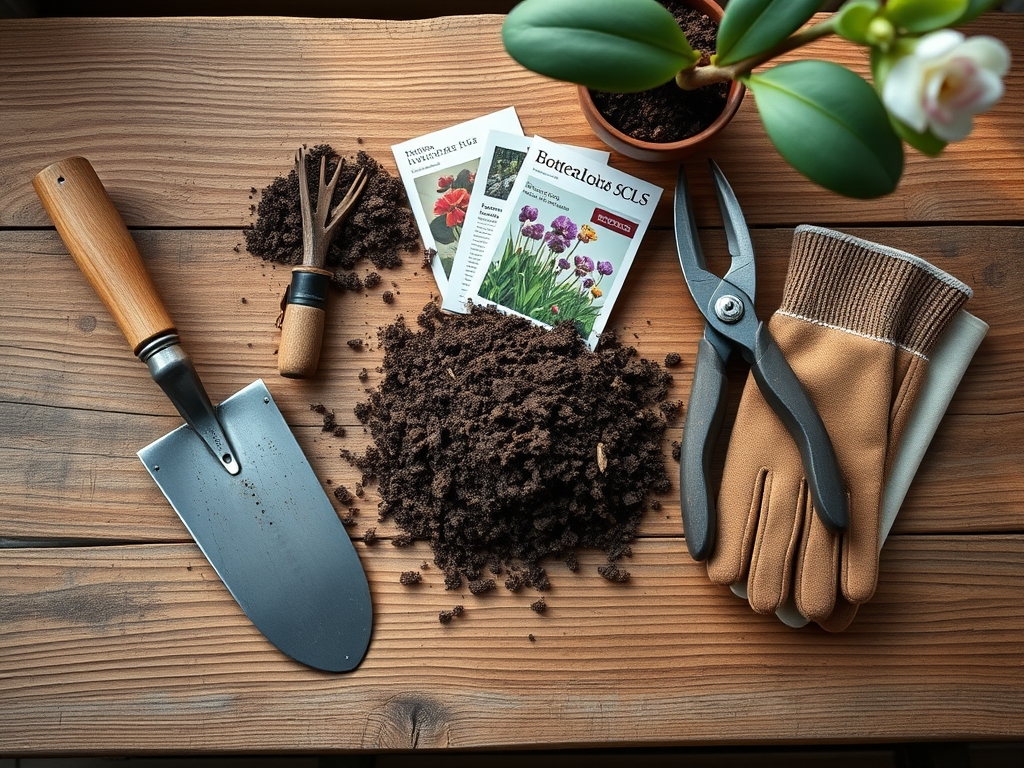
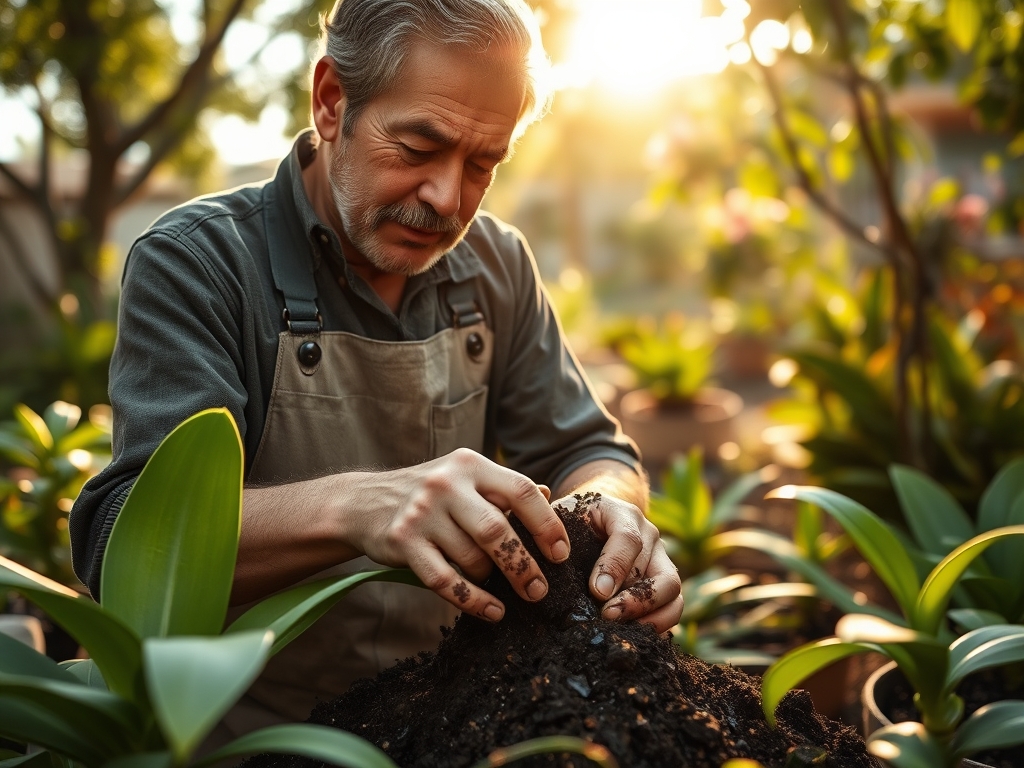
Materials:
Orchid substrates must maintain a **pH range between 5.5 and 6.5** to ensure nutrient bioavailability. Most specialized orchid soils are composed of Douglas fir bark, horticultural charcoal, and perlite. The physical texture is chunky and non-friable, unlike standard potting mixes. For Phalaenopsis and Cattleya, the NPK ratio of the supplemental fertilizer should be **20-20-20** during vegetative growth, transitioning to a **10-30-20** ratio to stimulate flowering.
The Cation Exchange Capacity (CEC) of bark is naturally low, meaning it does not hold onto nutrients well. You must compensate by using a medium that includes inorganic components like expanded clay pebbles or charcoal to prevent salt buildup. The ideal substrate feels gritty and sharp. It should not stain your hands like peat moss. It must remain structurally sound for at least twenty four months before the lignin in the bark begins to decompose and acidify the root zone.
Timing:
Orchids are primarily grown indoors or in controlled environments, but their biological clock is tethered to light intensity and temperature drops. In Hardiness Zones 9 through 11, some species can survive outdoors if protected from frost. The critical window for repotting and using a specialized orchid soil is immediately after the flowering stage ends. This is when the plant enters a period of active root initiation.
Observe the root tips. If you see bright green or red growth points, the plant is in a high-auxin state and will recover quickly from the stress of a substrate change. Do not repot during the winter solstice when light levels are below 1,000 foot-candles for most species. Wait for the spring equinox when the photoperiod increases, signaling the plant to move from a semi-dormant state into a phase of rapid cell division.
Phases:
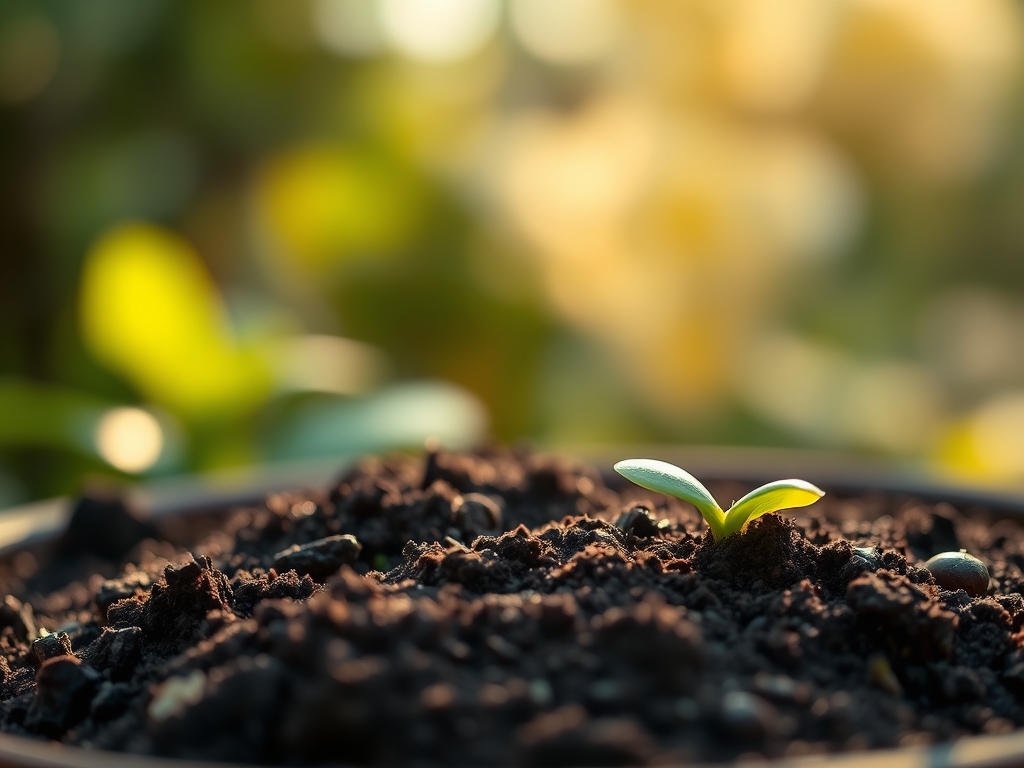
Sowing and Seedling Development
Orchid seeds are microscopic and lack an endosperm, meaning they require a symbiotic relationship with mycorrhizal fungi or a sterile agar medium containing sugars. For the home grower, "sowing" usually refers to deflasking seedlings. At this stage, the medium must be finer. Use a 70/30 mix of fine-grade bark and chopped sphagnum moss. This ensures the small, delicate roots do not dry out while they establish their first few centimeters of growth.
Pro-Tip: Seedlings require high humidity because their surface area to volume ratio is high. Maintaining a 75 percent humidity level prevents moisture loss through the stomata before the root system can provide sufficient hydraulic lift.
Transplanting into Specialized Media
Remove the orchid from its old container and prune dead, papery roots using sterilized bypass pruners. Soak the new specialized orchid soil in distilled water for 24 hours prior to use. This saturates the internal pores of the bark, preventing it from wicking moisture away from the plant roots immediately after transplanting. Center the plant in the pot, ensuring the rhizome is level with the top of the medium.
Pro-Tip: Avoid burying the base of the pseudobulbs. This prevents the suppression of lateral buds by keeping them exposed to oxygen and light, which encourages the development of new lead growths through apical dominance.
Establishing the Root System
Once the orchid is in the new medium, withhold heavy watering for seven days. This allows any micro-fractures in the roots to callous over, preventing pathogens from entering the vascular system. Use a soil moisture meter to check the center of the pot. The specialized bark will dry from the outside in; the meter ensures you do not overwater the core.
Pro-Tip: Roots exhibit hydrotropism, growing toward moisture gradients. By allowing the top inch of the bark to dry out, you encourage the roots to dive deeper into the pot, creating a more robust and stable anchoring system.
The Clinic:
Physiological disorders in orchids often manifest in the foliage before the plant dies.
- Symptom: Nitrogen Chlorosis. The older leaves turn a uniform pale yellow while the veins remain slightly darker. Solution: Increase the frequency of a high-nitrogen fertilizer (30-10-10) for three consecutive waterings to restore chlorophyll production.
- Symptom: Velamen Desiccation. Roots appear shriveled, grey, and brittle even after watering. Solution: The specialized soil has become hydrophobic. Submerge the entire pot in tepid water for 30 minutes to re-hydrate the organic matter.
- Symptom: Edema. Small, blister-like bumps appear on the underside of leaves. Solution: This is caused by the roots absorbing water faster than the leaves can transpire it. Increase airflow using a fan and reduce evening watering.
- Symptom: Anthracnose. Black, sunken spots on leaves. Solution: This fungal pathogen thrives in stagnant, wet conditions. Prune affected tissue with a hori-hori knife and treat with a copper-based fungicide.
Maintenance:
Consistency is the hallmark of professional orchid care. Provide 1.5 to 2.0 ounces of water per quart of specialized medium once the bark feels dry to the touch. In a standard 6 inch pot, this usually equates to a deep soak every five to seven days depending on ambient humidity. Use a soil moisture meter to verify that the internal temperature of the pot remains between 65 and 75 degrees Fahrenheit.
Every six months, flush the medium with a gallon of pure distilled water to leach out accumulated mineral salts. If you notice the bark is beginning to crumble or smell like sulfur, the lignin is breaking down. Use your bypass pruners to trim any soft roots and replace the medium entirely. Monitor the light levels; most orchids require 1,500 to 3,000 foot-candles of filtered light for optimal photosynthesis without leaf scorch.
The Yield:
While orchids are grown for their aesthetic inflorescences, the "harvest" involves the strategic cutting of the flower spike. Wait until the final bud on the raceme has been open for at least three days. Cut the spike approximately one half inch above the second or third node from the base. This allows the plant to conserve energy or potentially produce a secondary spike from the dormant node.
For maximum longevity of the cut flower, place the stem immediately in water at 100 degrees Fahrenheit. This heat reduces the viscosity of the water, allowing it to move more rapidly up the xylem. Keep cut orchids away from ripening fruit, as the ethylene gas will cause premature senescence and flower drop.
FAQ:
Can I use regular potting soil for orchids?
No. Regular soil is too fine and lacks the macropores required for orchid root respiration. Using it will cause rapid root rot and plant death within weeks due to anaerobic conditions in the rhizosphere.
How often should I replace specialized orchid soil?
Replace the medium every 18 to 24 months. Over time, the organic bark components decompose, which lowers the pH and reduces oxygen gaps, eventually suffocating the roots and trapping harmful salts.
Why is my orchid soil growing white mold?
White mold usually indicates excessive moisture and poor air circulation. While often harmless to the plant, it signals that the medium is staying damp for too long. Increase airflow and allow the bark to dry more thoroughly.
Does specialized orchid soil need fertilizer?
Yes. Most specialized mixes are inert or low in nutrients. You must provide a balanced, water-soluble fertilizer at one-quarter strength during every other watering to support the plant's metabolic processes and flower production.