8 Success Steps to Prepare a Commercial Scale Garden
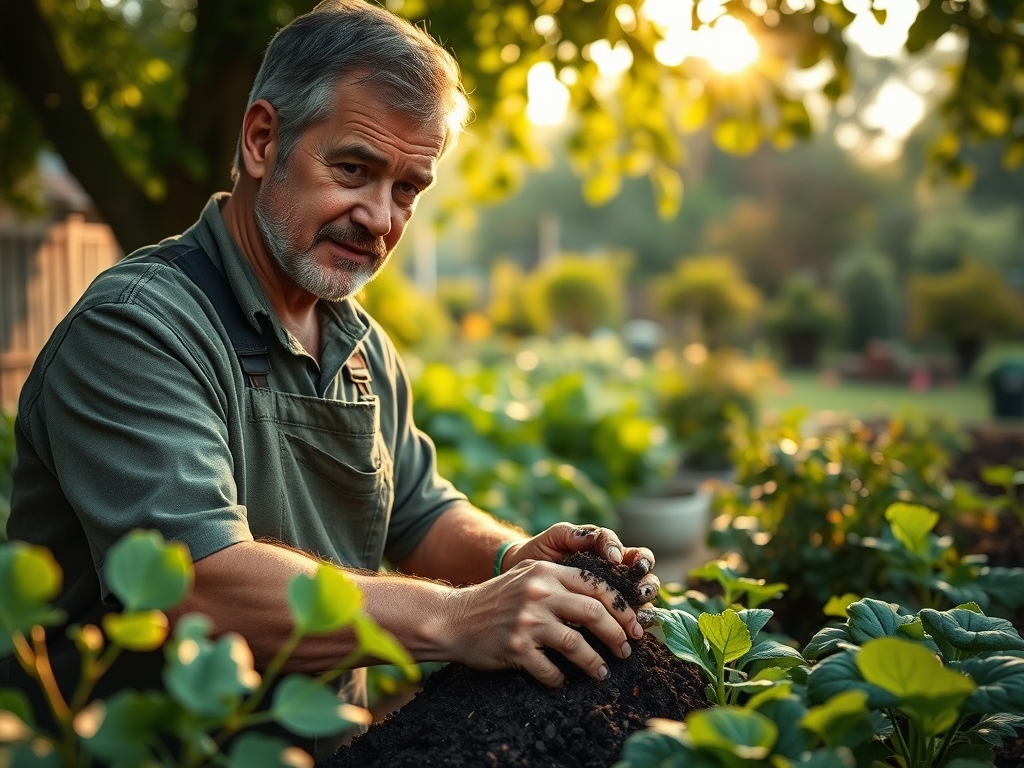
The smell of damp earth is more than an aroma; it is the olfactory signature of microbial respiration and organic decomposition. When you press a handful of soil, it should crumble with a specific resistance, indicating a friable structure that allows for high gas exchange and root penetration. Achieving this level of soil health is the primary objective when learning how to prepare a garden for a large scale vegetable garden. Success at this scale depends on the turgor pressure within the plant cells, which is maintained through precise water management and nutrient availability. A commercial plot requires a transition from casual gardening to rigorous soil science. You are no longer managing individual plants; you are managing an ecosystem where the rhizosphere serves as the engine for production. Every input must be calculated to ensure that the vegetative growth phase transitions seamlessly into the reproductive phase, maximizing the harvest per square foot while maintaining the structural integrity of the land.
Materials:
Large scale production requires a substrate with a high **Cation Exchange Capacity (CEC)**, typically found in a well-structured silt loam or clay loam. The ideal soil pH for most vegetable crops ranges between **6.2 and 6.8**, as this window maximizes the bioavailability of phosphorus and micronutrients. If the pH drops below 6.0, aluminum toxicity becomes a risk; if it rises above 7.5, iron and manganese become locked in the soil matrix.
Fertilization must be data-driven. A standard pre-plant application often utilizes an NPK ratio of 10-10-10 for general establishment, but high-demand crops like brassicas or solanaceous plants may require a shift to 5-10-15 to prioritize root and fruit development over excessive leaf production. Organic matter should comprise 5 to 8 percent of the total soil volume to improve water holding capacity and provide a buffer against salt accumulation. The physical texture should be "friable," meaning the soil particles aggregate into small crumbs that do not collapse when saturated.
Timing:
Timing is dictated by the USDA Hardiness Zones, which define the average annual extreme minimum temperature. In Zone 6, the frost-free window typically opens in mid-May, while Zone 9 may allow for year-round production. You must track the "Biological Clock" of your specific cultivars, which is the internal mechanism regulating the transition from vegetative growth to reproductive maturity. This is often triggered by the photoperiod, the duration of light exposure in a 24 hour cycle.
For a large scale garden, the "last frost date" is the pivot point for all operations. Cool-season crops like spinach and peas should be in the ground when soil temperatures reach 45 degrees Fahrenheit. Warm-season crops like peppers and tomatoes require a consistent soil temperature of 65 degrees Fahrenheit to prevent stunted growth and root rot. Failure to respect these thermal thresholds leads to cellular damage and permanent loss of yield potential.
Phases:
Sowing
Direct sowing requires a seedbed that is free of large clods and debris. For large seeds like beans, a depth of 1 to 1.5 inches is standard; for small seeds like carrots, a shallow 0.25 inch depth is necessary to ensure the emerging hypocotyl can reach the surface before exhausting its energy reserves.
Pro-Tip: Proper seed-to-soil contact is essential because of imbibition, the process where the seed coat absorbs water to activate metabolic enzymes. Without firm contact, the seed may hydrate partially and then desiccate, leading to poor germination rates.
Transplanting
When moving seedlings from a greenhouse to the field, "hardening off" is non-negotiable. This involves gradual exposure to UV light and wind over 7 to 10 days to thicken the waxy cuticle on the leaves. Transplants should be set into the ground during late afternoon or on overcast days to minimize transpiration stress.
Pro-Tip: Deep planting of certain species, such as tomatoes, encourages the development of adventitious roots along the buried stem. This increases the total root surface area, allowing for better uptake of water and mobile nutrients like nitrogen.
Establishing
The first three weeks after planting are the establishment phase. During this time, the plant prioritizes root expansion over canopy growth. Irrigation must be consistent to keep the rhizosphere moist but not anaerobic.
Pro-Tip: Avoid excessive nitrogen application during this phase to prevent auxin suppression. High nitrogen can signal the plant to focus entirely on foliage, resulting in a weak root system that cannot support the plant during the heat of mid-summer.
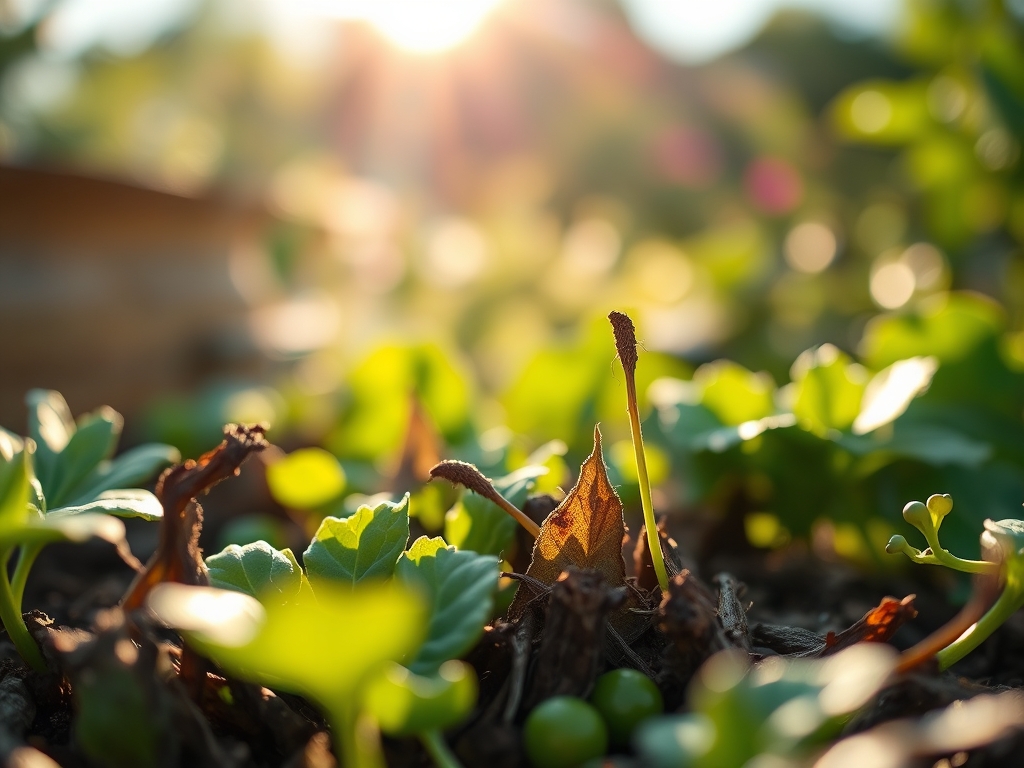
The Clinic:
Physiological disorders often mimic infectious diseases but are caused by environmental stress or nutrient imbalances.
- Symptom: Blossom End Rot (dark, leathery spots on the bottom of fruit).
- Solution: This is a Calcium deficiency caused by inconsistent soil moisture. Maintain a steady irrigation schedule to ensure calcium, which moves via transpiration, reaches the fruit.
- Symptom: Interveinal Chlorosis (yellowing between leaf veins while veins remain green).
- Solution: This typically indicates a Magnesium or Iron deficiency. Check soil pH first; if the pH is above 7.0, apply chelated iron foliar sprays to bypass soil lockout.
- Symptom: Leaf Curl or Epinstasy (downward bending of leaves).
- Solution: Often caused by heat stress or fluctuating moisture. Increase mulch depth to 3 inches to insulate the root zone and stabilize temperatures.
- Symptom: Nitrogen Chlorosis (general paling of the entire plant, starting with older leaves).
- Solution: Apply a high-nitrogen side-dressing, such as blood meal or ammonium sulfate, to restore chlorophyll production.
Maintenance:
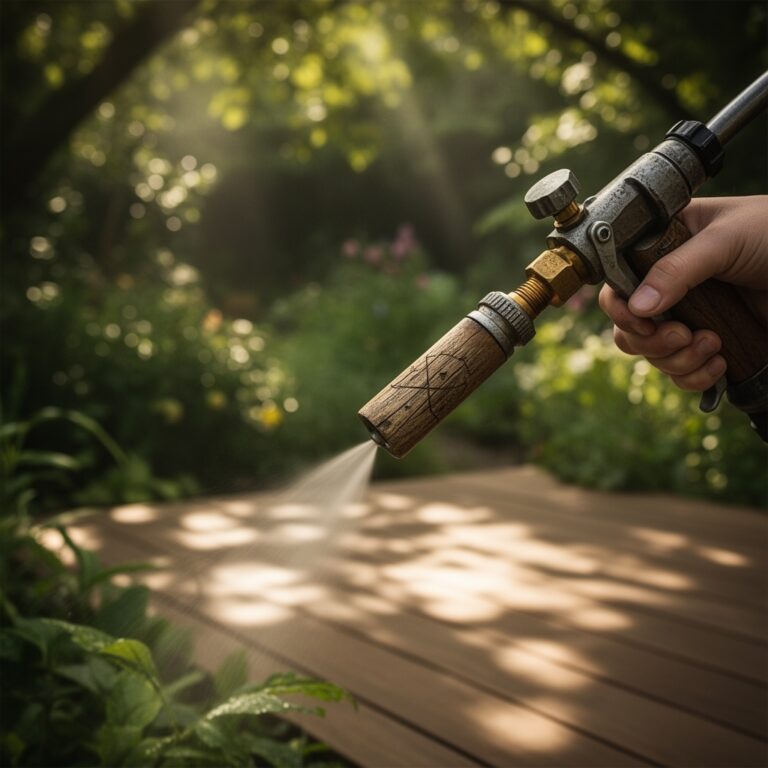
Precision maintenance is the difference between a hobby garden and a commercial-scale operation. Irrigation should be delivered via drip lines to minimize leaf wetness and reduce fungal pressure. Aim for 1.5 inches of water per week, delivered in two or three deep soaking sessions rather than daily light mists. This encourages roots to grow deep into the soil profile.
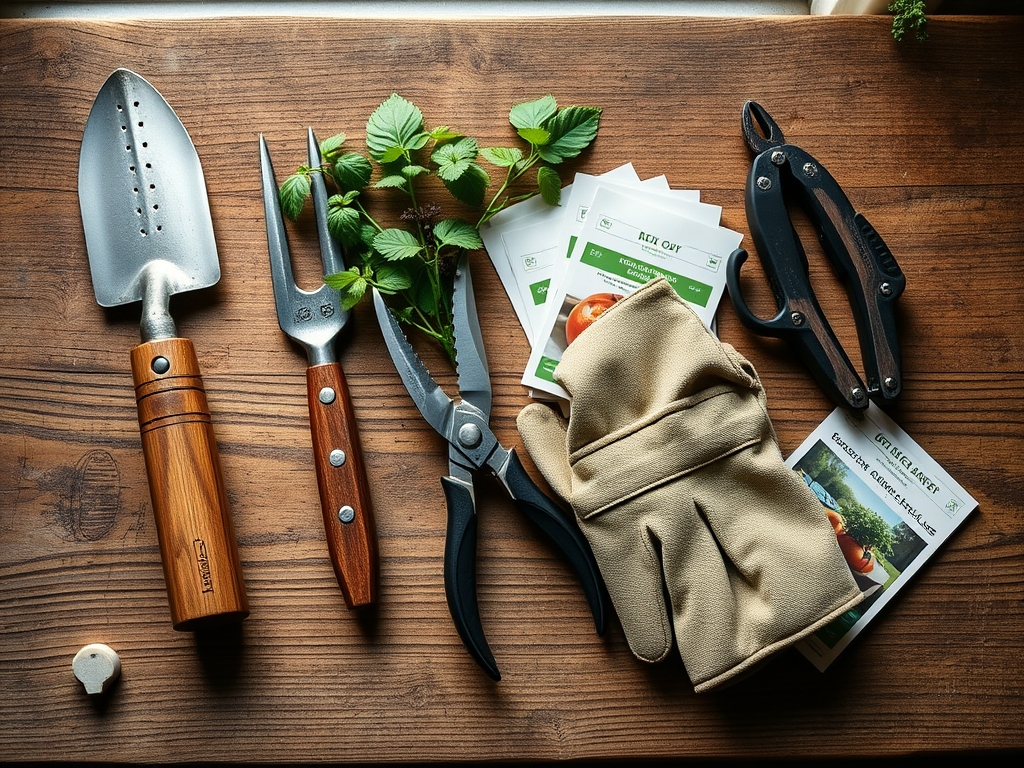
Use a soil moisture meter daily to verify that the moisture has penetrated to a depth of 6 to 8 inches. For pruning and harvesting, a sharp hori-hori knife or professional-grade bypass pruners are required to make clean cuts. Ragged tears in plant tissue serve as entry points for pathogens. Keep tools sanitized with a 10 percent bleach solution or isopropyl alcohol between plants to prevent the mechanical transfer of viruses. Weed management must be proactive; once a weed reaches the flowering stage, it can deposit thousands of seeds into the soil bank, complicating future seasons.
The Yield:
Harvesting at the peak of physiological maturity ensures the highest nutrient density and best flavor profile. For leafy greens, harvest before sunrise when the plant has maximum turgor pressure and the leaves are crisp. For fruiting crops like tomatoes, the "breaker stage" (when the fruit is 10 percent colored) is the point where it can be removed from the vine without sacrificing final quality, which protects the fruit from birds and cracking.
Post-harvest handling is critical. Field heat must be removed immediately through "hydro-cooling" or by placing the produce in a shaded, ventilated area. For every hour that a harvested vegetable sits in the sun, it loses significant shelf life due to senescence, the biological aging process. Proper storage temperatures for most temperate vegetables range from 32 to 40 degrees Fahrenheit with high humidity to prevent wilting.
FAQ:
How often should I test my soil?
Conduct a professional laboratory soil test every two to three years. This tracks nutrient depletion and pH shifts, allowing for precise amendments rather than guesswork. Annual testing is recommended for high-turnover commercial plots.
What is the best way to suppress weeds on a large scale?
Utilize a combination of silage tarps for occultation and heavy organic mulching. For row crops, mechanical cultivation with a stirrup hoe or the use of cover crops like cereal rye provides effective long-term suppression.
Why are my plants wilting even though the soil is wet?
This is often caused by root rot or damping off, where anaerobic conditions have killed the root hairs. Without functional roots, the plant cannot uptake water, regardless of soil moisture levels.
Can I use greywater for a large scale vegetable garden?
Greywater can be used if it is filtered and applied via sub-surface irrigation. It should never come into direct contact with the edible portions of the plant to prevent contamination and potential health risks.