8 Moisture-Loving Tips to Use specialized Fern Soil
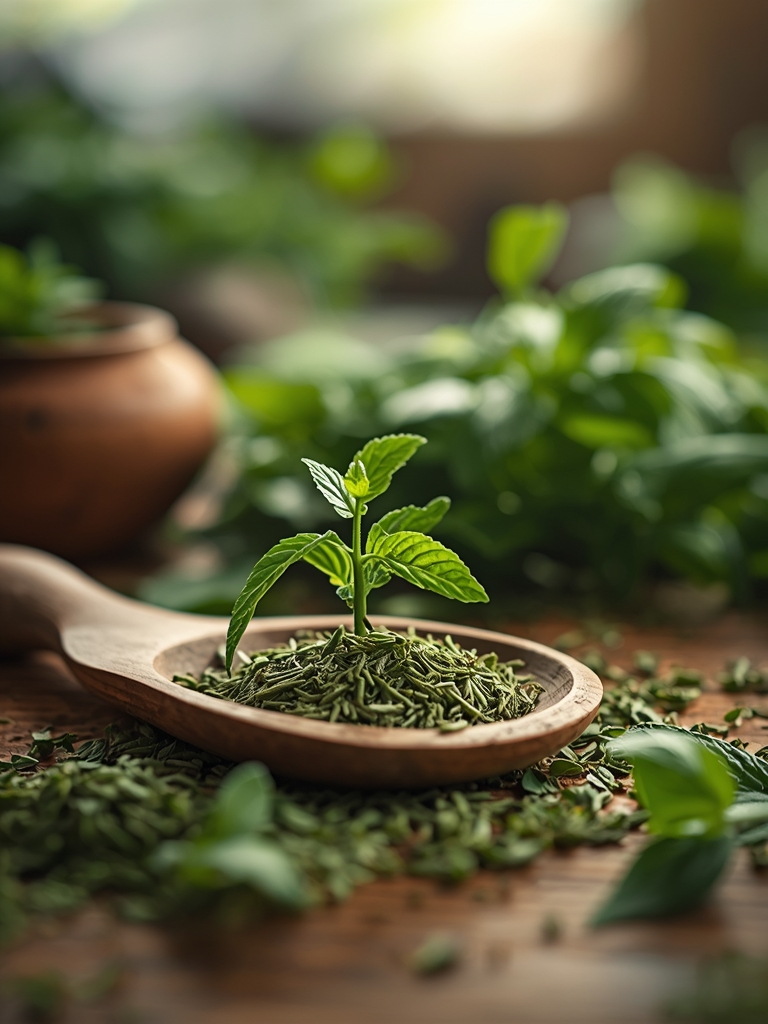
Crush a handful of damp humus and the scent of geosmin fills the air; this is the olfactory signal of a high-functioning rhizosphere. When a fern leaf maintains maximum turgor pressure, it stands rigid because the cellular vacuoles are fully distended with water. Achieving this physiological state requires more than just hydration. It requires a substrate that balances capillary action with structural aeration. Using a specialized fern soil ensures that the delicate, fibrous root systems of Pteridophytes do not succumb to anaerobic conditions. Standard potting mixes often collapse over time, suffocating the roots and triggering leaf senescence. A specialized medium utilizes long-fiber sphagnum peat or coconut coir to maintain a low bulk density. This allows for rapid gas exchange while holding onto the moisture necessary for frond expansion. For the serious horticulturalist, the soil is not just a physical anchor. It is a biological engine that dictates the rate of nutrient uptake and the overall health of the plant. Proper substrate selection is the primary factor in preventing tip burn and ensuring the longevity of the specimen.
Materials:
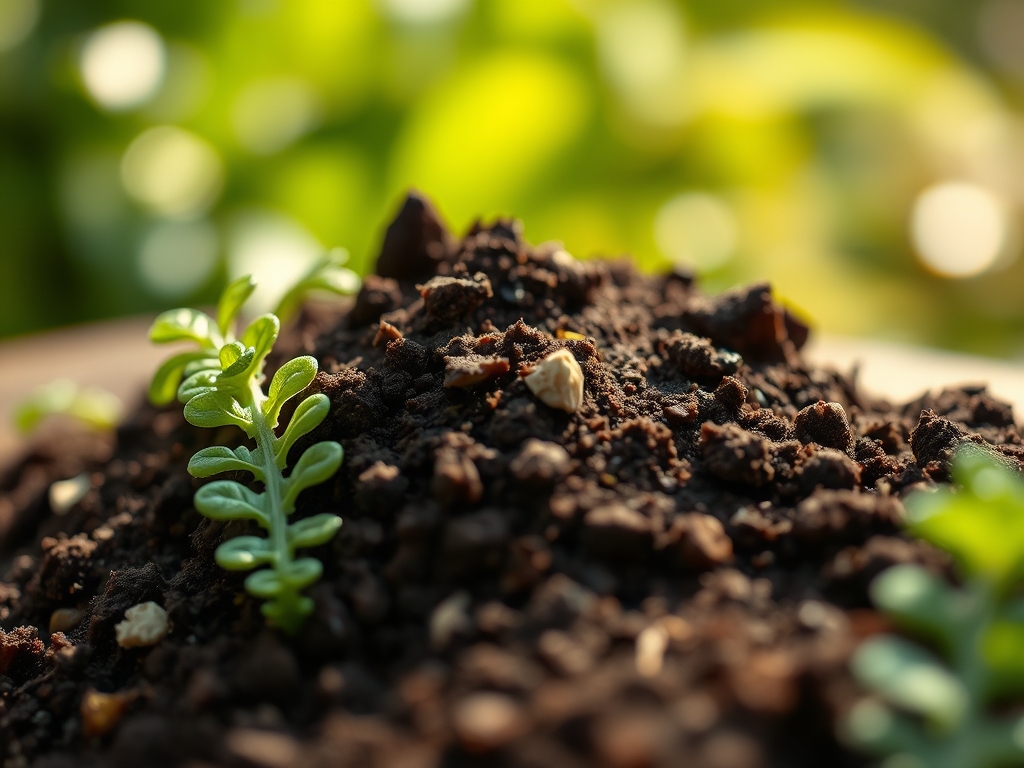
The ideal substrate for ferns is a friable loam with a high organic matter content. The target pH range for most species, including the popular Nephrolepis exaltata, is **5.5 to 6.5**. This acidic to neutral range ensures that micronutrients like iron and manganese remain bioavailable. Using a specialized fern soil typically involves a blend with an **NPK ratio of 1-1-1 or 2-1-2** for slow-release nutrition. High nitrogen levels are avoided to prevent leggy, weak growth that is susceptible to pathogens.
The physical texture must include coarse aggregates. Incorporate 20 percent perlite or pumice to increase the Cation Exchange Capacity (CEC) and ensure drainage. A high CEC allows the soil to hold onto positively charged nutrients like potassium (K+) and magnesium (Mg2+), preventing them from leaching out during frequent watering cycles. The presence of shredded pine bark or leaf mold provides the structural integrity needed to prevent medium compaction over a three year growth cycle.
Timing:
Ferns are most active during the spring and summer months when the photoperiod exceeds 12 hours of light. In USDA Hardiness Zones 8 through 11, evergreen varieties can be transitioned year-round, but deciduous species require timing that aligns with their emergence from dormancy. The "Biological Clock" of a fern is triggered by soil temperatures reaching a consistent 55 degrees Fahrenheit.
For indoor or greenhouse specimens, the transition from the vegetative stage to the reproductive stage (spore production) occurs when light intensity and humidity are peaked. Do not repot or disturb the root ball during the peak of summer heat, as the transpiration rate is too high for the plant to recover from root trauma. Instead, schedule soil changes for early spring, approximately two to three weeks before the last frost date, to allow the root system to establish before the high-demand growth phase begins.
Phases:

Sowing and Spore Propagation
Propagating ferns from spores requires a sterile, fine-textured version of a specialized soil. Sift the medium to remove large bark chunks. Surface-sow the spores on the damp substrate and seal the container to maintain 100 percent relative humidity.
Pro-Tip: Maintaining high humidity is essential because ferns require a film of liquid water for the motile sperm to swim from the antheridia to the archegonia during the gametophyte stage. This is a fundamental requirement of their reproductive biology.
Transplanting
When moving a fern to a larger vessel, ensure the new container is only 2 inches wider than the previous one. Using a specialized fern soil, fill the bottom and sides, ensuring there are no large air pockets. Do not bury the crown; the point where the fronds emerge must remain at the soil surface to prevent crown rot.
Pro-Tip: Minimize root disturbance to protect the mycorrhizal symbiosis. Many ferns rely on beneficial fungi to increase the surface area of their root systems for phosphorus uptake.
Establishing
Once transplanted, the fern enters an establishment phase lasting four to six weeks. During this time, keep the soil consistently moist but not saturated. Monitor the fronds for signs of wilting, which indicates the roots have not yet bridged the gap into the new substrate.
Pro-Tip: Avoid heavy fertilization during this phase to prevent auxin suppression. High salt concentrations from fertilizers can inhibit the hormonal signals that tell the roots to elongate into the new soil.
The Clinic:
Physiological disorders in ferns are often tied directly to soil moisture and chemistry.
- Symptom: Marginal Necrosis (Brown edges).
Solution: This is often caused by low humidity or high salt accumulation in the soil. Flush the specialized fern soil with distilled water to leach out excess minerals. - Symptom: Interveinal Chlorosis (Yellowing between veins).
Solution: This indicates a magnesium or iron deficiency. Check the soil pH; if it is above 7.0, the plant cannot absorb these minerals. Lower the pH using elemental sulfur or chelated iron. - Symptom: Frond Abscission (Dropping green leaves).
Solution: This is a stress response to rapid changes in moisture levels. Ensure the soil moisture meter reads in the "Moist" zone (level 4-7) consistently.
Fix-It for Nitrogen Chlorosis: If the entire plant appears pale green or yellow, apply a diluted liquid fertilizer with a 5-5-5 NPK ratio at half strength. Nitrogen is a mobile nutrient; the plant will pull it from older fronds to support new growth, causing the base to yellow first.
Maintenance:
Precision is required for long-term fern health. Provide 1.5 inches of water per week distributed evenly across the soil surface. Use a soil moisture meter daily to ensure the root zone never drops below 30 percent moisture content. For outdoor ferns, apply water at the drip line to encourage the roots to spread outward.
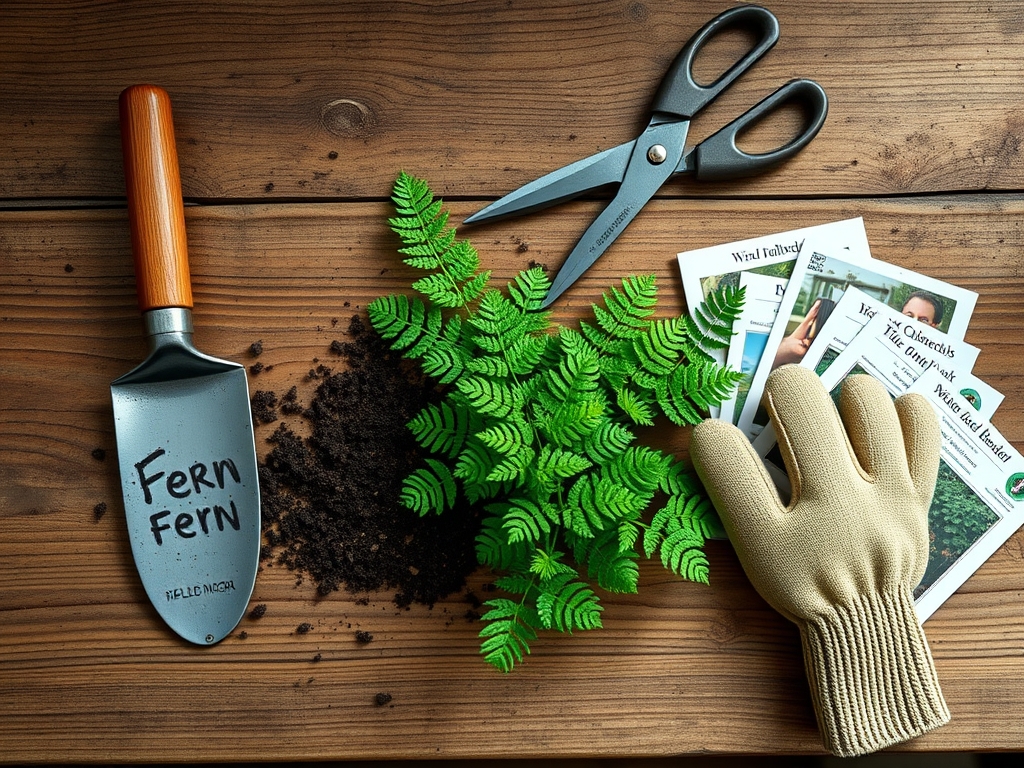
Use a hori-hori knife to remove invasive weeds or to divide overgrown clumps in the spring. When pruning dead or damaged fronds, use sharp bypass pruners to make clean cuts near the base of the rhizome. This prevents jagged wounds that can serve as entry points for fungal pathogens like Rhizoctonia. Every two years, top-dress the pots with an additional inch of specialized fern soil to replenish organic matter lost through decomposition.
The Yield:
While most ferns are ornamental, certain species like the Ostrich Fern (Matteuccia struthiopteris) provide edible fiddleheads. Harvesting must occur when the fronds are still tightly coiled and no more than 2 to 6 inches tall. Use a sharp knife to cut the fiddlehead at the base, leaving at least half of the coils on each crown to ensure the plant has enough photosynthetic capacity to survive.
To maintain "day-one" freshness, submerge the harvested fiddleheads in cold water immediately to reduce the field heat and slow the rate of respiration. They can be stored in a sealed container at 34 to 38 degrees Fahrenheit for up to seven days. For ornamental ferns, "harvesting" refers to taking cuttings for floral arrangements. Dip the cut ends in water immediately to maintain turgor and prevent the vascular system from air embolisms.
FAQ:
Why is my fern soil drying out so fast?
Peat-based specialized soils can become hydrophobic if allowed to dry completely. If the water runs down the sides of the pot, submerge the entire pot in a bucket of water for 20 minutes to rehydrate the peat fibers.
Can I use regular garden soil for ferns?
No. Garden soil is too dense and lacks the necessary pore space for fern roots. It often contains pathogens and weed seeds. Using a specialized fern soil provides the porosity and sterility required for container growth.
How often should I fertilize my ferns?
Apply a balanced, water-soluble fertilizer at half strength every four weeks during the active growing season. Stop all fertilization during the winter months when the plant's metabolic rate slows and it enters a semi-dormant state.
What is the best way to check soil moisture?
Insert your finger 2 inches into the substrate. If the soil feels dry at that depth, it is time to water. For more precision, use a digital moisture meter calibrated for organic-heavy soils to ensure accuracy.