8 Lighting Steps to Prepare a DIY Plant Light Setup
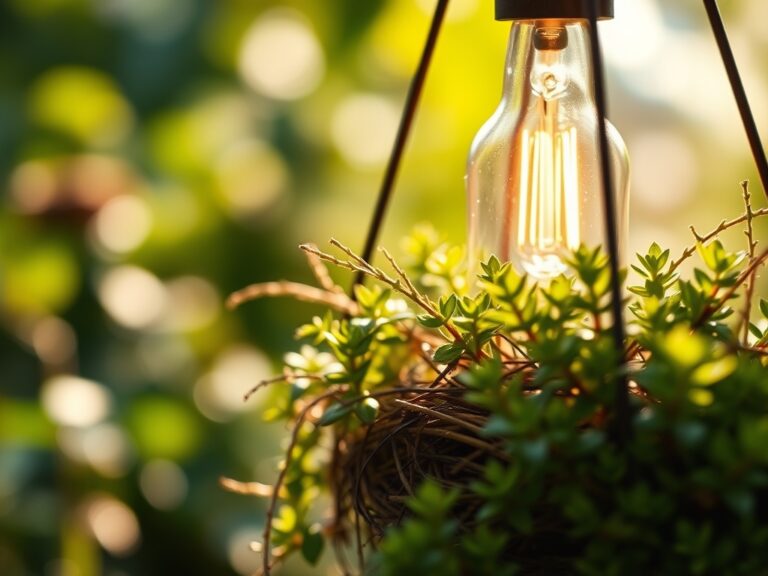
The snap of a turgid leaf and the earthy scent of geosmin from the rhizosphere signal a plant in peak physiological health. Achieving this indoors requires more than a sunny windowsill; it demands an engineered environment where photon flux density meets biological demand. To master the indoor canopy, you must learn how to prepare a DIY plant light that mimics the solar spectrum while managing thermal output. This process bridges the gap between basic gardening and precise horticultural engineering.
Materials:

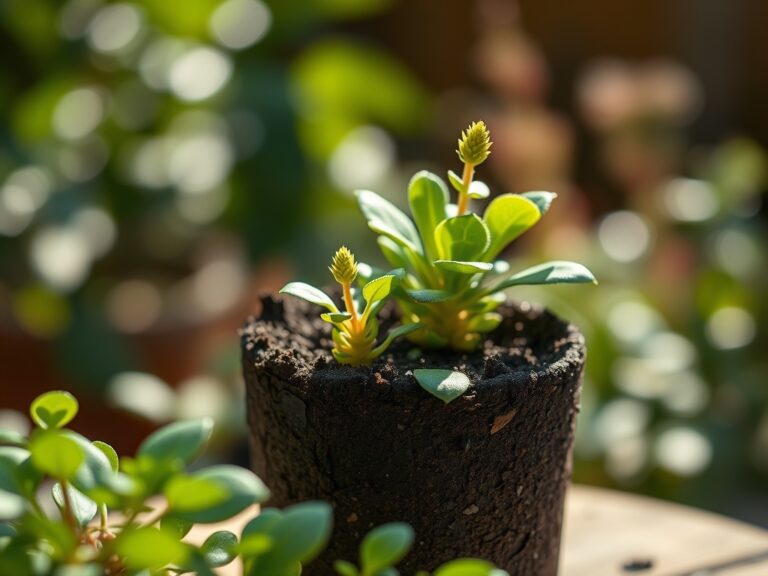
Before assembling the light, prepare the substrate to receive the increased metabolic activity that high intensity lighting triggers. The ideal medium is a **friable loam** with a high Cation Exchange Capacity (CEC) to hold onto essential nutrients. Ensure the soil pH is stabilized between **6.0 and 6.8** for optimal nutrient bioavailability. For the vegetative stage, utilize a fertilizer with an **NPK ratio of 3-1-2** to support nitrogen-rich chlorophyll production. When transitioning to the reproductive stage, shift to a **5-10-10 ratio** to prioritize phosphorus for root and flower development. Your DIY setup requires full-spectrum LED chips or T5 fluorescent tubes, a 24 hour mechanical timer, and reflective Mylar sheeting to maximize light bounce.
Timing:
Timing is dictated by the photoperiod requirements of your specific species and your local Hardiness Zone. In Zones 5 through 7, indoor seed starting typically begins 6 to 8 weeks before the last predicted frost date. The "Biological Clock" of the plant is governed by phytochrome proteins that sense light duration. For vegetative growth, maintain a 16 hour light and 8 hour dark cycle. To trigger the reproductive stage in photoperiod-sensitive plants, you must reduce the light interval to 12 hours. This shift signals the plant to move energy from leaf production to seed and fruit development, mimicking the shortening days of late summer.
Phases:
Sowing
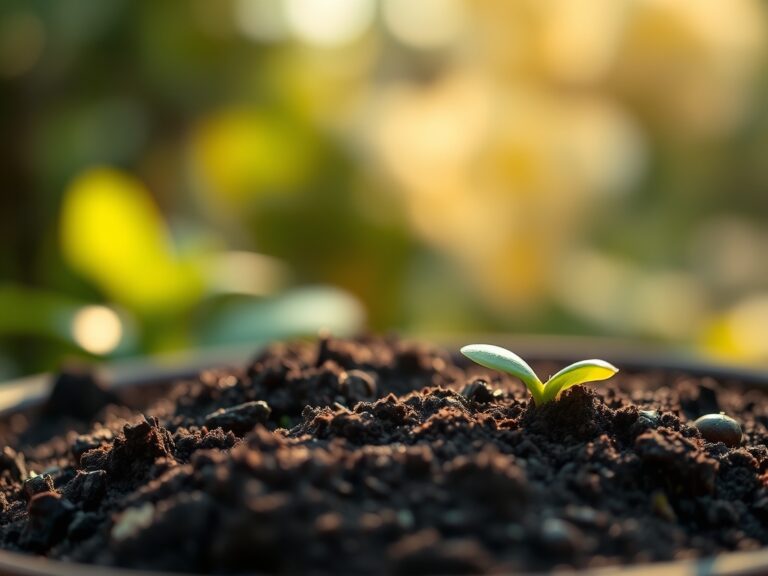
Place seeds at a depth exactly two to three times their width. Position your DIY light exactly 3 to 4 inches above the soil surface. This prevents "leggy" growth by ensuring immediate access to high-energy blue wavelengths.
Pro-Tip: Maintaining close proximity prevents hypocotyl elongation. This is a response to phototropism, where the plant spends excessive energy stretching toward a light source, resulting in weak cellular walls that cannot support the plant's future weight.
Transplanting
Once the first set of true leaves appears, move seedlings into larger vessels. Ensure the new medium is pre-moistened to prevent root desiccation. Handle the root ball with a hori-hori knife to minimize disturbance to the delicate root hairs.
Pro-Tip: Inoculate the new site with mycorrhizal fungi. This creates a mycorrhizal symbiosis where the fungi extend the root system's reach, increasing the surface area for water and phosphorus absorption by up to 100 times.
Establishing
As the plant enters its rapid growth phase, raise the light fixture to maintain a distance of 12 to 18 inches from the apical meristem. This allows the light to spread across the expanding lateral branches.
Pro-Tip: Use a technique called "pinching" to remove the terminal bud. This triggers auxin suppression; by removing the primary growth point, you redirect growth hormones to lateral buds, creating a bushier and more productive plant architecture.
The Clinic:
Physiological disorders often manifest as visual cues in the foliage.
- Symptom: Interveinal chlorosis (yellowing between leaf veins) on older leaves.
- Solution: This indicates Magnesium deficiency. Apply a foliar spray of Epsom salts (1 tablespoon per gallon of water) to restore chlorophyll function.
- Symptom: Necrotic (brown) leaf tips and margins.
- Solution: This is often Tip Burn, caused by inconsistent calcium transport. Ensure a steady transpiration rate by maintaining relative humidity between 40% and 60%.
- Symptom: Spindly, pale stems with wide gaps between nodes.
- Solution: This is Etiolation. Your DIY light is either too far away or lacks sufficient intensity in the 400 to 500 nanometer (blue) range. Lower the light source immediately.
Fix-It: For general Nitrogen chlorosis (uniform paling of the entire leaf), apply a quick-release organic fish emulsion. Nitrogen is a mobile nutrient; the plant will pull it from older growth to support new leaves if the soil supply is exhausted.
Maintenance:
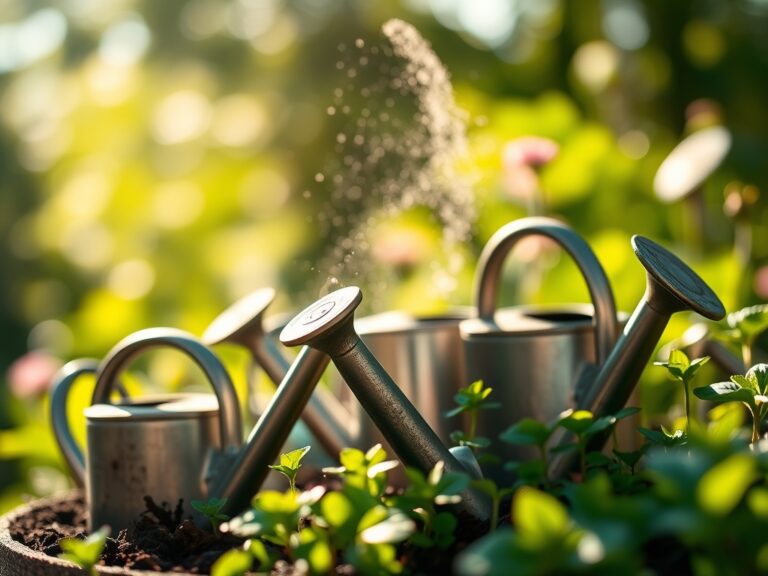
Precision is the difference between survival and thrival. Use a soil moisture meter to ensure the substrate stays at a consistent "moist but not saturated" state. Most indoor plants require approximately 1.5 inches of water per week delivered directly at the drip line to encourage deep root penetration. Every two weeks, use bypass pruners to remove any yellowing or senescing leaves at the base of the plant. This improves airflow and prevents the accumulation of pathogens in decaying organic matter. Dust the bulbs of your DIY light setup monthly; a thin layer of dust can reduce light output by up to 20%, starving the plant of necessary photons.
The Yield:
Harvesting is the culmination of the photoperiod cycle. For leafy greens, harvest in the early morning when turgor pressure is at its highest. This ensures the cells are fully hydrated, providing a crisp texture. Use a sharp, sterilized blade to make clean cuts, preventing jagged wounds that invite infection. For fruiting plants, harvest when the color is uniform and the fruit separates easily from the pedicel. To maintain "day-one" freshness, immediately move the harvest to a cool, dark environment to slow the rate of respiration and senescence. This preserves the sugars and volatile compounds developed under your light system.
FAQ:
How high should I hang my DIY LED light?
Maintain a distance of 3 to 6 inches for seedlings and 12 to 24 inches for established vegetative plants. Adjust based on heat output to avoid thermal stress on the upper leaf canopy.
Can I use regular shop lights for plants?
Standard shop lights often lack the PAR (Photosynthetically Active Radiation) needed for long-term growth. Use bulbs rated between 5000K and 6500K to provide the blue spectrum necessary for compact, healthy structural development.
How do I know if my light is too bright?
Observe the leaves for "bleaching" or a silvery appearance on the surfaces closest to the bulbs. If leaves curl downward or show brown scorched patches, increase the distance between the fixture and the plant immediately.
What is the best light schedule for herbs?
Most culinary herbs thrive with 14 to 16 hours of light daily. This extended photoperiod mimics mid-summer conditions, maximizing the production of essential oils and aromatic compounds within the leaf tissues.
Do indoor plants need a dark period?
Yes. Plants require a dark period for respiration, where they break down the sugars created during photosynthesis to fuel growth. A standard 18/6 or 16/8 cycle is ideal for most non-flowering indoor species.