8 Best Vegetable Tool Oils to Prevent Corrosion
The smell of damp earth and the high turgor pressure of a healthy leaf signify a thriving ecosystem, but the very moisture that sustains life is the primary enemy of the steel implements used to manage it. Corrosion on carbon steel tools introduces oxidized iron particles into the rhizosphere, potentially altering the delicate mineral balance of the soil. Utilizing the best vegetable garden tool oils is a non negotiable requirement for any serious horticulturist looking to maintain the integrity of their blades and the health of their crops. A rusted spade or pruner creates friction, which damages plant tissue and leaves jagged wounds that are susceptible to pathogens. High quality botanical oils create a hydrophobic barrier, preventing oxygen and water from reaching the metal surface. This protective layer ensures that every cut made with a bypass pruner is clean and surgical, facilitating rapid callus formation. Maintaining a clean tool surface is as critical as monitoring soil moisture levels or nutrient uptake. Without proper lubrication and protection, the physical effort required for cultivation increases, leading to inefficient labor and degraded equipment.
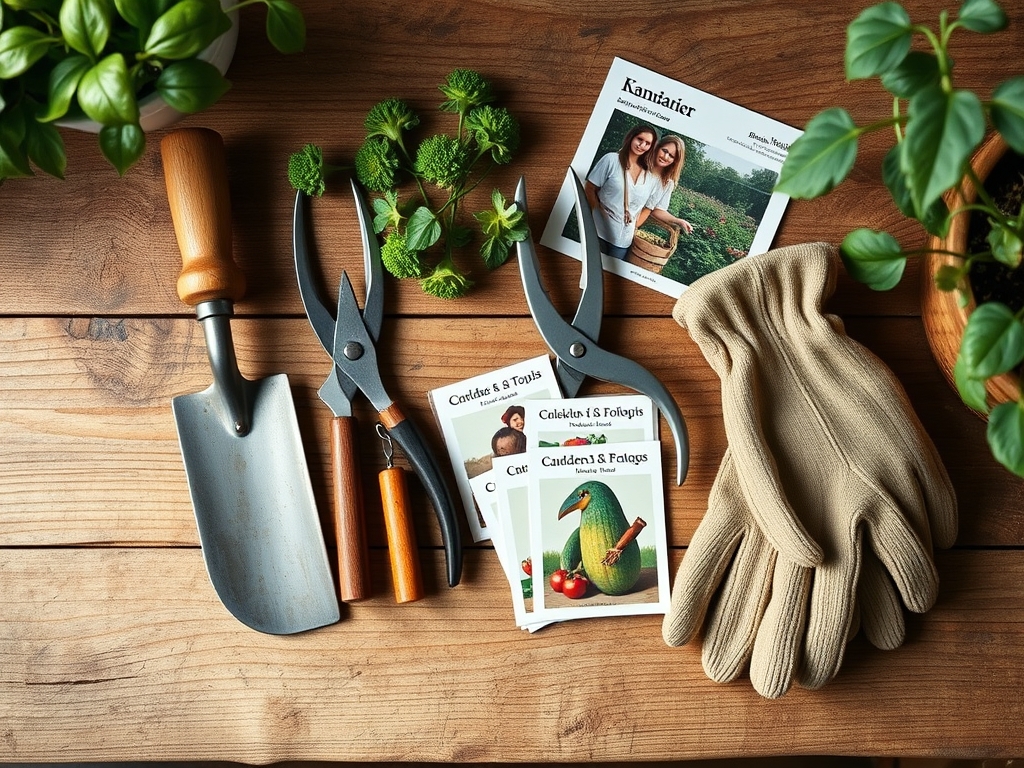
Materials:
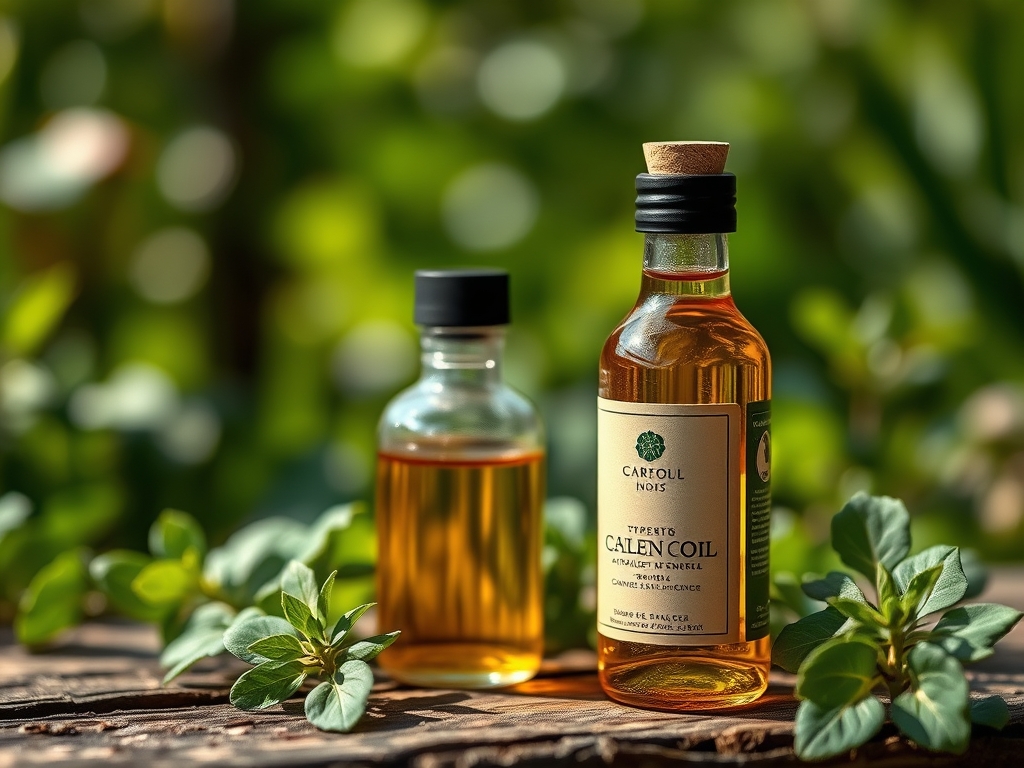
Selecting the correct lubricant requires an understanding of the environment where these tools operate. Vegetable gardens typically thrive in a friable loam with a soil pH between 6.0 and 7.0. In this range, nutrient availability is optimized, specifically the NPK ratios of 10-10-10 for general growth or 5-10-10 for root crops. The ideal substrate should have a high Cation Exchange Capacity (CEC), meaning it can hold onto essential minerals like calcium and magnesium. Because these tools contact the soil, the oils used must be food safe and biodegradable. Avoid petroleum based lubricants which can leach hydrocarbons into the root zone. Instead, focus on high viscosity vegetable oils such as camellia oil, linseed oil, or food grade mineral oil. These substances do not interfere with the mycorrhizal symbiosis occurring beneath the surface. The physical texture of the oil should be light enough to penetrate the pores of the metal but thick enough to resist being wiped away by abrasive soil particles.
Timing:
Maintenance schedules must align with the USDA Hardiness Zones and the biological clock of the garden. In Zones 5 through 7, the primary maintenance window occurs during the transition from the vegetative stage to the reproductive stage, usually between the last frost in May and the first frost in October. During periods of high humidity, tools require oiling after every use to prevent flash rusting. As plants enter senescence in the autumn, tools must be deep cleaned and coated with a heavy layer of oil before winter storage. This prevents the metal from reacting with ambient moisture during the dormant season. The biological clock of the plant dictates the urgency of tool care; for instance, during the rapid growth phase of spring, a dull or rusted blade can crush the xylem and phloem of a young transplant, severely restricting water and nutrient transport.
Phases:
Sowing
During the sowing phase, precision is paramount. Use a sharpened hori-hori knife to create clean furrows at the specific depth required for the seed size; typically three times the diameter of the seed. Once the task is complete, wipe the blade with a rag soaked in camellia oil.
Pro-Tip: Maintaining a smooth, oiled surface on sowing tools reduces soil adhesion. This prevents the disruption of the soil crust, which can interfere with phototropism as the seedling attempts to break the surface.
Transplanting
Transplanting requires moving a plant from a controlled environment to the field while minimizing root shock. A clean, oiled trowel allows for a swift extraction of the root ball, preserving the integrity of the fine root hairs. Ensure the soil has a moisture level of 25 percent to 30 percent before digging.
Pro-Tip: Clean tools prevent the accidental transfer of anaerobic bacteria between sites. This protects the mycorrhizal symbiosis, ensuring the fungi can immediately begin colonizing the new root zone to assist in phosphorus uptake.
Establishing
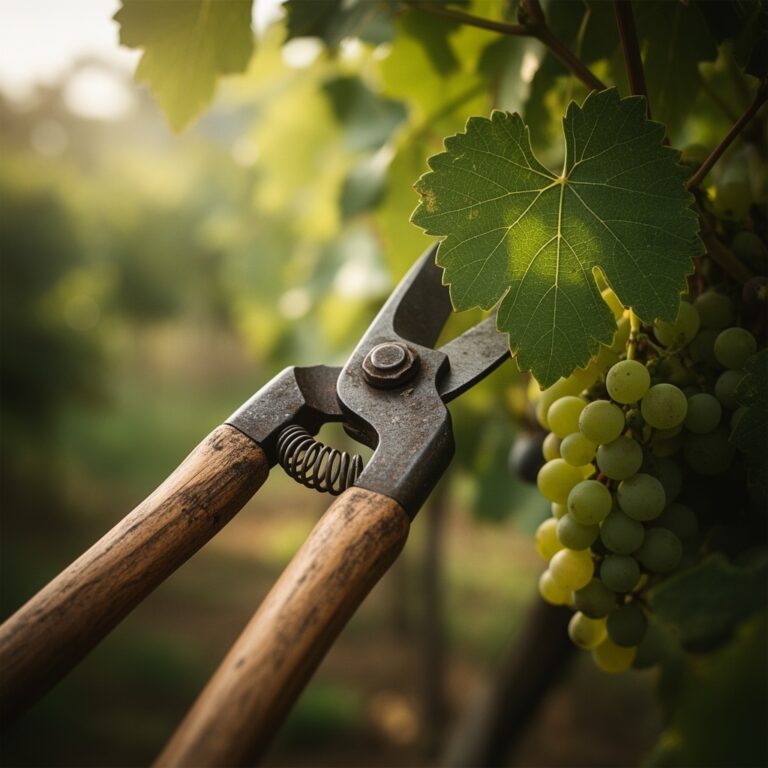
As the plant enters the establishment phase, pruning may be necessary to direct energy toward the primary leader. Use bypass pruners that have been treated with a light mineral oil to ensure the spring mechanism functions without hesitation.
Pro-Tip: A sharp, lubricated blade ensures a clean cut that minimizes the release of ethylene gas. Excessive ethylene can trigger premature senescence or abscission in neighboring healthy tissues.
The Clinic:
Physiological disorders in plants often mirror the health of the tools used to manage them.
Symptom: Ragged tears on stems or leaf margins.
Solution: Sharpen blades to a 20 degree angle and apply a thin coat of vegetable garden tool oil. This reduces mechanical stress and prevents the entry of pathogens.
Symptom: Nitrogen chlorosis (yellowing of older leaves).
Fix-It: While often a soil issue, ensure your tools are not introducing contaminants. Check soil with a moisture meter and apply a high nitrogen fertilizer (NPK 21-0-0) if the soil test confirms a deficiency.
Symptom: Blossom end rot in tomatoes.
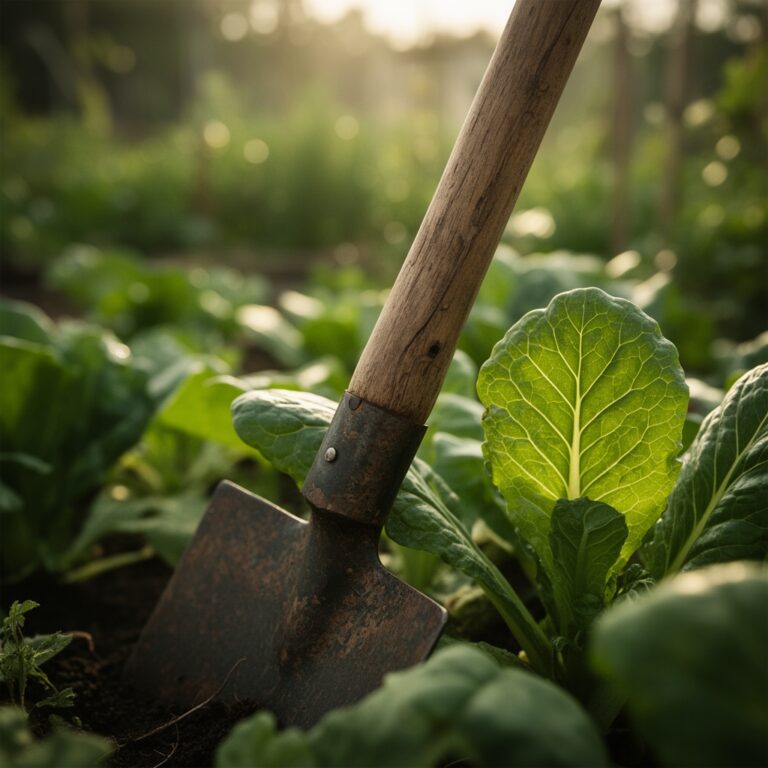
Fix-It: This is a calcium transport issue often caused by inconsistent moisture. Use an oiled spade to mulch around the base of the plant to stabilize soil temperature and moisture levels.
Maintenance:
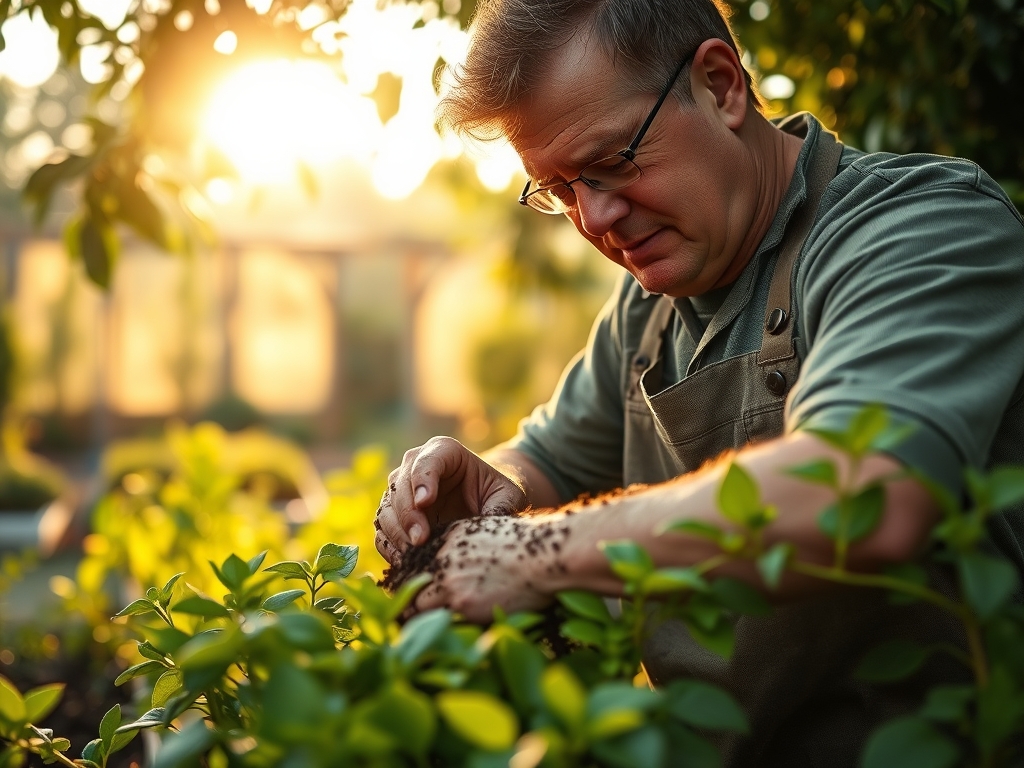
Daily maintenance is the hallmark of a professional. After each session, scrub tools with a stiff brush to remove all organic matter. Apply 1.5 inches of water per week at the drip line of your plants, and use your soil moisture meter to verify penetration depth. For your hori-hori knife and bypass pruners, apply a few drops of oil to the pivot points and the blade faces. If you encounter sap buildup, use a solvent like isopropyl alcohol before re-oiling. Store tools in a bucket of dry sand mixed with a small amount of vegetable oil to maintain a constant protective film.
The Yield:
Harvesting is the culmination of the vegetative and reproductive cycles. For leafy greens, harvest in the early morning when turgor pressure is at its peak. Use an oiled serrated knife to cut the stems cleanly. For root vegetables, use a garden fork to loosen the soil at the drip line, avoiding direct contact with the crop to prevent bruising. Post harvest, vegetables should be cooled immediately to 40 degrees Fahrenheit to slow the rate of respiration and preserve "day-one" freshness. Clean and oil your harvesting tools immediately after use to remove acidic plant juices that accelerate corrosion.
FAQ:
Which oil is best for vegetable garden tools?
Food grade mineral oil or camellia oil are superior choices. They are non toxic, do not go rancid quickly, and provide a durable moisture barrier that prevents oxidation without contaminating the soil or the harvested produce.
How often should I oil my garden tools?
Tools should be wiped down with oil after every use, especially after contact with wet soil or sap. A thorough cleaning and heavy oiling should occur at the end of each growing season before storage.
Can I use motor oil on my garden tools?
No. Motor oil contains heavy metals and petroleum additives that are toxic to soil microbes and can be absorbed by vegetable roots. Always use biodegradable, food safe vegetable or mineral oils in edible garden spaces.
Why is my tool rusting even after oiling?
Rust occurs if the tool was not completely dry before the oil was applied. Moisture trapped under the oil layer will continue to oxidize the metal. Always scrub, dry, and then apply the oil to a clean surface.