8 Accuracy Steps to Use a Deep-Soil Moisture Meter
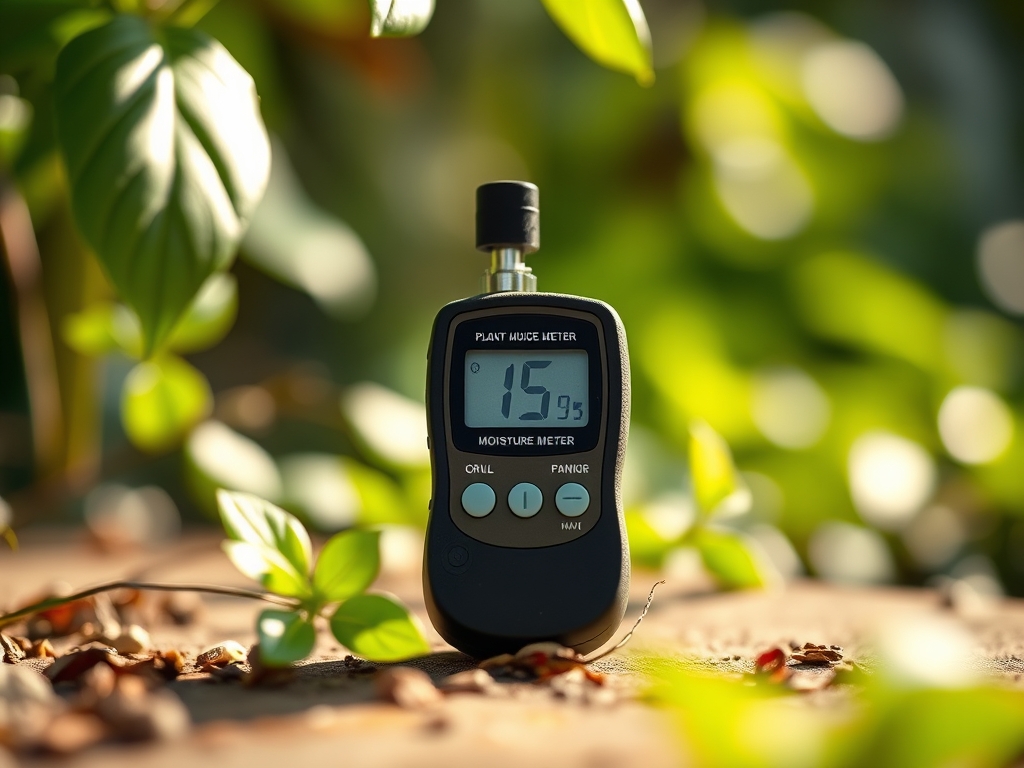
Crushing a handful of friable loam reveals the metallic scent of geosmin; this aromatic signaling indicates an active microbial community within the rhizosphere. When turgor pressure is high, a leaf feels rigid and cool to the touch because the vascular system is fully hydrated. Maintaining this physiological state requires precision. Relying on surface-level observation leads to root rot or permanent wilting point. Utilizing the best plant moisture meters allows a grower to bypass guesswork by measuring electrical conductivity or tension at the root zone. These tools provide data on the water available to the plant between field capacity and the wilting point. Without a deep-soil probe, the transition from vegetative vigor to reproductive failure often occurs invisibly beneath the surface. Consistent monitoring ensures that the xylem remains pressurized, preventing the cellular collapse that characterizes drought stress.
Materials:

Successful moisture management begins with a substrate that facilitates gas exchange. A **friable loam** with a **pH of 6.2 to 6.8** is the gold standard for nutrient availability. In this range, the **Cation Exchange Capacity (CEC)** is optimized, allowing the soil to hold onto positively charged ions like potassium and calcium. For heavy feeders, the NPK ratio should sit at **10-10-10** for general maintenance; however, a ratio of **5-10-10** is preferred during the flowering phase to prevent excessive nitrogen-driven foliage growth. The substrate must contain approximately **20 percent pore space** to allow the probe of the moisture meter to bypass aggregate rocks without losing contact with the soil particles.
Timing:
Monitoring must align with regional environmental variables. In Hardiness Zones 5 through 7, the most critical window for moisture tracking begins after the last frost date, typically between April 15 and May 15. As plants move through their biological clock, their water demands shift. During the vegetative stage, high transpiration rates require consistent moisture. As the plant transitions to the reproductive stage (flowering or fruiting), the photoperiod triggers a shift in hormonal balance. In this phase, allowing the soil to dry slightly more between waterings can stimulate fruit set, provided the moisture level does not drop below 25 percent of total available water.
Phases:

Sowing
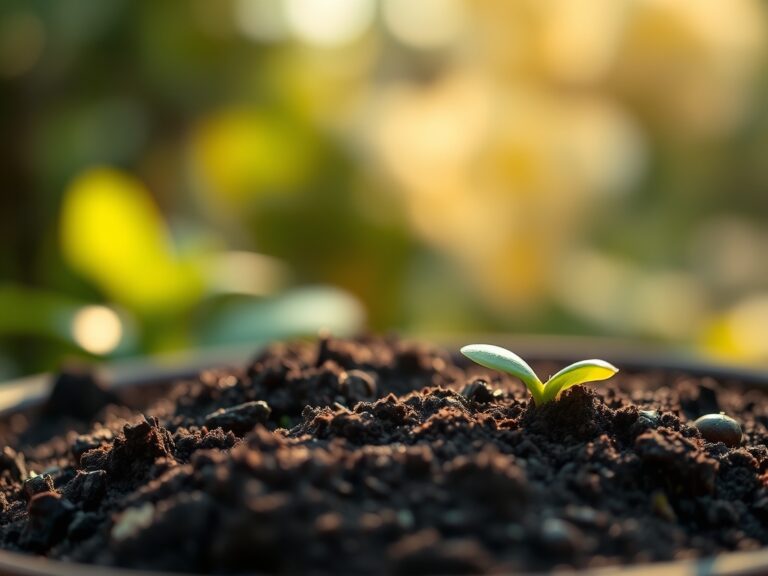
During the germination phase, the soil must remain at a consistent 70 to 80 percent moisture capacity. Use the probe to check the top 2 inches of the seedbed. High moisture is necessary to soften the seed coat and trigger the metabolic processes required for the radicle to emerge.
Pro-Tip: Maintaining high moisture at this stage prevents auxin suppression. If the embryo detects drought, it will halt growth to conserve energy, often resulting in stunted seedlings that never reach full potential.
Transplanting
When moving a plant from a container to the field, the "transition zone" between the root ball and the native soil is a point of failure. Use the moisture meter to ensure both the root ball and the surrounding earth are at equal hydration levels. A discrepancy in soil tension will cause water to move away from the roots, leading to transplant shock.
Pro-Tip: Consistent moisture encourages mycorrhizal symbiosis. These beneficial fungi require a stable hydraulic environment to colonize the root system and extend the plant's reach for phosphorus and micronutrients.
Establishing
An established plant requires deep, infrequent watering to encourage downward root architecture. Insert the probe to a depth of 8 to 12 inches. The goal is to keep the lower rhizosphere moist while the top 3 inches of soil dry out.
Pro-Tip: This technique utilizes phototropism and hydrotropism. Roots will naturally grow toward deeper water reservoirs, creating a resilient plant capable of surviving temporary surface droughts.
The Clinic:
Physiological disorders often mimic nutrient deficiencies. Accurate diagnosis requires correlating meter readings with visual symptoms.
- Symptom: Blossom End Rot. This appears as a necrotic, sunken spot on the base of fruit. Solution: This is caused by a calcium transport failure. Check moisture levels; if the soil is swinging between bone-dry and saturated, the plant cannot move calcium. Keep moisture steady at 50 percent.
- Symptom: Nitrogen Chlorosis. Older leaves turn pale yellow while veins remain green. Solution: Check for overwatering. Excess water leaches nitrogen below the root zone. Adjust irrigation to 1 inch per week and apply a high-nitrogen fertilizer (NPK 20-10-10).
- Symptom: Leaf Scorch. Edges of the leaves turn brown and crispy. Solution: This indicates a high transpiration rate that the roots cannot match. Increase watering frequency and check the probe at the 6-inch depth to ensure the core is hydrated.
- Symptom: Edema. Small bumps or blisters appear on the underside of leaves. Solution: This is a sign of over-hydration in high humidity. Reduce watering until the meter reads in the "dry" or "low-moist" zone.
Maintenance:
Precision gardening requires high-quality tools and strict schedules. A soil moisture meter should be cleaned with a dry cloth after every use to prevent the oxidation of the metal probe, which skews electrical readings. For pruning, use bypass pruners to make clean, slanted cuts that allow water to shed, preventing fungal entry. When digging or dividing perennials, a hori-hori knife allows for surgical precision without disturbing the surrounding soil structure. Most temperate garden plants require 1.5 inches of water per week delivered at the drip line. This ensures the water reaches the feeder roots rather than just the trunk or main stem.
The Yield:
Harvesting at the peak of turgor pressure ensures the longest shelf life. For leafy greens and herbs, harvest at 06:00 or 07:00, before the sun triggers high transpiration. Use a sharp blade to minimize cellular damage at the cut site. Post-harvest, immediately submerge the stems in 40-degree Fahrenheit water to remove field heat and lock in moisture. For fruiting crops like tomatoes or peppers, harvest when the fruit is "firm-ripe." If the moisture meter has been kept at a steady 40 percent during the final ripening stage, the sugars (Brix levels) will be more concentrated, resulting in superior flavor.
FAQ:
How deep should I insert the moisture meter?
For most garden plants, insert the probe 6 to 8 inches deep. For trees and large shrubs, you must reach 12 inches to accurately measure the moisture available to the primary feeder roots in the lower rhizosphere.
Can I leave the moisture meter in the soil?
No. Leaving a standard analog or digital meter in the soil causes probe oxidation and galvanic corrosion. This ruins the sensor accuracy. Insert the probe, take your reading within 60 seconds, and remove it immediately.
Why does my meter read "dry" in wet soil?
This usually occurs in highly organic soils or loose potting mixes with high air porosity. If the probe does not make direct contact with soil particles, the electrical circuit cannot complete. Firm the soil around the probe.
How often should I test the soil moisture?
During the peak growing season, test every 48 hours. In high-heat conditions (above 90 degrees Fahrenheit), daily testing is required. Monitoring at the same time each morning provides the most consistent data for long-term tracking.