7 Variety Steps to Prepare a Multi-Tiered Plant Shelf
Crushing a handful of damp peat and perlite releases the sharp, metallic scent of active microbes and mineral decomposition. A leaf with high turgor pressure feels rigid and cool to the touch; it is a sign of a functioning vascular system. Learning how to prepare a plant shelf for houseplants requires more than aesthetic placement. It demands an understanding of microclimates and vertical light gradients. You are building a localized ecosystem where the top tier may experience five degrees more heat than the bottom. Success is measured in millimeters of new growth and the lack of leaf abscission.
Materials:
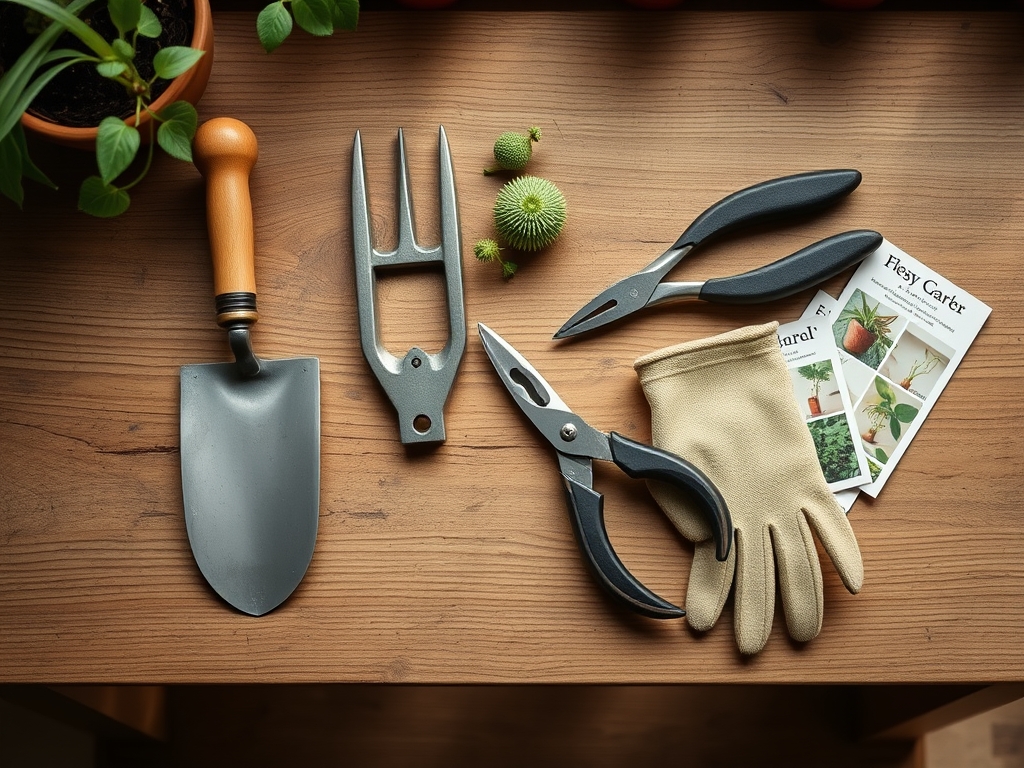
The foundation of a successful vertical shelf is the substrate. Most tropical houseplants thrive in a friable loam that maintains a soil pH between 5.8 and 6.5. This range ensures that micronutrients like iron and manganese remain bioavailable. You will need a custom potting mix consisting of 40 percent orchid bark, 30 percent coco coir, and 30 percent perlite to ensure high Cation Exchange Capacity (CEC).
For nutrient management, stock fertilizers with specific NPK ratios. Use a 9-3-6 ratio for foliage plants to prioritize nitrogen-driven leaf expansion. For flowering species, switch to a 5-10-10 ratio to support phosphorus-heavy reproductive cycles. Avoid heavy garden soils; they lack the porosity required for containerized drainage and will lead to anaerobic conditions in the rhizosphere.
Timing:
While indoor environments are buffered, Hardiness Zones still dictate the ambient humidity and light duration entering through windows. In Zones 5 through 7, the "Biological Clock" of a houseplant slows significantly from November to March. During this period, plants enter a semi-dormant state where vegetative growth halts to conserve carbohydrates.
Prepare your shelf during the late winter transition, approximately four weeks before the last frost date. This timing aligns with the increase in photoperiod, triggering the production of auxins in the apical meristems. As the plant shifts from maintenance to active growth, its metabolic rate increases, making it the ideal window for repotting and shelf reorganization without risking transplant shock.
Phases:
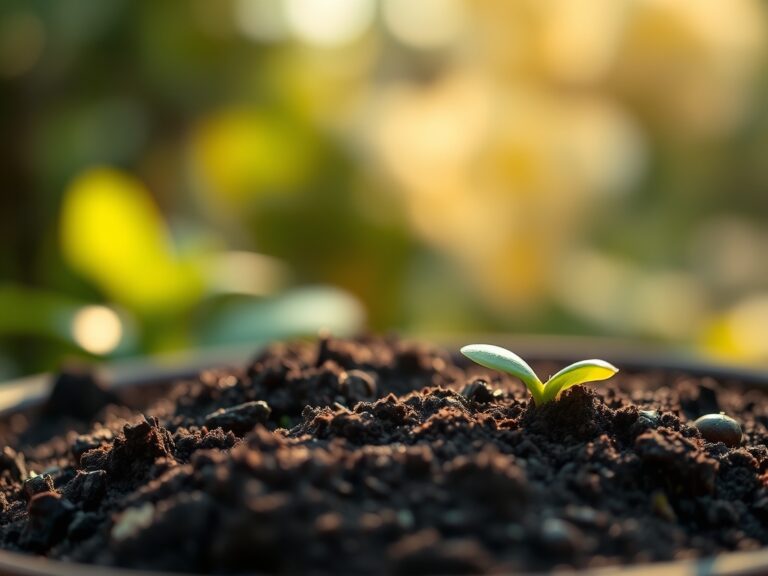
Sowing and Propagation
Start by sanitizing your shelf surfaces with a 10 percent bleach solution to eliminate fungal spores. If starting from seed or cuttings, utilize the top shelf where rising heat maintains a consistent 70 to 75 degrees Fahrenheit. Place propagation trays in humidity domes to prevent desiccation.
Pro-Tip: Utilize bottom heat mats to stimulate rapid cell division in the root zone. This works because of thermomorphogenesis, where specific temperature cues accelerate the development of adventitious roots in cuttings.
Transplanting and Placement
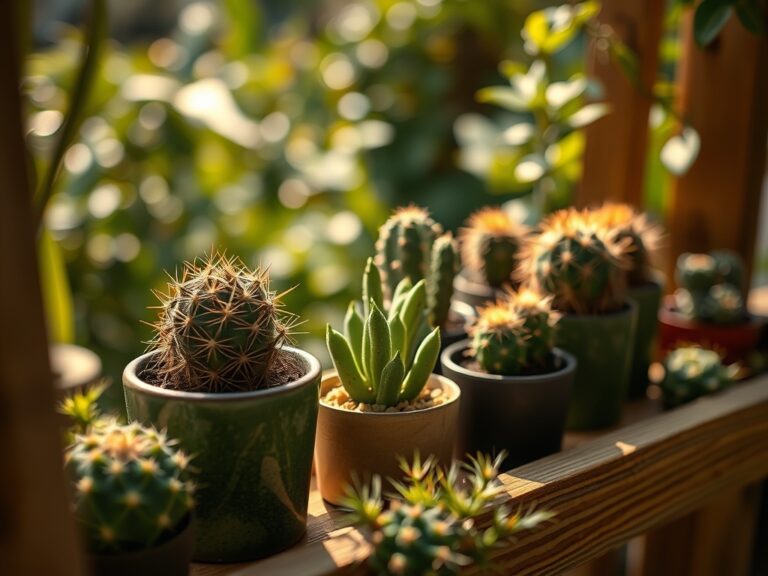
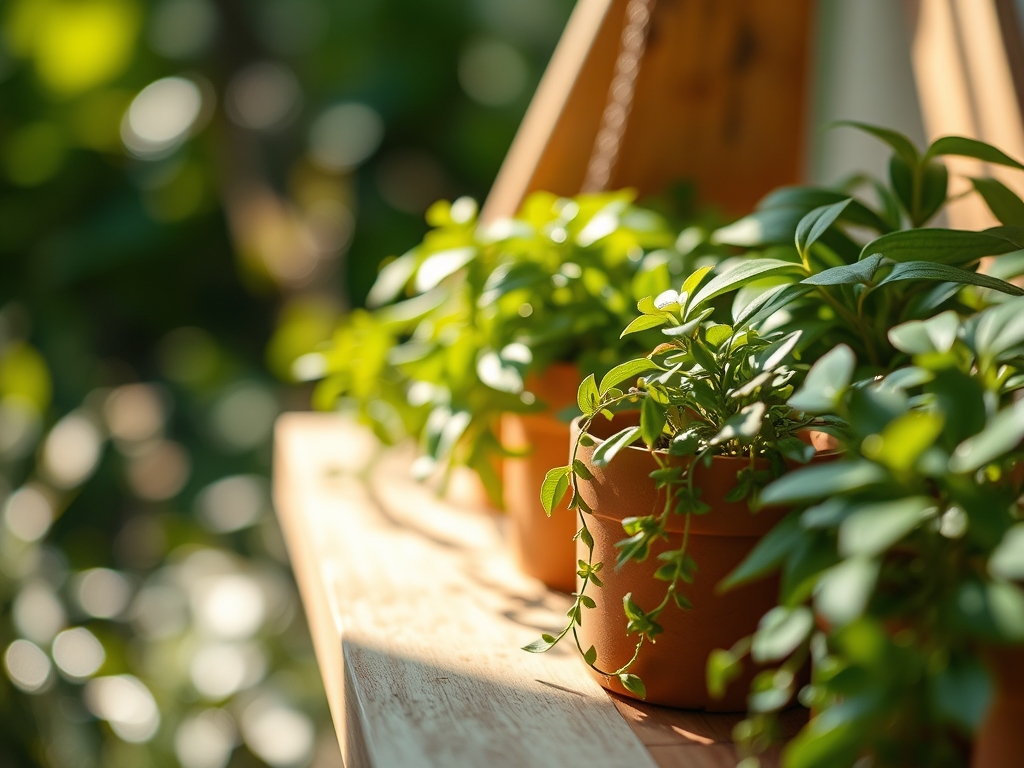
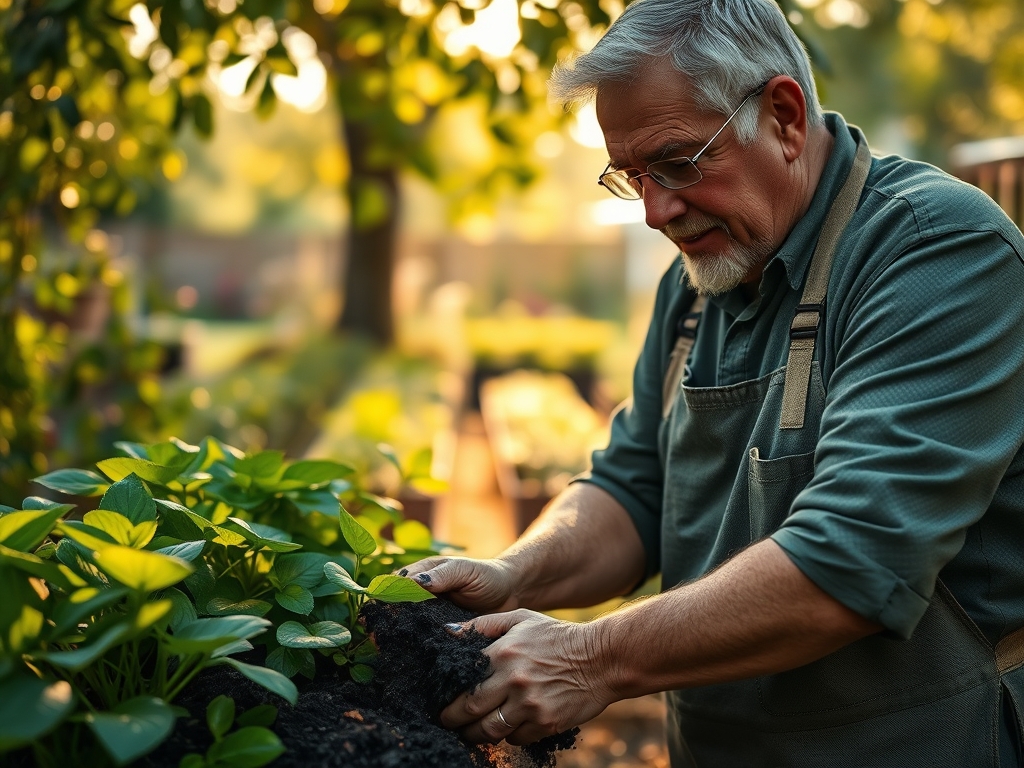
Move your established plants onto the shelf based on their light requirements. Place high-light species like Ficus lyrata on the highest tier closest to the light source. Low-light species like Aglaonema should occupy the lower, shaded tiers. Ensure every pot has a drainage tray to prevent cross-contamination of pathogens through runoff.
Pro-Tip: Leave at least 4 inches of space between foliage to allow for adequate airflow. This prevents the formation of stagnant air pockets that encourage the growth of Botrytis cinerea and other fungal pathogens.
Establishing the Microclimate
Once the shelf is loaded, monitor the humidity levels. Aim for a consistent 50 to 60 percent relative humidity. Use a digital hygrometer to track fluctuations. Grouping plants together creates a communal transpiration effect, naturally raising the local moisture levels in the air.
Pro-Tip: Rotate each pot 90 degrees every week. This counters phototropism, the biological tendency of plants to grow toward a light source, ensuring a balanced canopy and preventing the plant from becoming "leggy" or leaning.
The Clinic:
Physiological disorders often mimic infectious diseases. Accurate diagnosis is required before intervention.
- Symptom: Interveinal chlorosis (yellowing between green veins) on new leaves.
Solution: This indicates an Iron deficiency. Check the pH; if it is above 7.0, the plant cannot uptake iron. Lower the pH using sulfur or use a chelated iron supplement. - Symptom: Leaf tip burn or marginal necrosis.
Solution: This is often caused by "salt burn" from excess fertilizer or fluoride in tap water. Flush the substrate with three times the volume of the pot using distilled water. - Symptom: Lower leaves turning completely yellow and dropping (senescence).
Solution: Nitrogen deficiency. The plant is mobile-nutrient mining, pulling nitrogen from old growth to support new leaves. Apply a high-nitrogen liquid fertilizer immediately. - Symptom: Edema (small bumps or blisters on the underside of leaves).
Solution: This is a water management issue. The plant is taking up more water than it can transpire. Reduce watering frequency and increase air circulation.
Maintenance:
Precision maintenance prevents systemic failure. Use a soil moisture meter to verify that the top 2 inches of substrate are dry before adding water. Most tropicals require approximately 1 to 1.5 inches of water per week, delivered directly to the soil surface to avoid wetting the foliage.
Keep a hori-hori knife for dividing overgrown root balls and bypass pruners for clean, surgical cuts. When pruning, always cut at a 45-degree angle just above a node. This directs the plant's energy into dormant lateral buds, promoting a bushier habit. Every six months, wipe the leaves with a damp microfiber cloth to remove dust, which can block stomata and reduce photosynthetic efficiency by up to 30 percent.
The Yield:
If your shelf includes herbs or edible greens, harvest timing is critical for essential oil density. Harvest Mediterranean herbs like rosemary or thyme in the morning after the dew has evaporated but before the heat of the day. This is when the concentration of volatile oils is at its peak.
Use sharp snips to remove no more than one-third of the plant's biomass at a time. This prevents the plant from entering a stress-induced state of stunted growth. For leafy greens, use the "cut and come again" method, harvesting the outer leaves first to allow the central apical bud to continue producing new foliage. Place harvested stems immediately into cold water to maintain cell turgidity until consumption.
FAQ:
How do I stop mold from growing on the soil surface?
Increase airflow using a small fan and reduce watering frequency. Mold thrives in anaerobic, oversaturated conditions. Scraping off the top half-inch of soil and replacing it with fresh, dry substrate or cinnamon powder can also suppress fungal growth.
What is the best light for a multi-tiered shelf?
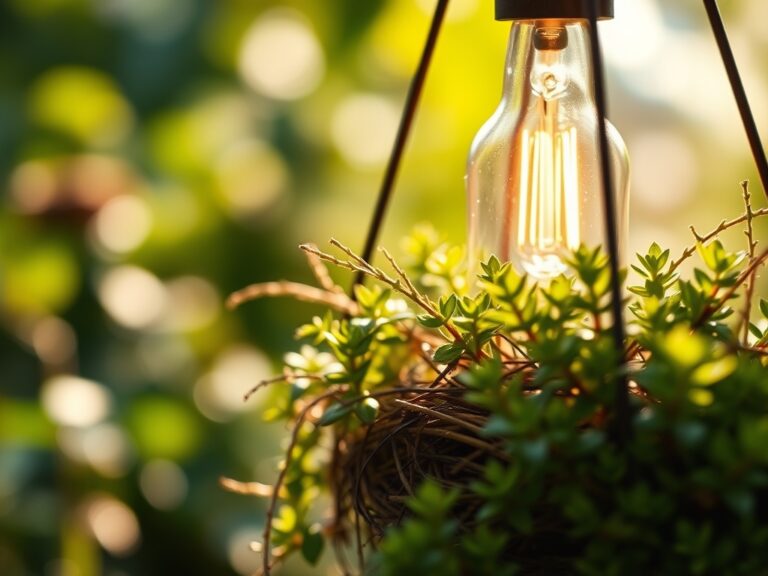
Full-spectrum LED strip lights are most efficient. Ensure they provide a Color Rendering Index (CRI) above 90 and at least 2,000 to 3,000 lumens per tier for moderate-light plants. Position lights 6 to 12 inches above the canopy.
Why are my plant's leaves curling inward?
This is a defensive response to low humidity or high heat known as leaf rolling. The plant is reducing its surface area to minimize transpirational water loss. Check your hygrometer and move the plant away from heat vents or intense bulbs.
Can I use tap water for all my houseplants?
Many plants are sensitive to chlorine and fluoride in municipal water. If you notice leaf tip browning, switch to distilled or rainwater. Alternatively, let tap water sit in an open container for 24 hours to allow chlorine to dissipate.