7 Steps to Install a Living Privacy Screen
A living privacy screen transforms an exposed yard into a secluded retreat. The steps for installing a privacy screen with plants begin with soil preparation, species selection based on growth rate and mature height, and strategic spacing to achieve density within two growing seasons. Unlike fencing, a planted barrier filters wind, sequesters carbon at 15-20 pounds per shrub annually, and adjusts its porosity as branches thicken. The right species placed in properly amended soil will reach visual opacity in 18-24 months.
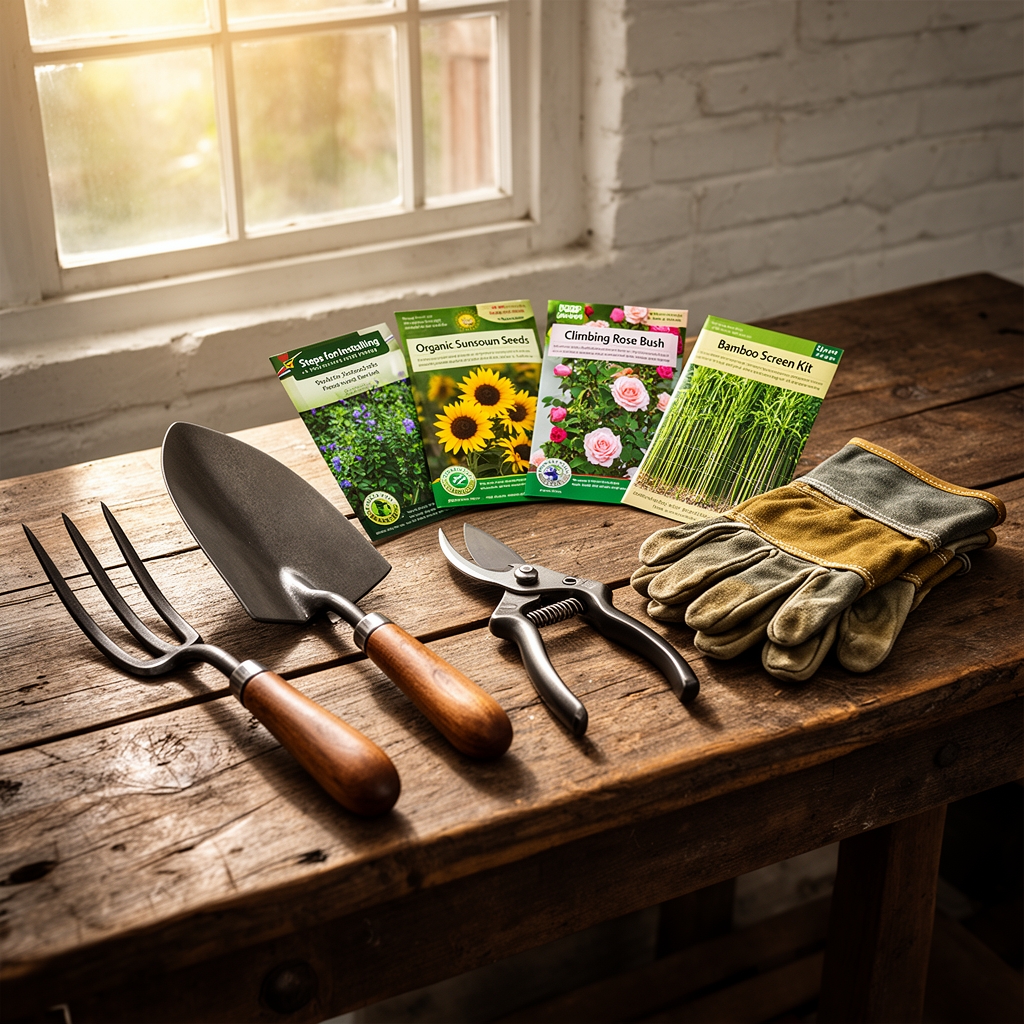
Materials
Soil amendments should match your existing pH and texture. For most evergreen hedges, target a pH of 5.5-6.8. Apply sulfur at 1 pound per 100 square feet to lower pH by 0.5 units, or dolomitic lime at 5 pounds per 100 square feet to raise it. Incorporate 2-3 inches of aged compost to boost cation exchange capacity above 10 meq/100g.
Select a balanced organic fertilizer with an NPK ratio of 4-4-4 or 5-5-5. Synthetic formulations like 10-10-10 deliver faster green-up but reduce mycorrhizal colonization by 30-40 percent. Bone meal at 3-15-0 supports root establishment in the first season. Rock phosphate provides slow-release phosphorus over 3-5 years.
Hardware includes landscape fabric (3-ounce woven polypropylene), drip irrigation tubing with 1-gallon-per-hour emitters spaced every 18 inches, and 2-3 inches of shredded hardwood mulch. Avoid dyed mulch; the colorants can leach copper and chromium. For staking, use 6-foot bamboo poles and adjustable tree ties made from UV-resistant polypropylene.
Choose species with documented growth rates. Thuja 'Green Giant' adds 3 feet per year and reaches 25-30 feet. Ilex crenata 'Sky Pencil' grows 8-12 inches annually to a mature height of 8 feet. Bambusa oldhamii (clumping bamboo) expands 3-5 feet per year but requires rhizome barrier to 24 inches deep.
Timing
Install containerized plants from March 15 to May 15 in Zones 5-7, and from October 1 to November 30 in Zones 8-10. Spring planting allows root establishment before heat stress. Fall planting in warm climates takes advantage of cooler air and warm soil, promoting auxin distribution to root primordia.
Bare-root stock must go in during dormancy: late February through early April in northern zones, December through February in the South. Bare-root transplants experience 20-30 percent less transplant shock than container stock but require installation within 48 hours of delivery.
Hardiness Zones dictate species. Zone 5 supports Taxus x media 'Hicksii' and Juniperus virginiana. Zone 7 tolerates Camellia sasanqua and Osmanthus heterophyllus. Zone 9 accommodates Podocarpus macrophyllus and Ficus nitida.
Check your last frost date. Plant two weeks after for tender species like Ficus, four weeks before for cold-hardy evergreens like Arborvitae.
Phases

Site Preparation
Mark the planting line with stakes and mason's twine. Measure on-center spacing: 3-4 feet for fast hedges, 5-6 feet for larger specimens. Excavate a trench 18 inches wide and 12 inches deep. Loosen soil at the trench bottom with a digging fork to break compaction below the root zone. Mix excavated soil with compost at a 2:1 ratio. Spread mycorrhizal inoculant (Glomus intraradices) at 1 teaspoon per planting hole directly onto root surfaces.
Pro-Tip: Slope trench sides at 45 degrees to encourage lateral root spread and prevent circling roots.
Planting
Remove plants from containers and score root balls vertically with a knife at four points. Splay circling roots outward. Set each plant so the root flare sits 1 inch above grade; settling will bring it level. Backfill in 4-inch lifts, tamping each layer to eliminate air pockets. Build a 3-inch soil berm in a 24-inch diameter circle around each plant to direct water to roots.
Water immediately with 5 gallons per plant. Apply a starter solution of fish emulsion diluted to half strength (2-4-1 NPK) to supply readily available nitrogen without burning tender roots.
Pro-Tip: Install plants in a staggered double row for maximum density. Space rows 3 feet apart and offset plants by half the on-center distance.
Establishment
Mulch to a depth of 3 inches, keeping material 4 inches away from stems to prevent crown rot. Install drip irrigation on a single zone controlled by a timer. Run the system for 45 minutes three times per week during the first growing season, delivering approximately 1.5 inches of water weekly.
Prune leader tips by 20 percent at planting to redirect auxin to lateral buds. This forces branching low on the stem and accelerates visual density. Avoid heavy shearing in year one; let roots establish before demanding regrowth.
Pro-Tip: Apply foliar kelp extract (0-0-1 with trace cytokinins) every 14 days during the first 90 days. Cytokinins promote shoot development and stress recovery.
Troubleshooting
Symptom: Needle browning on inner foliage of Thuja or Chamaecyparis.
Solution: This indicates insufficient light penetration. Thin the canopy by removing 15-20 percent of interior branches to improve air circulation and light. Increase spacing between plants if browning persists across multiple specimens.
Symptom: Chlorosis (yellowing) beginning at leaf margins, progressing inward.
Solution: Potassium deficiency. Apply sulfate of potash (0-0-50) at 1 pound per 100 square feet. Retest soil after 60 days; chronic deficiency suggests high calcium or magnesium blocking potassium uptake.
Symptom: Sudden wilt despite adequate soil moisture.
Solution: Phytophthora root rot. Excavate around the root flare and inspect for black, mushy roots with a turpentine odor. Remove infected plants and treat soil with a phosphorous acid fungicide. Improve drainage by installing a 6-inch gravel bed beneath the planting zone.
Symptom: Stippled, bronzed foliage with fine webbing.
Solution: Spider mites. Spray foliage with a hard stream of water early morning for three consecutive days to dislodge nymphs. Apply horticultural oil (2 percent solution) if populations exceed 10 mites per leaf. Repeat every 7 days for three applications.
Symptom: Blackened shoot tips on new growth.
Solution: Late frost damage. Prune affected tissue back to green wood at a 45-degree angle just above a node. Frost-damaged cells cannot recover and will harbor fungal pathogens.
Maintenance
Irrigate established screens with 1 inch of water per week during the growing season. Deep watering every 7 days is superior to shallow daily watering; it encourages roots to grow 18-24 inches deep. Reduce frequency to every 14 days once plants exceed 6 feet in height.
Fertilize annually in early spring before bud break. Broadcast 10 pounds of 5-5-5 organic fertilizer per 100 linear feet of hedge. Alternatively, side-dress with composted poultry manure at 2 inches deep in a 12-inch band on either side of the planting line.
Shear hedges twice per growing season: once after spring flush hardens (late May in Zone 6) and again in mid-August. Maintain a trapezoidal profile, with the base 8-12 inches wider than the top. This prevents lower branch dieback from shading.
Renew mulch annually to maintain a 2-3 inch depth. Decomposing mulch supplies 0.5-1.0 pounds of nitrogen per 100 square feet as organic matter mineralizes.
Monitor for bagworms from June through August. Hand-pick and destroy bags before larvae pupate. Bacillus thuringiensis (Bt) applied when larvae are less than 0.5 inches long provides 90 percent control.
FAQ
How far apart should I plant for a privacy screen?
Space plants at one-half to two-thirds their mature width. For a 6-foot-wide shrub, install on 3-4 foot centers. Closer spacing accelerates coverage but increases competition and disease pressure.
When will my screen provide full privacy?
Fast-growing species like Thuja 'Green Giant' achieve 80 percent opacity in 24 months at 4-foot spacing. Slower species like Taxus require 36-48 months. Double-row staggered planting cuts establishment time by 30 percent.
Can I mix species in one screen?
Yes, but match growth rates and cultural requirements. Mixing Ilex and Taxus works because both tolerate shade and prefer acidic soil. Avoid pairing shallow-rooted species with deep-rooted types; they compete inefficiently.
How do I prevent gaps at the base?
Prune leaders by 20 percent at planting and again after the first flush. This redirects energy into lateral branches below 24 inches. Mulch deeply to suppress weeds that compete for light and create visual gaps.
What is the best evergreen for Zone 5 privacy screens?
Thuja occidentalis 'Emerald Green' survives to Zone 3, grows 1-2 feet annually, and resists deer browse. Picea abies (Norway spruce) reaches 6 feet in three years but requires 12-foot spacing at maturity.