7 Permanent Path Steps to Install a Garden Walkway
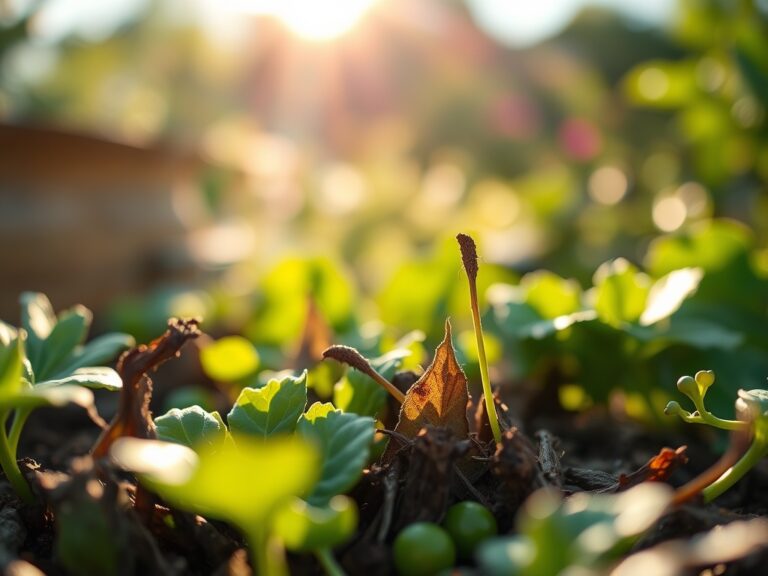
The smell of damp earth after a saturation event signals more than just rain; it indicates the activation of microbial life within the rhizosphere. When you step into the garden, the turgor pressure of a healthy leaf should resist your touch. However, constant foot traffic compresses the soil, collapsing the pore space essential for oxygen exchange and root respiration. Implementing permanent steps for installing a vegetable garden path prevents this compaction and protects the delicate soil structure from anaerobic conditions. A well-designed path ensures that your weight is distributed across a stable surface rather than the friable loam of your planting beds. By establishing these boundaries, you preserve the Cation Exchange Capacity (CEC) of your growing zones and maintain the structural integrity of the macro-pores. This guide provides the technical framework to install a high-utility walkway that supports both the gardener and the biological health of the surrounding crops.
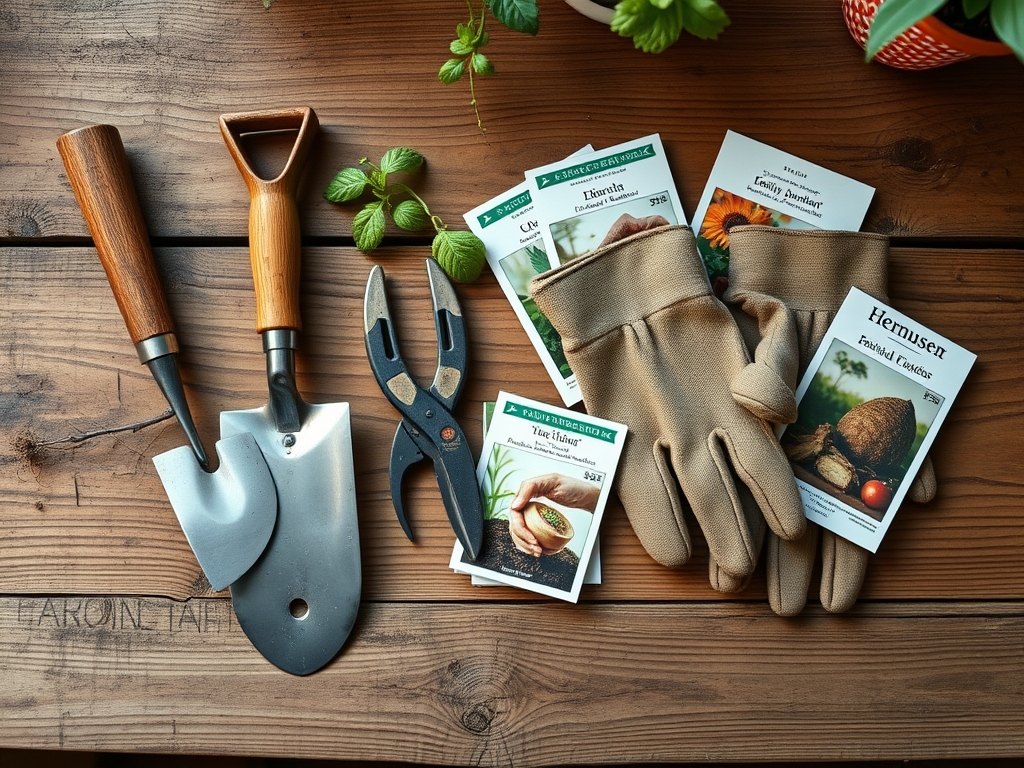
Materials:
The foundation of a permanent path begins with the substrate. You must analyze the soil pH of the surrounding beds to ensure path materials do not leach alkaline minerals into acidic-loving crops. Ideal vegetable garden soil maintains a **pH between 6.0 and 7.0**. For the path base, use a **geotextile fabric** with a high flow rate to prevent weed emergence while allowing hydraulic conductivity. Above this, a **3-inch layer of crushed 3/4-minus limestone or basalt** provides a stable mechanical bond.
If you use organic mulches like arborist chips, ensure they are aged to avoid nitrogen drawdown at the path edges. Fresh wood chips can have a carbon-to-nitrogen ratio of 500:1, which may temporarily rob the soil of nitrogen (NPK 27-0-0 or similar) as microbes work to break down the lignin. The physical texture of the planting area adjacent to the path should remain a friable loam, consisting of roughly 40% sand, 40% silt, and 20% clay. This balance ensures a high CEC, allowing the soil to hold onto essential cations like Calcium (Ca2+) and Magnesium (Mg2+).
Timing:
Installation should occur during the dormant season or the window between the first frost and the spring thaw. In Hardiness Zones 5 through 7, this typically falls between November and March. Working the soil when it is overly saturated leads to "puddling," where the clay particles align and create an impermeable layer. Check the biological clock of your perennials; you want to avoid heavy construction during the transition from vegetative to reproductive stages when plants are funneling sugars into fruit or seed production. Aim for a soil temperature of 45 degrees Fahrenheit or lower to ensure that any peripheral root disturbance occurs while the plant is in a state of endodormancy.
Phases:

Sowing the Foundation
Excavate the path area to a depth of 4 to 6 inches. Use a plate compactor or hand tamper to reach a 90% proctor density on the subgrade. This prevents future sinking and uneven surfaces.
Pro-Tip: Proper compaction prevents the "wicking" of moisture away from vegetable roots. By creating a distinct density difference between the path and the bed, you manage lateral water movement via capillary action, ensuring irrigation stays in the root zone.
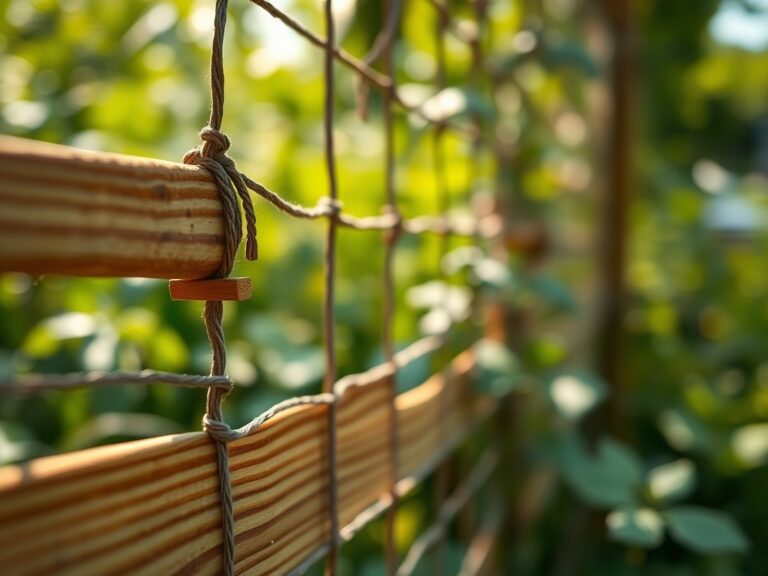
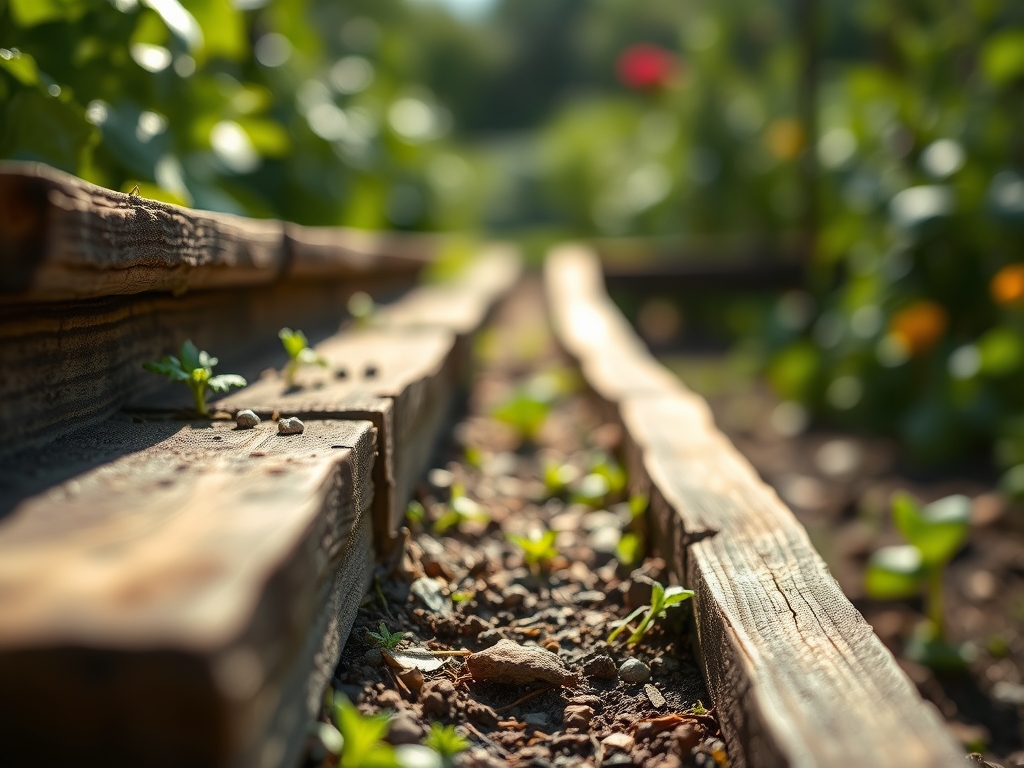
Transplanting the Borders
Once the base is set, install edging materials such as cedar boards or recycled plastic pavers. These must be set 1 inch above the soil line to prevent the migration of weed seeds and to contain the path aggregate.
Pro-Tip: Edging serves as a physical barrier to rhizomatous spread. Many invasive weeds use underground stems to colonize new territory; a deep edge interrupts this growth pattern by forcing the plant to expend energy vertically rather than horizontally.
Establishing the Surface
Fill the excavated area with your chosen material. If using pavers, ensure a 1/8-inch gap filled with polymeric sand to allow for thermal expansion. If using organic material, apply at a depth of 4 inches to account for settling.
Pro-Tip: Deep organic paths foster mycorrhizal symbiosis. The fungi that break down path mulch often extend their hyphae into the vegetable beds, increasing the surface area of crop roots and improving phosphorus uptake.
The Clinic:
Physiological disorders often manifest at the intersection of the path and the bed due to edge effects or runoff.
- Symptom: Interveinal chlorosis (yellowing between leaf veins) on path-side plants.
Solution: Check for pH drift. If limestone path screenings have raised the pH above 7.5, iron becomes insoluble. Apply chelated iron or elemental sulfur to lower the pH. - Symptom: Blossom end rot in tomatoes near the path.
Solution: This is a Calcium deficiency often caused by inconsistent moisture. Use a soil moisture meter to ensure the path is not draining the bed too quickly. Maintain a consistent 30% to 40% volumetric water content. - Symptom: Stunted growth and purple lower leaves.
Solution: This indicates Phosphorus deficiency (NPK 0-20-0). Cold soil or compaction near the path edge can inhibit phosphorus mobility. Aerate the bed edge with a broadfork to improve oxygenation.
Fix-It: For general Nitrogen chlorosis (entire leaf turning pale green), apply a liquid seaweed or fish emulsion with an NPK ratio of 5-1-1 to provide immediate bioavailability.
Maintenance:
A high-performance garden path requires calibrated upkeep. Use a hori-hori knife to slice through any taproots that manage to penetrate the aggregate. Monitor the moisture levels at the bed edge; the path can act as a heat sink, increasing evaporation rates. Ensure the vegetable beds receive 1.5 inches of water per week delivered at the drip line. Use bypass pruners to remove any foliage that leans into the path; this prevents the spread of fungal pathogens by maintaining airflow and reducing "leaf wetness" duration. Every three years, top-dress organic paths with 2 inches of fresh chips to compensate for natural decomposition and carbon loss.
The Yield:
When your infrastructure is sound, your harvest quality improves. For leafy greens, harvest when the morning turgor pressure is at its peak, typically before 8:00 AM. Use a sharp blade to make a clean cut, preventing tissue maceration. For fruiting crops like peppers, wait for full color maturation to ensure maximum brix levels (sugar content). Post-harvest, immediately move produce into a cool environment to slow the rate of senescence and respiration. This "field cooling" preserves the vitamins and crispness of the vegetable for "day-one" freshness.
FAQ:
What is the best width for a vegetable garden path?
A minimum of 36 inches is standard. This allows for the passage of a standard wheelbarrow and provides enough space for the gardener to kneel without compressing the root zones of adjacent crops.
How do I prevent weeds from growing in my path?
Use a heavy-duty geotextile landscape fabric rated for 20 years. Overlap seams by 6 inches and cover with at least 3 inches of aggregate or mulch to block all photosynthetically active radiation from reaching the soil.
Can I use wood chips for my garden path?
Yes, but use aged chips. Fresh chips can cause nitrogen immobilization at the interface where the path meets the soil. Ensure the path is separated from the growing medium by a physical border to prevent nutrient competition.
How deep should I dig for a permanent gravel path?
Excavate to a depth of 6 inches. This allows for a 3-inch compacted sub-base of crushed stone and a 3-inch top layer of decorative gravel or fines, ensuring structural stability and effective drainage.