6 Vacuuming Tips for Treating Whitefly Infestations
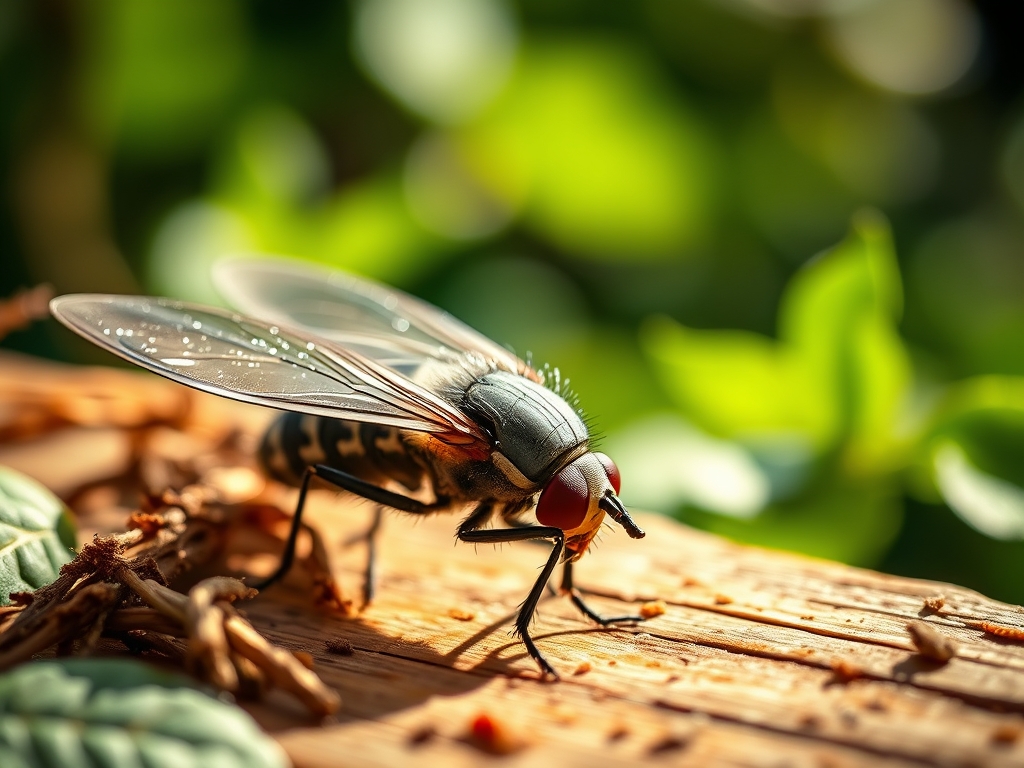
The smell of damp earth and the firm turgor of a healthy leaf define the success of a greenhouse. When a cloud of Trialeurodes vaporariorum erupts from the underside of a leaf, it signals a breach in plant health. Effective mechanical control requires precision. Following the steps for treating whitefly with vacuuming allows a grower to physically remove adult populations before they can deposit eggs or transmit viral pathogens. This method provides an immediate reduction in pest pressure without altering the delicate chemical balance of the leaf surface.
A healthy plant maintains a high leaf water potential; whiteflies compromise this by piercing the phloem and draining carbohydrates. This leads to a loss of turgor pressure and eventual leaf senescence. Mechanical intervention through vacuuming targets the adults that reside on the abaxial leaf surface. By removing these mobile vectors, you disrupt the reproductive cycle. This process must be performed with technical accuracy to avoid damaging the plant tissue or the fragile stomata responsible for gas exchange. Success depends on timing, suction calibration, and understanding the biological behavior of the pest.
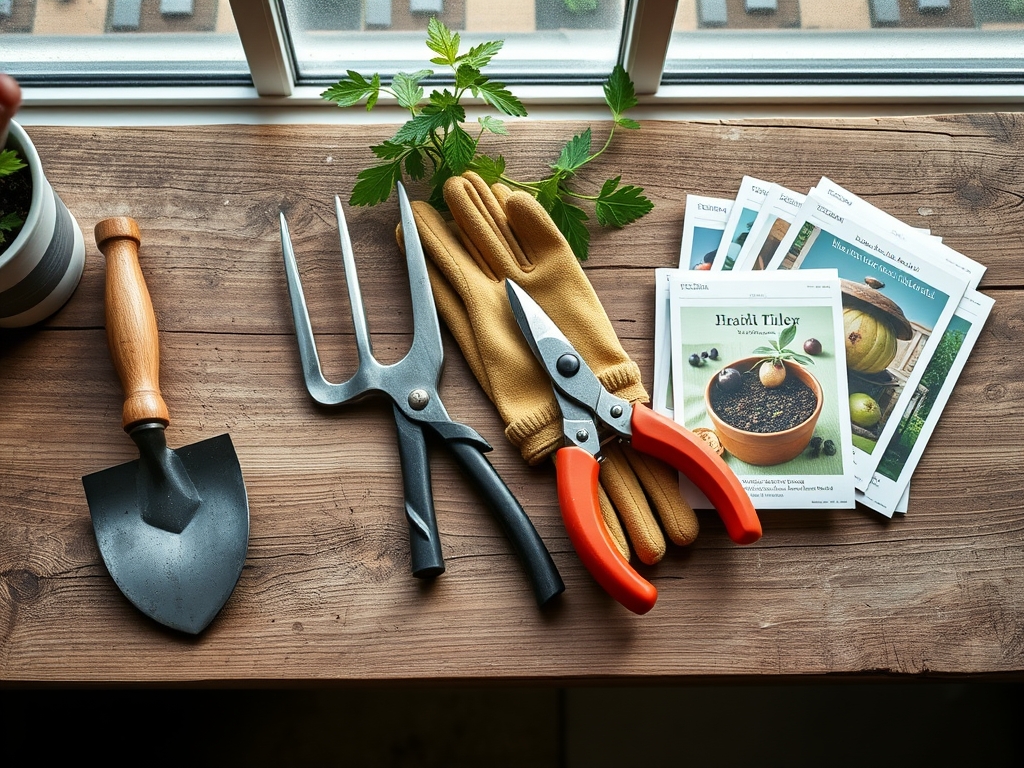
Materials:
To support plants during pest recovery, the growing medium must be optimized. Use a **friable loam** with a **pH between 6.0 and 6.8**. This range ensures maximum bioavailability of macronutrients. For vegetative recovery, maintain an **NPK ratio of 3-1-2**. Nitrogen is critical for rebuilding the chlorophyll lost to whitefly feeding. Phosphorus supports root development, while Potassium regulates the opening and closing of stomata.
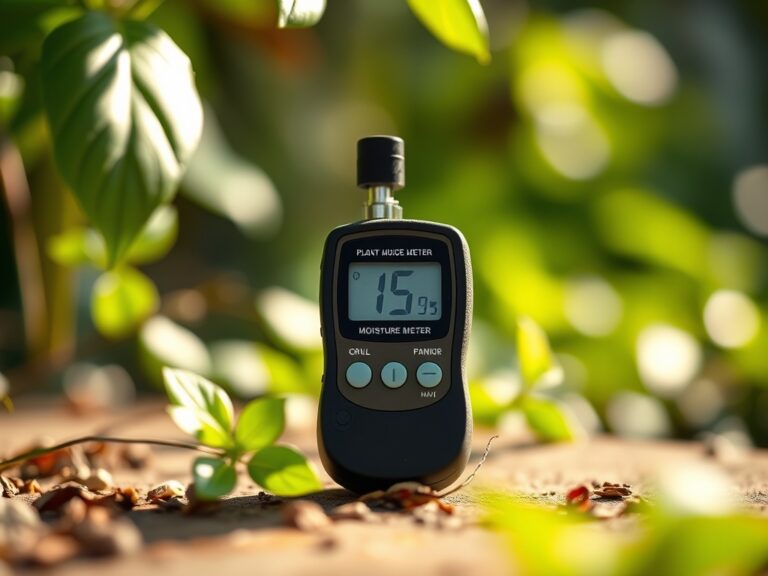
The soil should have a high Cation Exchange Capacity (CEC), typically above 15 meq/100g. This allows the substrate to hold onto essential cations like Calcium (Ca2+) and Magnesium (Mg2+). Use a handheld canister vacuum with a soft brush attachment. Ensure the vacuum has a HEPA filter to prevent the microscopic pests from being exhausted back into the grow room. A soil moisture meter is also required to monitor hydration levels, as stressed plants are more susceptible to mechanical damage during the vacuuming process.
Timing:
In Hardiness Zones 7 through 10, whitefly populations peak when ambient temperatures remain consistently between 75 and 85 degrees Fahrenheit. This temperature range accelerates their life cycle, moving from egg to adult in as little as 18 days. Vacuuming should occur during the "Biological Clock" transition from early morning to mid-morning. At this time, dew has evaporated, but temperatures are cool enough that the insects are less active and easier to capture.
Monitor the photoperiod. If the plant is transitioning from the vegetative to the reproductive stage, its energy is diverted toward flowering. This shift makes the plant vulnerable. Vacuuming must be performed before the plant enters full senescence. In colder Zones 3 through 6, focus vacuuming efforts in greenhouses during the transition from late spring to early summer, precisely two weeks after the last frost date when indoor populations typically spike.
Phases:
Sowing and Site Preparation
Ensure the rhizosphere is inoculated with mycorrhizal fungi during the initial planting phase. These symbiotic fungi extend the root system's reach, increasing the plant's ability to uptake water and minerals. A robust root system creates higher osmotic pressure, making the plant less palatable to sap-sucking insects.
Pro-Tip: Mycorrhizal symbiosis increases the plant's production of secondary metabolites. These compounds act as a natural defense mechanism against herbivory by altering the nutrient profile of the phloem sap.
Transplanting and Initial Monitoring
When moving seedlings to their permanent location, check the abaxial (underside) leaf surfaces immediately. Use a 10x jeweler's loupe to identify early whitefly colonization. If more than five adults are found per leaf, begin the vacuuming protocol. Set the vacuum to its lowest suction setting to avoid tearing the delicate leaf epidermis.
Pro-Tip: Proper spacing is vital to prevent "pest bridges." Maintain at least 18 inches between mature plants to ensure adequate airflow and to prevent the rapid spread of whiteflies through physical contact or short flights.
Establishing the Vacuuming Protocol
Approach the plant from the base and move upward. Gently shake the main stem to dislodge adults, then use the vacuum to capture them mid-air or directly from the leaf surface. Focus on the youngest leaves at the top of the canopy, as these have the highest nitrogen content and attract the most pests.
Pro-Tip: This method exploits the insect's flight response. By triggering a brief flight, you move the pest into the vacuum's intake zone. This reduces the need for direct contact with the leaf, preserving the protective waxy cuticle.
The Clinic:
Symptom: Interveinal Chlorosis
Solution: This is often a sign of Magnesium deficiency or heavy whitefly feeding. If the veins remain green but the tissue between them turns yellow, the plant cannot photosynthesize efficiently.
Fix-It: Apply a foliar spray of Epsom salts (Magnesium Sulfate) at a rate of 1 tablespoon per gallon of water. This bypasses the roots and provides immediate relief to the leaf tissue.
Symptom: Leaf Curling and Stunting
Solution: This indicates a loss of turgor pressure due to sap removal. Whiteflies inject toxins that can cause abnormal growth patterns.
Fix-It: Increase irrigation to 1.5 inches of water per week. Ensure the water reaches the drip line of the plant to encourage deep root growth.
Symptom: Sooty Mold
Solution: A black, powdery substance on leaves indicates the presence of honeydew secreted by whiteflies. This mold blocks sunlight and reduces photosynthesis.
Fix-It: After vacuuming adult whiteflies, wipe the leaves with a 0.5 percent solution of insecticidal soap to remove the sticky residue and kill remaining nymphs.
Maintenance:
Consistency is the foundation of pest management. Use a soil moisture meter daily to ensure the substrate remains at a 40 to 60 percent saturation level. Over-watering leads to root rot, while under-watering causes wilting and increases pest susceptibility. Use a hori-hori knife to remove any weeds within a 3-foot radius of the plant, as these serve as secondary hosts for whiteflies.
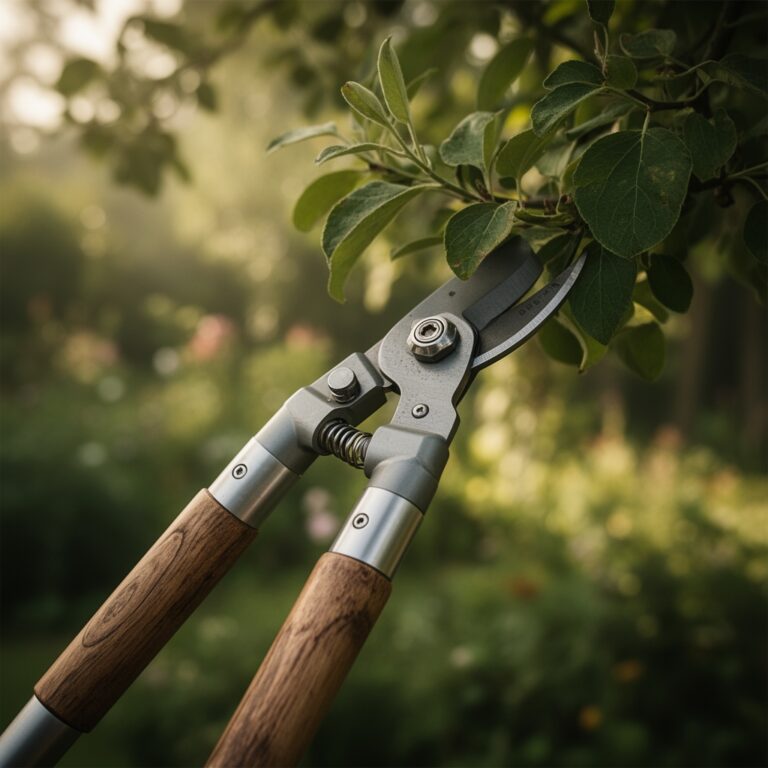
Pruning is essential for airflow. Use bypass pruners to remove the bottom 20 percent of the foliage. This "lollipopping" technique removes the older, shaded leaves that are often the primary breeding grounds for pests. Sanitize all tools with 70 percent isopropyl alcohol between plants to prevent the mechanical transmission of viruses.
The Yield:
For edible crops, harvest when the fruit or foliage reaches peak physiological maturity. For leafy greens, this is often before the plant begins its reproductive bolt. Use sharp bypass pruners to make clean cuts at a 45-degree angle. This minimizes the surface area of the wound and allows the plant to seal the breach quickly.
To maintain "day-one" freshness, harvest in the early morning when the plant's turgor pressure is at its highest. Immediately submerge the base of the stems in 50-degree Fahrenheit water to remove field heat. This slows down the metabolic rate and prevents the degradation of sugars and vitamins.
FAQ:
How often should I vacuum my plants for whiteflies?
Vacuum every two to three days. This interval matches the emergence of new adults from the pupal stage. Consistent removal prevents the population from reaching an exponential growth phase and protects the plant's vascular system.
Can vacuuming damage my plants?
If suction is too high, it can cause mechanical bruising or tear the leaf margin. Always use the lowest setting and a soft brush attachment. Keep the nozzle 1 inch away from the leaf surface to protect the epidermis.
What is the best time of day to vacuum?
The optimal time is between 6:00 AM and 8:00 AM. Low morning temperatures reduce the metabolic rate of the whiteflies, making them sluggish. They are less likely to fly away before the vacuum can capture them.
Do I need to dispose of the vacuum contents?
Yes. Empty the canister into a sealed plastic bag immediately. Freeze the bag for 24 hours to ensure all life stages are terminated. This prevents accidental re-infestation of your garden or compost pile.