6 Steps to Use a Manual Garden Tool Sharpener
Damp earth releases a distinct petrichor as the steel blade slices through the xylem and phloem of a woody perennial. When a blade is honed to its maximum potential, it preserves the turgor pressure of the plant by creating a clean wound that heals rapidly. Learning how to use a garden tool sharpener for beginners is the first step in preventing jagged tears that invite fungal pathogens into the vascular system. A sharp edge reduces the physical force required for pruning; this protects the integrity of the cambium layer during high-intensity maintenance.
Effective horticultural work begins with the mechanical readiness of your steel. A dull blade crushes the cellular structure of the stem, leading to localized necrosis and a decline in overall plant vigor. By maintaining a precise 20 degree bevel on your bypass pruners, you ensure that every cut supports the rapid compartmentalization of decay. This guide provides the technical framework for maintaining your arsenal of cutting tools to ensure peak performance in the field.
Materials:
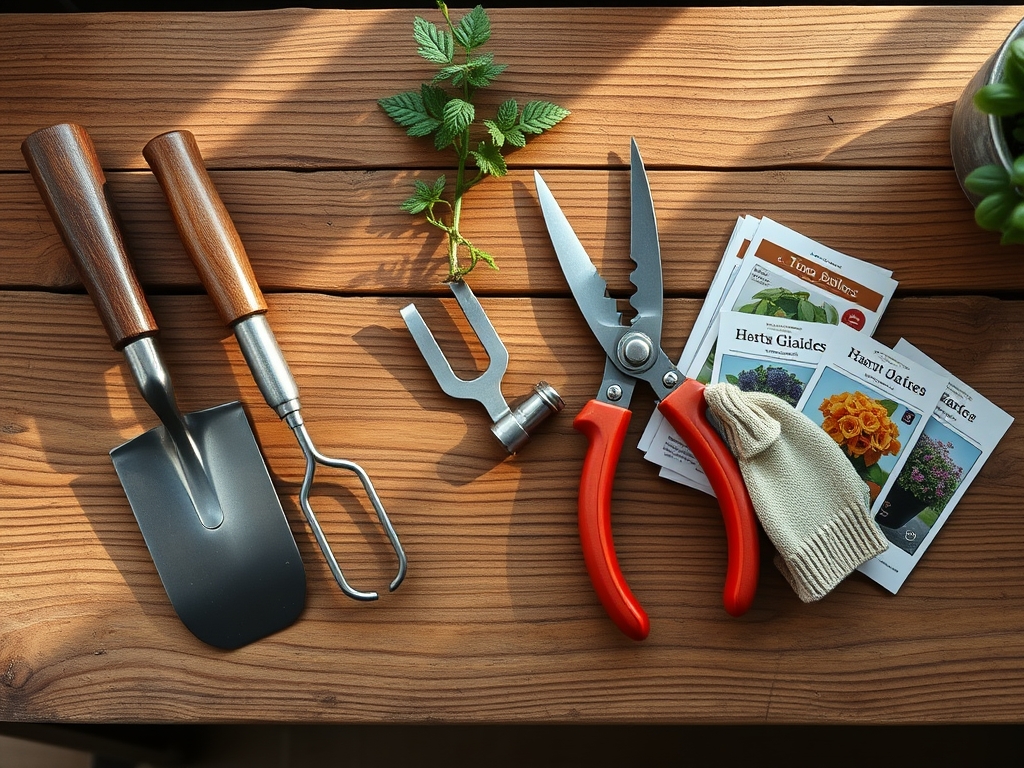
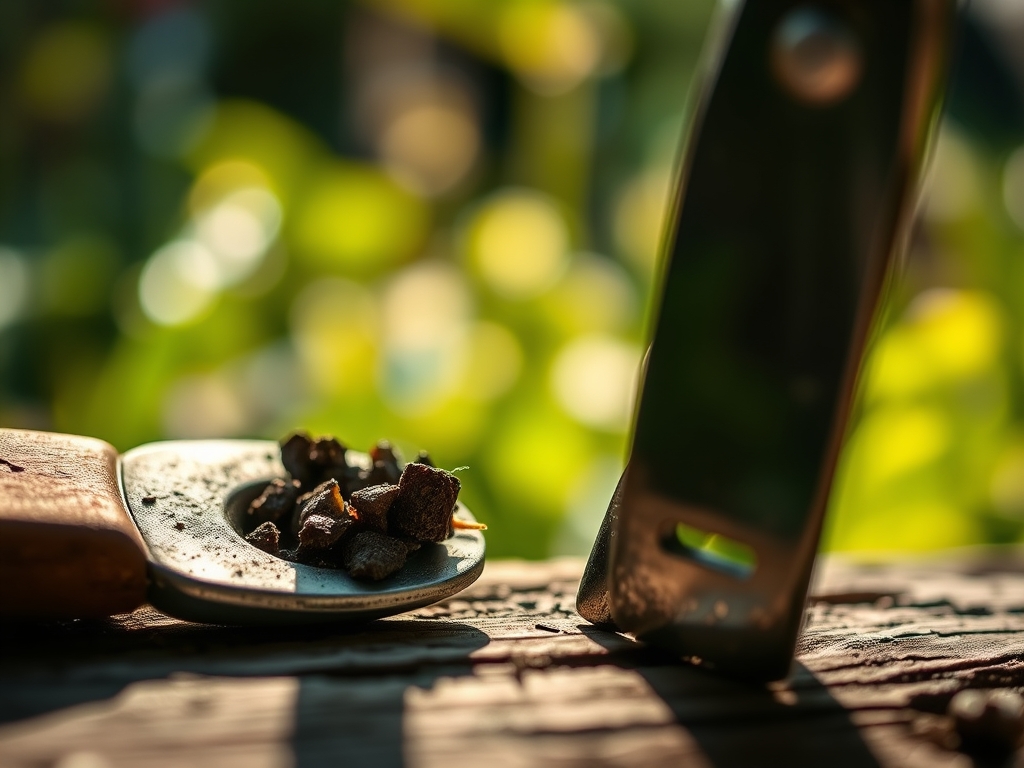
While tool maintenance is mechanical, the environment in which you work must support biological health. When pruning plants in a **friable loam** with a **soil pH of 6.5**, the presence of organic matter increases the risk of soil-borne pathogens adhering to dull, pitted metal. You will need a tungsten carbide sharpener, a 3-in-1 oil for lubrication, and a wire brush.
If your garden beds utilize a high-performance NPK ratio of 10-10-10 for general growth or a 5-10-15 ratio for root development, the increased vegetative mass will require more frequent sharpening intervals. High Cation Exchange Capacity (CEC) soils often produce denser cellulose in plants, which puts additional strain on the cutting edge. Ensure you have a clean workspace to avoid cross-contaminating the rhizosphere with metal filings or petroleum residues.
Timing:
Timing your maintenance coincides with the dormant season in Hardiness Zones 4 through 8. The ideal window occurs between the first hard frost and the late winter thaw, before the "Biological Clock" triggers the transition from the dormant vegetative state to the active reproductive stage. Pruning during the late dormant phase allows the plant to direct its initial spring energy toward wound occlusion.
Sharpening should occur before the sap begins to flow. Once the photoperiod increases and temperatures consistently rise above 50 degrees Fahrenheit, plants enter a state of high osmotic pressure. Cutting with a dull tool during this transition causes excessive "bleeding" of sap, which can deplete the plant of essential carbohydrates and minerals. Perform a full diagnostic of your blades every 50 to 100 cuts or after any contact with rocky substrate.
Phases:

Sowing the Edge
Begin by stabilizing the tool. For a hori-hori knife, secure the blade against a flat surface. Identify the factory bevel, which is usually set at an angle between 15 and 25 degrees. Place the carbide sharpener at the base of the blade and pull toward the tip using moderate, consistent pressure. Repeat this motion five times on the beveled side only.
Pro-Tip: Maintaining a sharp edge prevents the crushing of the apical meristem. This is vital because the apical meristem is the site of auxin suppression; a clean cut allows for better control over lateral bud development and plant architecture.
Transplanting the Technique
Move to smaller precision tools like bypass pruners. These tools have a single sharpened blade that slides past a flat anvil. Never sharpen the flat side of the blade, as this creates a gap that will chew through plant tissue instead of slicing it. Use short, controlled strokes to remove burrs and restore the "bite" of the steel.
Pro-Tip: Smooth blades prevent the disruption of mycorrhizal symbiosis when root-pruning during a transplant. Ragged root edges are prone to rot, whereas clean cuts allow for rapid colonization by beneficial fungi in the rhizosphere.
Establishing the Finish
Finalize the process by honing the edge with a fine-grit stone or a ceramic finishing rod. This removes microscopic serrations left by the carbide sharpener. Apply a thin layer of horticultural-grade oil to the metal to prevent oxidation. Test the sharpness by slicing through a piece of paper; if it snags, the bevel is inconsistent.
Pro-Tip: A polished surface reduces friction during the cut, which minimizes the mechanical stress on the plant. This prevents a drop in turgor pressure, ensuring the leaves remain upright and functional for photosynthesis immediately following the pruning event.
The Clinic:
When tools are neglected, plants exhibit specific physiological disorders. Observe the following symptoms and apply the necessary fixes.
Symptom: Dieback at the tip of pruned branches.
Solution: This is often caused by jagged cuts from dull blades. Sharpen tools to ensure a clean slice that allows the plant to form a callus.
Fix-It: If you see Nitrogen chlorosis (yellowing of older leaves), ensure your cuts are clean to allow the plant to transport mobile nutrients efficiently to new growth sites without wasting energy on wound repair.
Symptom: Bark stripping or "tearing" during a cut.
Solution: This indicates a loose pivot bolt or a dull bypass blade. Tighten the tension and sharpen the primary edge.
Fix-It: For Iron deficiency (interveinal chlorosis on new leaves), check soil pH. If pH is above 7.0, iron becomes unavailable. Clean, sharp tools prevent secondary infections that further stress an iron-deficient plant.
Symptom: Fungal growth at the site of a pruning cut.
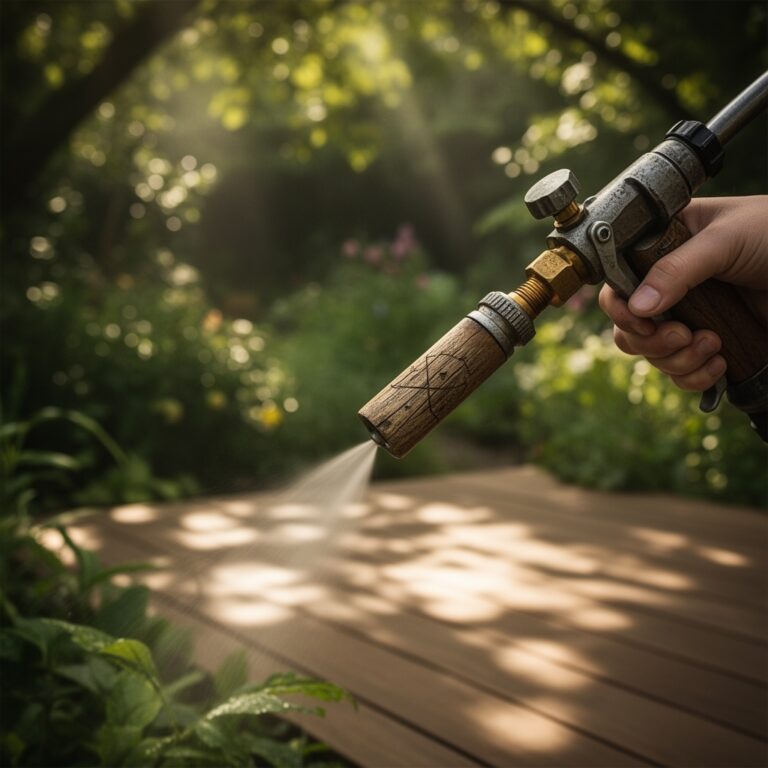
Solution: Dull blades create "pockets" where moisture and spores collect. Use a soil moisture meter to ensure the area isn't over-saturated, and always disinfect blades between plants using 70 percent isopropyl alcohol.
Maintenance:
Precision maintenance extends beyond the tool shed. To keep your plants resilient, provide 1.5 inches of water per week delivered at the drip line. Use a soil moisture meter to verify that the water is penetrating at least 6 inches into the profile.
Clean your bypass pruners after every use to remove sap and tannins, which are acidic and can corrode the steel. If you are working in heavy clay soils with low porosity, wipe down your hori-hori knife frequently to prevent the buildup of grit that can dull the blade prematurely. Store tools in a bucket of dry sand mixed with mineral oil to prevent rust during periods of high humidity.
The Yield:
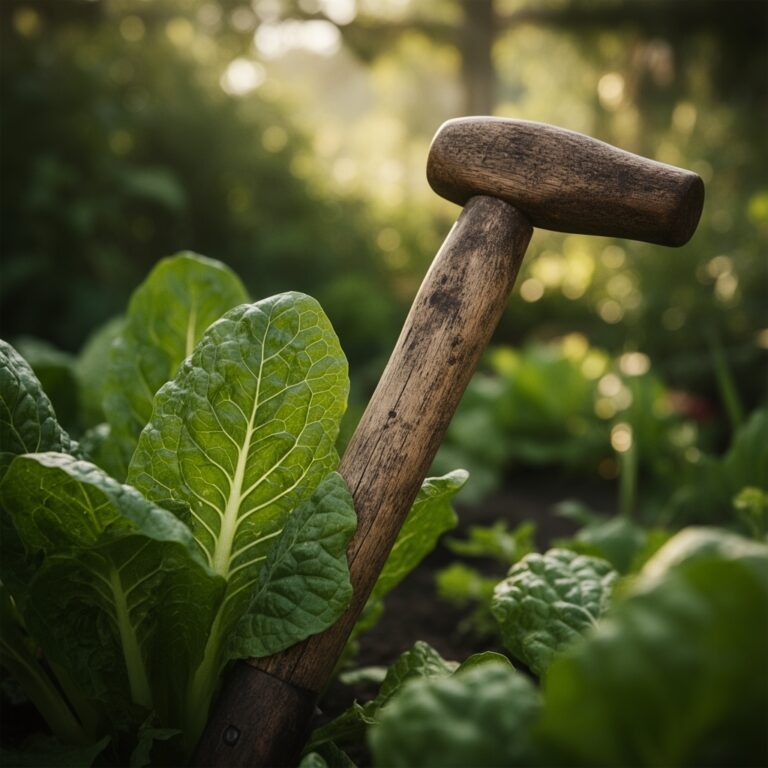
For edible crops, the sharpness of your tool determines the shelf life of the harvest. When harvesting leafy greens or herbs, use a sharpened blade to sever the petiole cleanly. This minimizes the surface area exposed to the air, reducing the rate of senescence.
Handle the plant post-harvest by immediately placing the cut ends in cool water or a refrigerated environment. A clean cut maintains the internal pressure of the plant cells, preserving "day-one" freshness and preventing the rapid loss of volatile oils and nutrients. For woody herbs like rosemary, a sharp cut ensures the remaining plant can quickly seal the wound and continue its reproductive cycle.
FAQ:
How often should I sharpen my garden tools?
Sharpen your tools every 50 to 100 cuts or whenever you notice resistance. For heavy use in abrasive soils, daily honing is required to maintain the mechanical advantage and protect plant vascular health.
Can I use a file instead of a carbide sharpener?
Yes, a fine-tooth mill file is effective for larger tools like shovels or hoes. However, for precision instruments like bypass pruners, a manual carbide sharpener provides better control over the specific bevel angle.
Do I need to sharpen both sides of the blade?
Most garden cutting tools use a single-bevel design. Only sharpen the angled side. Sharpening the flat side creates a gap between the blades, leading to crushed stems and failed compartmentalization of the wound.
What is the best way to clean tools before sharpening?
Use a stiff wire brush to remove desiccated sap and soil. For stubborn resin, use a solvent or warm soapy water. Dry the tool completely before applying the sharpener to prevent slipping and ensure an even edge.