6 Steps to Prepare a DIY Holiday Succulent Centerpiece
Preparing a holiday succulent centerpiece transforms dormant December tables into living installations that thrive in the low-light, low-humidity conditions of heated indoor spaces. The process demands attention to substrate porosity, microbial balance, and architectural weight distribution. Most failures trace to waterlogged media that collapse root aerenchyma within 72 hours. A well-constructed arrangement draws on xerophytic adaptation biology, combining species with compatible water-use efficiency and matching their native soil pH ranges between 6.0 and 7.5. The result is a centerpiece that persists through February with minimal intervention.
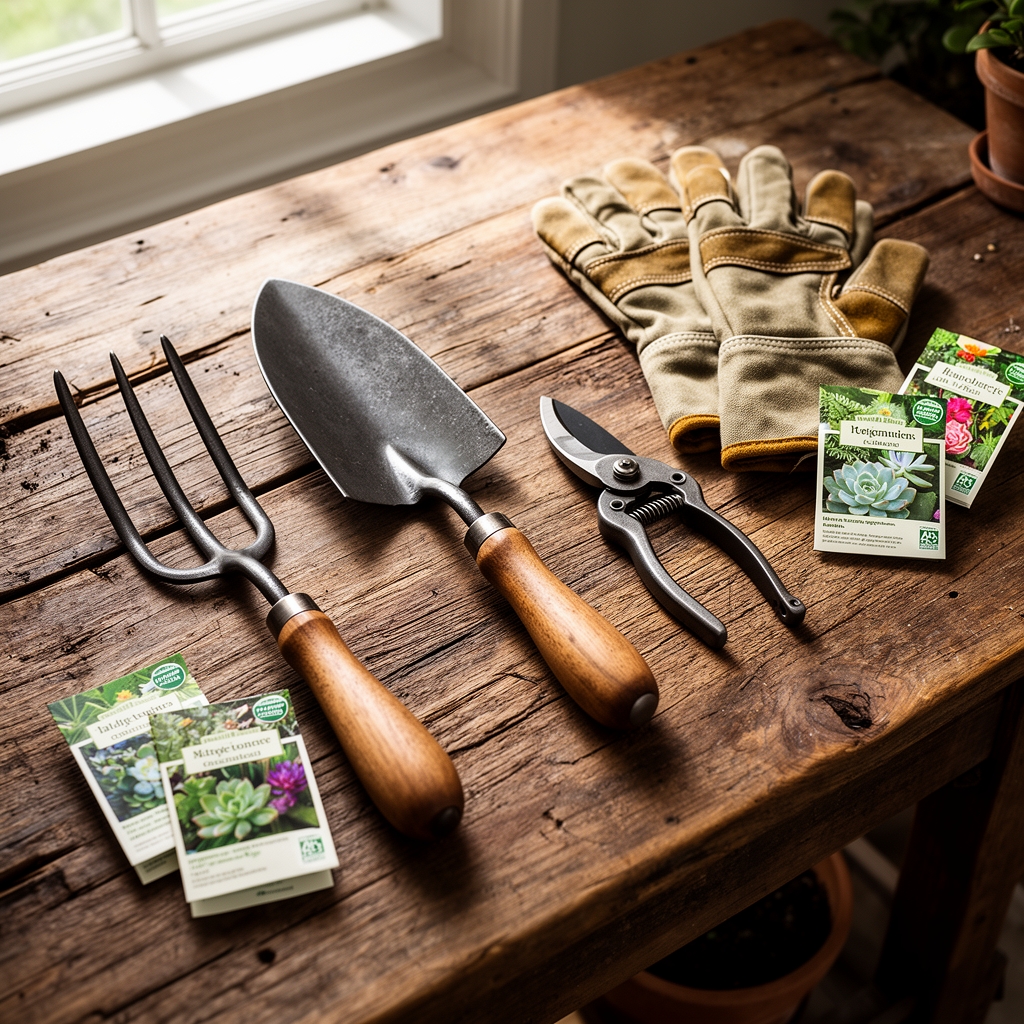
Materials
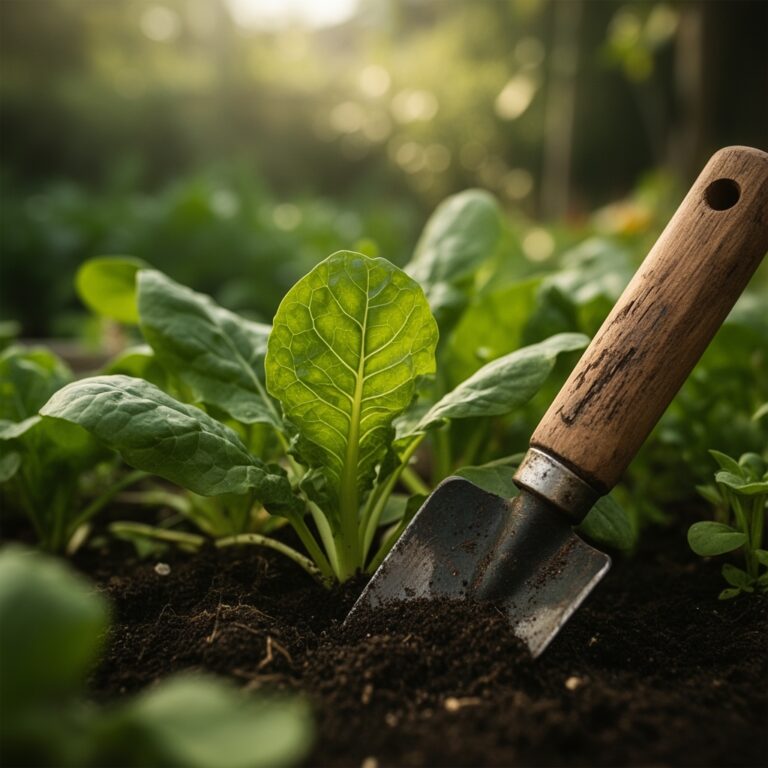
Substrate preparation begins with a base mix exhibiting cation exchange capacity between 10 and 15 meq/100g. Combine three parts coarse sand (particle size 1-2mm), two parts perlite (grade 3), and one part aged pine bark fines. Amend with 1 tablespoon per quart of worm castings to introduce beneficial microorganisms without elevating nitrogen beyond 0.5%. Avoid commercial potting mixes containing peat, which retains moisture at levels toxic to succulent root systems.
Container selection requires drainage coefficient calculations. Shallow ceramic bowls measuring 10-14 inches in diameter and 3-4 inches deep provide sufficient root zone volume while preventing water accumulation. Drill three 0.5-inch drainage holes if absent. Line the base with hardware cloth (0.25-inch mesh) to prevent substrate migration.
Select rosette-forming Echeveria cultivars, trailing Sedum morganianum, and structural Crassula ovata specimens. Each species exhibits CAM photosynthesis, opening stomata nocturnally to minimize transpiration. Match mature sizes: Echeveria rosettes stabilize at 3-5 inches, Sedum trails extend 12-18 inches annually, and Crassula stems lignify at 6-8 inches. Purchase certified disease-free stock to avoid introducing Botrytis cinerea spores.
Amendments include mycorrhizal fungi inoculant (Glomus intraradices species) at 1 teaspoon per container, horticultural charcoal at 2 tablespoons per quart for odor control, and crushed granite (3-5mm) as top dressing. Fertilizer requirements remain minimal: apply diluted liquid 4-4-4 organic kelp meal at one-quarter manufacturer strength once between January and March.
Timing
Indoor centerpiece assembly occurs year-round across all USDA Hardiness Zones due to climate-controlled environments. Optimal preparation windows align with November 15 through December 10, allowing two weeks for root establishment before peak holiday display periods. Avoid assembly after December 20, when shipping delays and cold-damaged nursery stock increase transplant mortality rates above 30%.
Temperate zone gardeners in Zones 7-9 may transition centerpieces outdoors after last spring frost dates, typically April 15-May 1. Tropical species like Kalanchoe require minimum nighttime temperatures of 50°F. Cold-hardy Sempervivum tolerates brief exposure to 20°F but suffers cellular damage below 15°F without hardening-off protocols.
Phases
Substrate Preparation Phase: Fill the container to within 1 inch of the rim with moistened substrate. The mix should hold shape when squeezed but release no free water. Press firmly to eliminate air pockets that cause root desiccation. Create a topography with a central mound rising 1.5 inches above the perimeter, directing water toward drainage holes through gravity.
Pro-Tip: Incorporate 1 teaspoon of Aspergillus-based mycorrhizal inoculant into the central planting zone where primary taproots will establish. Fungal hyphae extend the effective root surface area by 100-1000 times, improving phosphorus uptake in low-nutrient media.
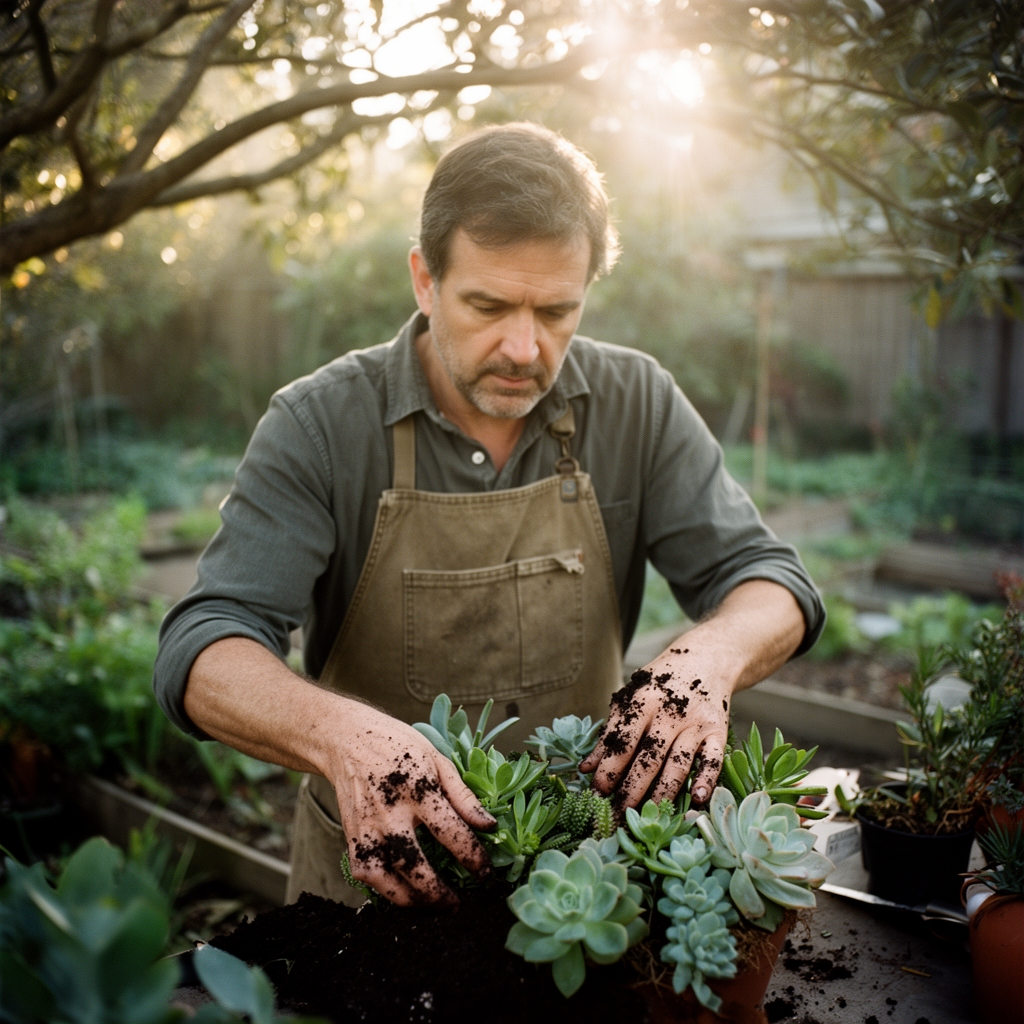
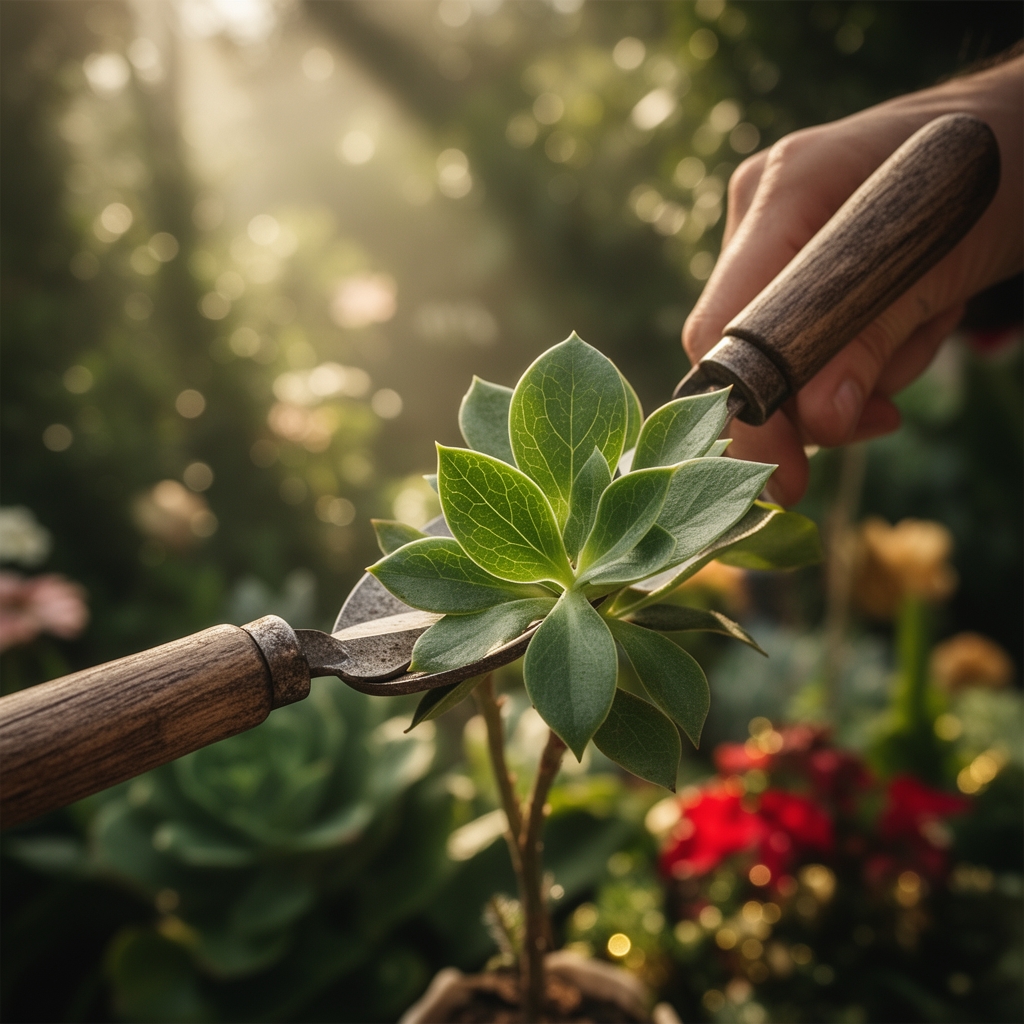
Arrangement Phase: Position the largest structural specimen (typically Crassula or large Echeveria) at the geometric center. Plant at the same depth it occupied in the nursery container. Flanking specimens should sit 2-3 inches from the centerpiece, angled 15-20 degrees outward to maximize light interception. Trailing species occupy perimeter positions, with stems cascading over the rim at 4-6 equidistant points.
Pro-Tip: Bare-root specimens 24 hours before planting. Remove all soil, inspect for mealybug egg sacs (white cottony masses at leaf axils), and allow cut roots to suberize. This callusing prevents pathogen entry through fresh wounds.
Establishment Phase: Water substrate until moisture appears at drainage holes, then allow complete drainage for 5 minutes. Place the centerpiece in a location receiving 4-6 hours of indirect light daily, measured at 200-400 foot-candles with a light meter. Rotate the container 90 degrees weekly to prevent phototropic leaning. Withhold water for 10-14 days post-assembly to force root exploration into surrounding substrate.
Pro-Tip: Apply auxin-based rooting hormone (0.1% IBA concentration) to cut stem bases of trailing Sedum cuttings. This plant growth regulator accelerates adventitious root initiation by 40% within the first 21 days.
Troubleshooting
Symptom: Basal leaf yellowing and softening within 7-10 days.
Solution: Overwatering has induced anaerobic conditions. Remove affected plants, trim rotted roots at 45-degree angles with sterilized shears, dust cuts with sulfur powder, and replant in fresh, completely dry substrate. Withhold water for 3 weeks.
Symptom: Etiolation (stem elongation and pale foliage) despite watering restraint.
Solution: Insufficient photosynthetically active radiation. Relocate to south or west-facing windowsills providing minimum 400 foot-candles. Supplement with 6500K LED grow lights positioned 12 inches above foliage for 12-hour photoperiods.
Symptom: White cottony clusters at leaf joints, sticky honeydew on lower leaves.
Solution: Mealybug (Pseudococcidae family) infestation. Dab individuals with 70% isopropyl alcohol on cotton swabs. Drench soil with neem oil solution (2 tablespoons per quart water) to eliminate crawler-stage nymphs. Repeat at 7-day intervals for three cycles.
Symptom: Sudden leaf drop without discoloration.
Solution: Ethylene exposure from ripening fruit or gas appliances. Relocate centerpiece away from produce bowls and furnaces. Ethylene concentrations above 0.1 ppm trigger abscission zone formation in succulent petioles within 48 hours.
Symptom: Powdery gray coating on leaf surfaces, spreading from center outward.
Solution: Powdery mildew (Erysiphe cichoracearum). Results from humidity above 70% combined with poor air circulation. Increase spacing between specimens by 1 inch. Apply sulfur-based fungicide at 3-tablespoon-per-gallon rate. Improve ventilation with a small fan providing continuous low-velocity airflow.
Maintenance
Water when substrate dries completely to a depth of 2 inches, tested via wooden skewer insertion. This interval typically extends to 18-21 days in winter months when heating systems reduce ambient humidity below 30%. Apply 0.25 cups of room-temperature water per 10-inch container diameter, delivered slowly to prevent channeling.
Fertilization remains unnecessary from November through February when most succulents enter dormancy. Resume feeding in March with 4-4-4 liquid kelp at one-eighth strength (1 teaspoon per gallon), applied once monthly through September.
Remove spent lower leaves by grasping at the base and pulling sideways with gentle torsion. Dead foliage harbors fungal spores and pillbug populations. Prune leggy growth in early spring, cutting 0.25 inches above nodes at 45-degree angles to promote branching.
Monitor for scale insects monthly. These armored pests appear as brown convex bumps along stems. Scrape off with fingernails or apply horticultural oil at 2% concentration during non-flowering periods.
FAQ
How long does a holiday succulent centerpiece last?
Properly maintained arrangements persist 18-36 months before requiring division. Individual specimens may survive decades with periodic repotting into fresh substrate every 24 months.
Can I use garden soil in succulent arrangements?
No. Garden soil compacts to bulk density above 1.4 g/cm³, eliminating macropore spaces essential for root respiration. Clay particles swell when wet, crushing delicate root hairs.
Why do my succulent leaves wrinkle?
Wrinkling indicates cellular turgor loss from severe dehydration. Water immediately with 0.5 cups per 10-inch container. Leaves should plump within 48 hours as vacuoles rehydrate.
Should I mist succulent centerpieces?
No. Foliar moisture promotes fungal germination on leaf cuticles. Succulents absorb water exclusively through root systems, not through modified epidermal tissues.
What temperature range suits indoor succulent arrangements?
Maintain daytime temperatures between 65-75°F and nighttime temperatures between 50-60°F. This diurnal fluctuation of 10-15°F mimics native desert conditions and supports optimal CAM photosynthetic efficiency.