6 High-Density Steps to Prepare a Small Space Garden
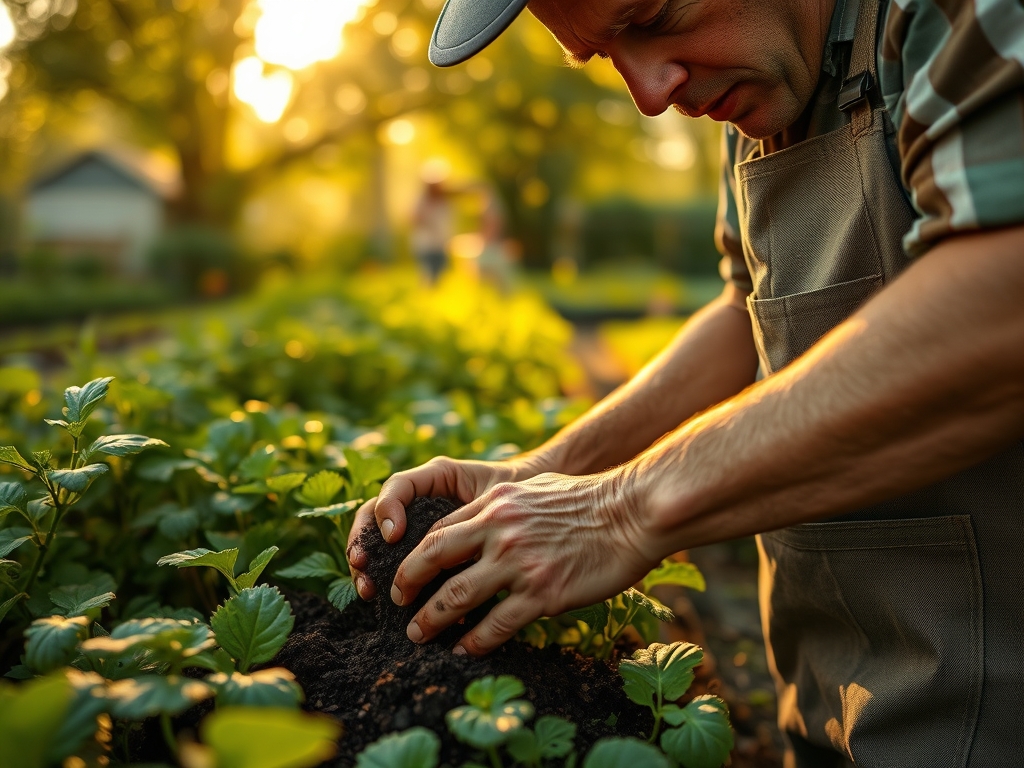
Crushing a handful of damp, friable loam reveals the raw potential of a high-yield micro-plot. The scent of geosmin signifies active microbial life, while the turgor pressure in a seedling stem indicates a functional vascular system. Learning how to prepare a garden for a small space vegetable garden requires more than aesthetic planning; it demands a rigorous understanding of soil physics and plant physiology. In a confined environment, every cubic centimeter of substrate must provide optimal gas exchange and nutrient availability. You are not just planting seeds; you are engineering a high-performance rhizosphere. Success in small-scale intensive gardening hinges on maximizing the Cation Exchange Capacity (CEC) of your soil to ensure that minerals remain available to the root hairs. This guide provides the technical framework to convert a limited footprint into a high-density production zone through precise soil chemistry and spatial management.
Materials:
The foundation of a small-space garden is the substrate. In containers or raised beds, you must bypass native "dirt" for a engineered soil mix. Aim for a pH range of 6.2 to 6.8 to ensure maximum bioavailability of phosphorus and micronutrients. The physical texture must be a friable loam; a mixture of 40 percent compost, 40 percent peat moss or coconut coir, and 20 percent perlite for aeration.
For initial bed preparation, integrate a slow-release organic fertilizer with a balanced NPK ratio of 5-5-5. This provides a baseline of nitrogen for leaf development, phosphorus for root establishment, and potassium for cellular signaling. If you are planting heavy feeders like brassicas, supplement with a 10-0-0 blood meal to boost nitrogen levels. Ensure the soil has a high Cation Exchange Capacity (CEC) by adding humic acid; this allows the soil to hold onto positively charged ions like Calcium (Ca2+) and Magnesium (Mg2+), preventing leaching during heavy irrigation cycles.
Timing:
Precision timing is dictated by your USDA Hardiness Zone and the local frost-free window. In Zones 7 through 9, the primary growing season begins when soil temperatures consistently reach 60 degrees Fahrenheit (15.5 Celsius). Use a soil thermometer to verify this; planting into cold soil leads to root rot and metabolic dormancy.
Understanding the "Biological Clock" of your cultivars is essential. Most small-space vegetables transition from the vegetative stage to the reproductive stage based on the photoperiod (the length of daily light exposure). For example, spinach will "bolt" or enter senescence when daylight exceeds 14 hours. Conversely, determinate tomatoes will begin fruit set once they reach a specific genetic maturity, regardless of day length. Monitor the Growing Degree Days (GDD) to predict harvest windows with mathematical accuracy.
Phases:
Sowing and Germination
Direct sow seeds at a depth exactly three times the diameter of the seed. Maintain a consistent moisture level to trigger imbition, the process where the seed absorbs water to activate metabolic enzymes.
Pro-Tip: Utilize mycorrhizal inoculants during sowing. Biological Why: These fungal filaments form a symbiotic relationship with plant roots, effectively increasing the surface area for water and phosphorus absorption by up to 100 times.
Transplanting and Hardening Off
Before moving indoor starts to the garden, subject them to a 7 day hardening-off period. Gradually increase exposure to UV light and wind to thicken the cuticle layer of the leaves. When burying the root ball, ensure the "crown" of the plant sits exactly at the soil line to prevent stem rot.
Pro-Tip: Apply a seaweed-based kelp solution during transplanting. Biological Why: Cytokinins in kelp reduce transplant shock by stimulating rapid cell division in the root apical meristem.
Establishing and Vertical Training
In small spaces, verticality is your primary asset. Use cattle panels or trellises to train vining crops. This increases airflow and reduces the incidence of fungal pathogens by lowering the humidity within the leaf canopy.
Pro-Tip: Practice apical pruning on indeterminate varieties. Biological Why: Removing the lead growing tip suppresses auxin production at the apex, which redirects energy to lateral buds, resulting in a bushier, more productive plant.
The Clinic:
Physiological disorders often mimic infectious diseases. Accurate diagnosis prevents unnecessary intervention.
- Blossom End Rot: Observed as a necrotic black spot on the base of tomatoes or peppers.
Solution: This is a calcium deficiency often caused by inconsistent moisture. Maintain a steady transpiration stream to move calcium from the roots to the fruit. - Interveinal Chlorosis: Yellowing of leaves while veins remain green.
Selection: This typically indicates a Magnesium or Iron deficiency. Check the soil pH; if it is above 7.0, these micronutrients become "locked" and unavailable to the plant. - Bolting: Sudden elongation of the flower stalk and bitter leaf flavor.
Solution: This is a stress response to high temperatures. Use 30 percent shade cloth to lower the ambient temperature around the rhizosphere.
Fix-It Section: For general Nitrogen chlorosis (uniform yellowing of older leaves), apply a water-soluble fish emulsion (5-1-1). The high nitrogen content provides an immediate boost to chlorophyll synthesis.
Maintenance:
Hydration must be surgical. Deliver 1.5 inches of water per week directly at the drip line using a soaker hose or drip irrigation. Avoid overhead watering, which increases the risk of Erysiphales (powdery mildew).
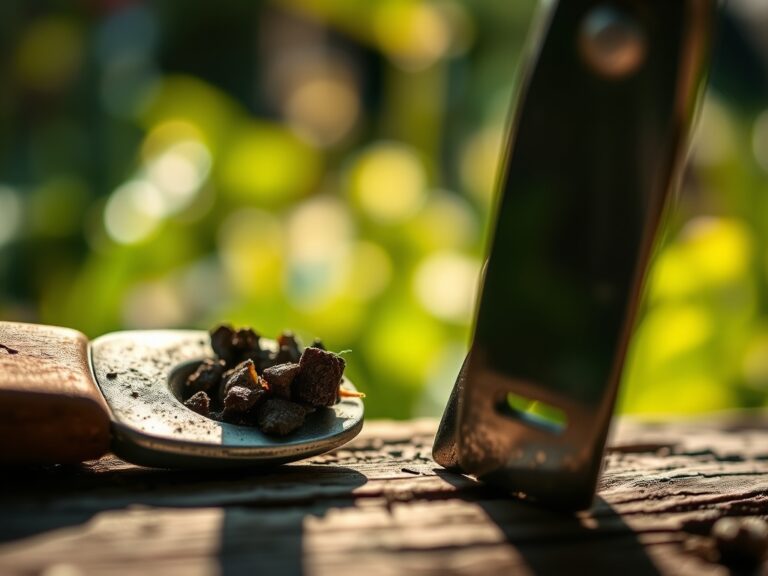
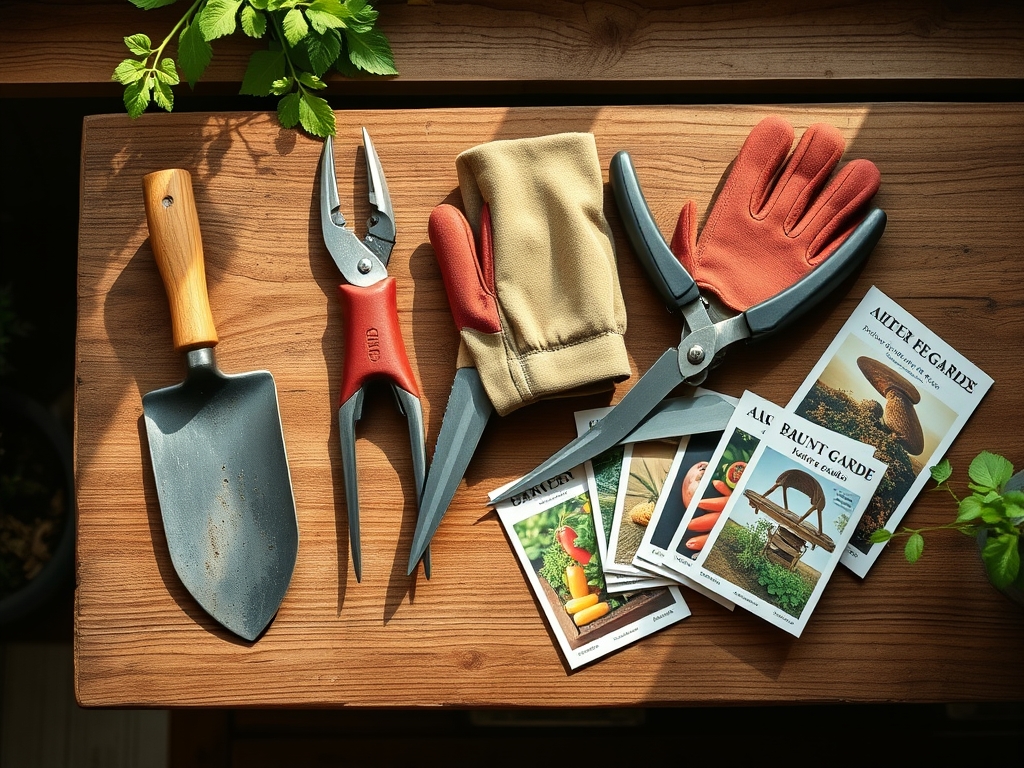
Utilize professional tools for precision. A hori-hori knife is essential for weeding without disturbing the root systems of neighboring plants. Use bypass pruners for clean cuts that heal quickly, preventing pathogen entry. Check moisture levels daily with a soil moisture meter inserted 4 inches deep; do not water if the meter reads in the "moist" zone, as over-saturation leads to root asphyxiation.
The Yield:
Harvesting is a balance of sugar content and structural integrity. For leafy greens, harvest in the early morning when turgor pressure is at its peak; this ensures the leaves are crisp and have a longer shelf life. For fruiting crops like cucumbers or beans, frequent harvesting prevents the plant from entering the "seed production" phase, which signals the end of its life cycle.
Post-harvest, submerge greens in 40-degree Fahrenheit water to remove field heat. This process, known as hydro-cooling, slows down the respiration rate of the plant tissue, preserving the "day-one" freshness and nutritional density of the harvest.
FAQ:
How much sun does a small vegetable garden need?
Most fruiting vegetables require a minimum of 6 to 8 hours of direct solar radiation daily. Leafy greens can tolerate partial shade, functioning well with 4 hours of light, provided the soil remains nutrient-dense.
Can I reuse potting soil every year?
Yes, but it requires "recharging." Remove the top 4 inches and replace it with fresh compost. Re-test the pH levels and supplement with a balanced NPK fertilizer to replace minerals depleted by the previous season's crop.
What is the best way to prevent pests in small spaces?
Utilize physical barriers like floating row covers. This prevents insects from laying eggs on the foliage. Maintaining high plant vigor through proper nutrition is the best defense, as healthy plants produce secondary metabolites to deter herbivory.
How do I know if I am overwatering?
Observe the lower leaves for yellowing and a "wilted" appearance that does not improve after sundown. Use a soil moisture probe; if the soil is saturated at a 6-inch depth, cease irrigation immediately to allow for aeration.