6 Decorative Steps to Install a Garden Screen
The smell of damp earth after a 1.0-inch rainfall indicates a healthy soil structure where pore space is balanced between water and oxygen. High turgor pressure in a leaf signifies that the vascular system is functioning at peak efficiency; the cells are rigid and the stomata are primed for gas exchange. When you begin the steps for installing a vegetable garden screen, you are not merely building a fence. You are constructing a vertical support system designed to optimize air circulation and maximize sunlight penetration for climbing cultivars. Proper installation prevents fungal pathogens from colonizing the lower canopy by lifting the foliage away from the soil surface. This structural intervention changes the microclimate of your garden, allowing for higher planting densities and improved fruit quality. A well-executed screen manages the physical load of heavy produce like heirloom melons or indeterminate tomatoes while serving as a windbreak to reduce transpiration stress. This guide details the mechanical and biological requirements for a high-performance garden screen.
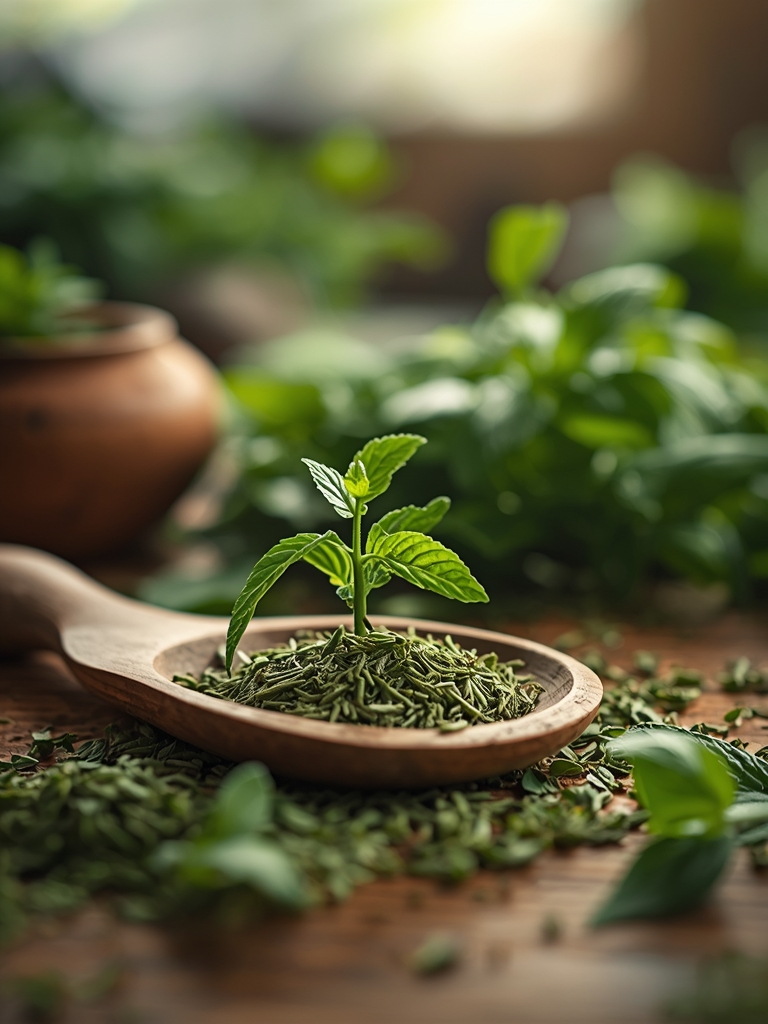
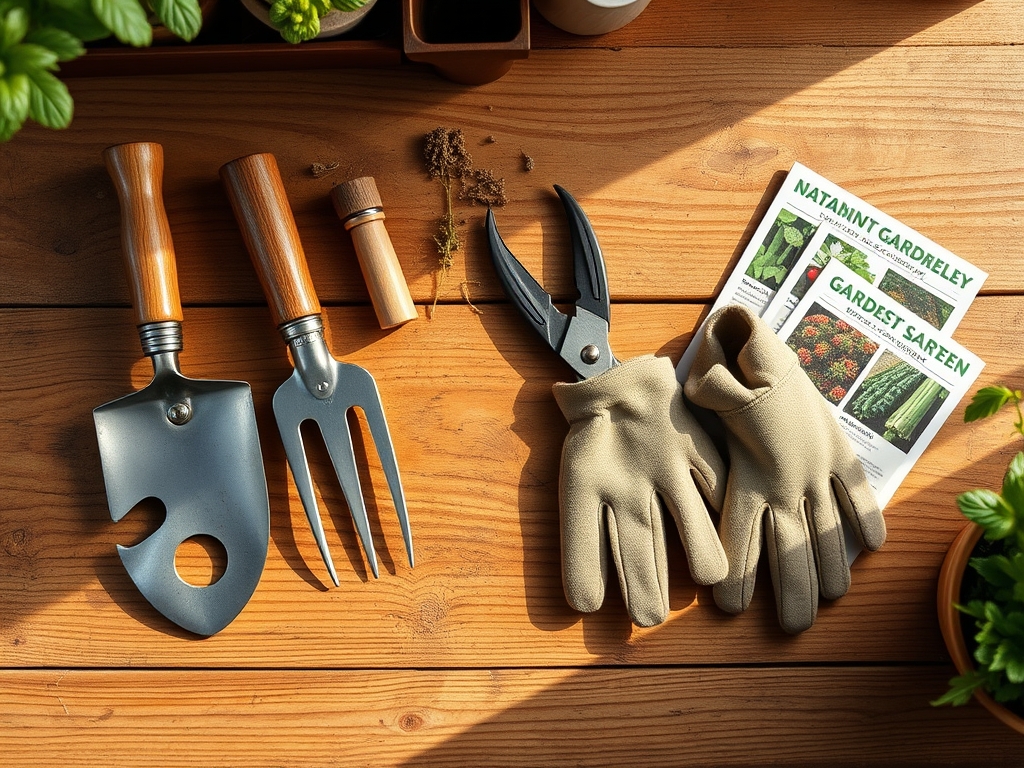
Materials:
The success of a garden screen depends on the substrate it is anchored in. Your soil should be a **friable loam** with a Cation Exchange Capacity (CEC) between **15 and 25 milliequivalents per 100 grams**. This ensures the soil can hold onto essential nutrients without becoming waterlogged. The ideal soil pH for a productive screen area is **6.2 to 6.8**, which optimizes the bioavailability of phosphorus and micronutrients.
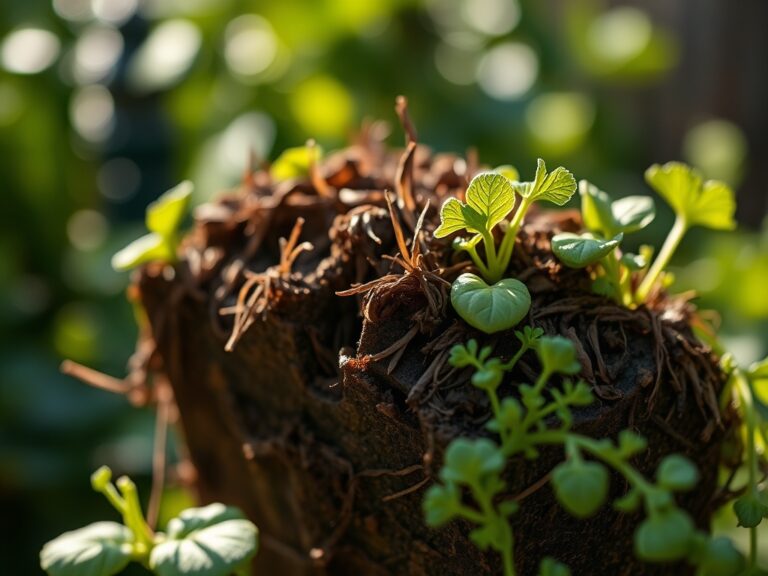
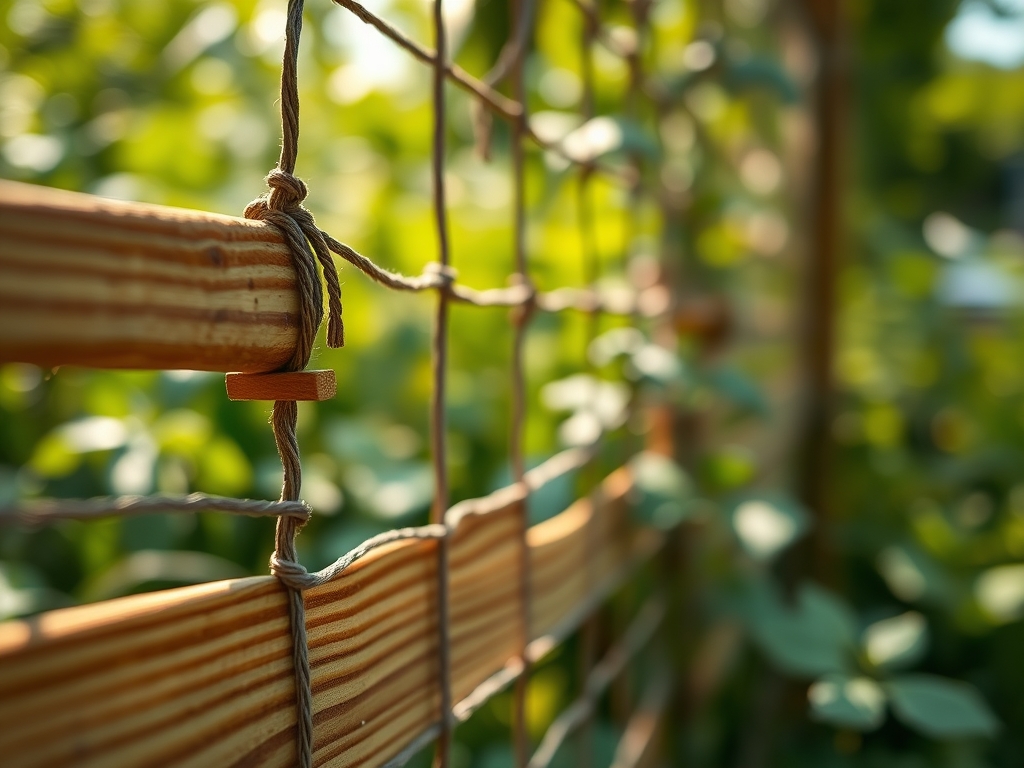
Before installation, amend the rhizosphere with a balanced 10-10-10 NPK ratio to provide a baseline for early root development. If you are planting nitrogen-heavy climbers like pole beans, transition to a 5-10-10 ratio once the screen is established to encourage reproductive growth over excessive foliage. Use 4×4 pressure-treated posts or cedar for longevity; ensure they are buried at least 24 inches deep to resist the leverage of wind against a full canopy. Use 14-gauge galvanized wire or heavy-duty nylon netting with 4-inch mesh openings to allow for easy hand-harvesting.
Timing:
Hardiness Zones 5 through 9 provide the most consistent growing windows for screen-based vegetables. You must time your installation at least two weeks before the last predicted frost date in your region. This allows the soil to settle around the post anchors before the primary planting window opens.
Understanding the biological clock of your plants is essential. Most vining crops transition from the vegetative stage to the reproductive stage based on the photoperiod (the length of daylight). For example, many pole bean varieties are short-day plants; they require the decreasing day lengths of late summer to trigger heavy flowering. Installing the screen early ensures that the structural support is ready when the plant begins its rapid vertical expansion, driven by auxin production in the apical meristem.
Phases:
Sowing and Site Preparation
Direct sow seeds at a depth of 1 inch at the base of the screen. Ensure the soil temperature has reached a consistent 65 degrees Fahrenheit for thermophilic crops like cucumbers. Space seeds 4 to 6 inches apart to allow for adequate airflow between mature vines.
Pro-Tip: Inoculate your seeds with mycorrhizal fungi before sowing. This biological why is simple: the fungi form a symbiotic relationship with the roots, effectively increasing the surface area of the root system by up to 1,000 times, which enhances phosphorus uptake and drought resistance.
Transplanting and Initial Training
If using starts, ensure they have at least two sets of true leaves before moving them to the screen. Dig a hole twice the width of the root ball and set the plant slightly deeper than it was in its nursery pot to encourage adventitious root growth. Use soft garden twine to loosely secure the main stem to the screen.
Pro-Tip: Use a hori-hori knife to slice through any circling roots in the transplant pot. This mechanical disruption triggers the plant to send out new, lateral roots into the surrounding soil, preventing the plant from becoming root-bound in its new environment.
Establishing and Vertical Management
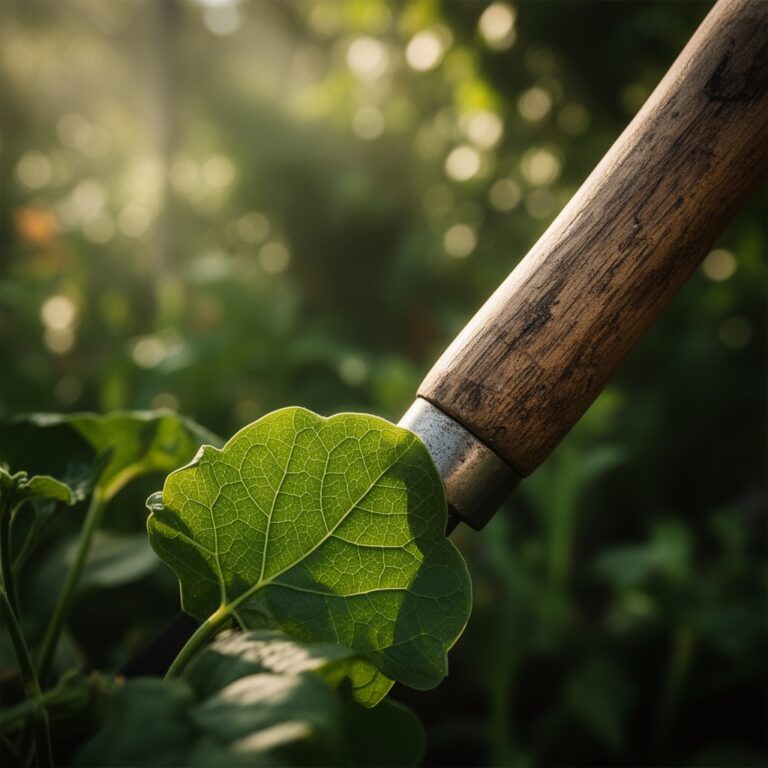
As the plants reach 12 inches in height, they will begin to exhibit thigmotropism, which is a directional growth movement in response to touch. Guide the leading shoots onto the mesh of the screen. Monitor the tension of the screen weekly as the biomass increases.
Pro-Tip: Regularly prune the lower 6 to 10 inches of foliage once the plant reaches the top of the screen. This increases airflow at the soil level and suppresses the "splash-back" of soil-borne pathogens onto the leaves, utilizing the plant's energy for fruit production rather than maintaining low-efficiency bottom leaves.
The Clinic:
Physiological disorders often mimic infectious diseases but are caused by environmental or nutritional imbalances.
- Symptom: Blossom End Rot. Dark, sunken leathery spots on the bottom of fruit.
- Solution: This is a calcium transport issue often caused by inconsistent moisture. Maintain a steady watering schedule to ensure calcium moves through the xylem.
- Symptom: Interveinal Chlorosis. Yellowing between the leaf veins while veins remain green.
- Solution: This typically indicates a Magnesium deficiency. Apply a foliar spray of 1 tablespoon Epsom salts per gallon of water to bypass soil lockout.
- Symptom: Nitrogen Chlorosis. General paling of the entire leaf, starting with the oldest foliage.
- Fix-It: Apply a high-nitrogen liquid fertilizer (e.g., fish emulsion) to provide an immediate boost to chlorophyll production.
- Symptom: Flower Abscission. Flowers falling off the vine before fruit set.
- Solution: This occurs when temperatures exceed 90 degrees Fahrenheit or if there is a lack of pollinators. Use a shade cloth to reduce ambient temperature by 5 to 10 degrees.
Maintenance:
Precision is required for high-yield garden screens. Use a soil moisture meter to ensure the rhizosphere remains at a consistent moisture level. Most vining crops require 1.5 inches of water per week, delivered at the drip line rather than over the foliage to prevent powdery mildew.
Use bypass pruners for clean cuts when removing suckers or diseased tissue; ragged cuts take longer to callouse and provide entry points for pathogens. Every 21 days, top-dress the base of the screen with 1 inch of finished compost to replenish organic matter and maintain a high cation exchange capacity. Monitor for pests like aphids on the undersides of leaves; a sharp stream of water is often sufficient to dislodge them without chemical intervention.
The Yield:
Harvesting from a screen requires timing based on fruit size and sugar content. For cucumbers, harvest when they reach 6 to 8 inches in length to prevent the plant from entering senescence (the aging process where the plant stops producing fruit to focus on seed maturation). Use a sharp knife or snips to cut the pedicel; pulling the fruit can damage the delicate vines and compromise the screen's structural integrity.
For "day-one" freshness, harvest in the early morning when the plant's turgor pressure is at its highest and the fruit is cool. Immediately submerge harvested greens in cold water to remove field heat and slow down the metabolic rate, which preserves crispness and nutrient density.
FAQ:
What is the best material for a vegetable garden screen?
Use 14-gauge galvanized steel mesh or cedar lattice. These materials provide the structural rigidity necessary to support the weight of heavy fruit while resisting rot and corrosion in high-moisture environments.
How deep should I set the support posts?
Posts should be set at least 24 inches deep. In areas with high winds or loose sandy soil, use concrete footings to ensure the screen does not lean or collapse under the weight of a full summer canopy.
Can I grow tomatoes on a garden screen?
Yes, indeterminate varieties are ideal for screens. They continue to grow vertically throughout the season. You must prune side suckers regularly to maintain a single or double leader for optimal weight distribution on the screen.
How do I prevent soil-borne diseases on my screen plants?
Maintain a 2-inch layer of organic mulch at the base of the screen. This prevents soil from splashing onto the foliage during irrigation and helps regulate soil temperature and moisture levels in the rhizosphere.