6 Breaking Tips to Use a Garden Hoe for Soil Clods
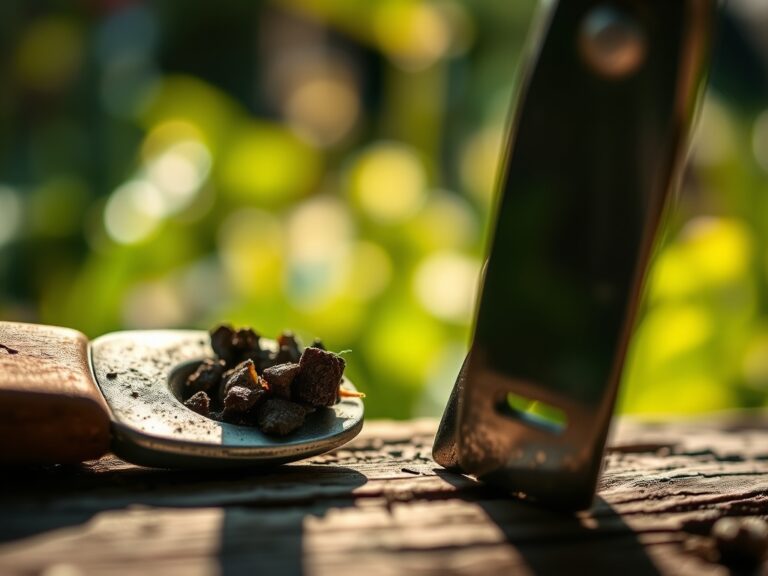
The scent of damp, disturbed earth signals the beginning of a successful season; it is the smell of Geosmin being released as the blade strikes the crust. When the soil surface cakes into a hardened mantle, it restricts gas exchange and prevents water from reaching the rhizosphere. Using a garden hoe for vegetable breaking is the most efficient mechanical method to disrupt this surface tension. You must strike with enough force to shatter the aggregate without compacting the subsoil. A plant with high turgor pressure depends on this aeration to maintain the osmotic gradient required for nutrient uptake. If the surface remains sealed, the plant will suffer from oxygen deprivation at the root level. This guide provides the technical protocols for breaking heavy clods to ensure your soil remains a porous, living medium.
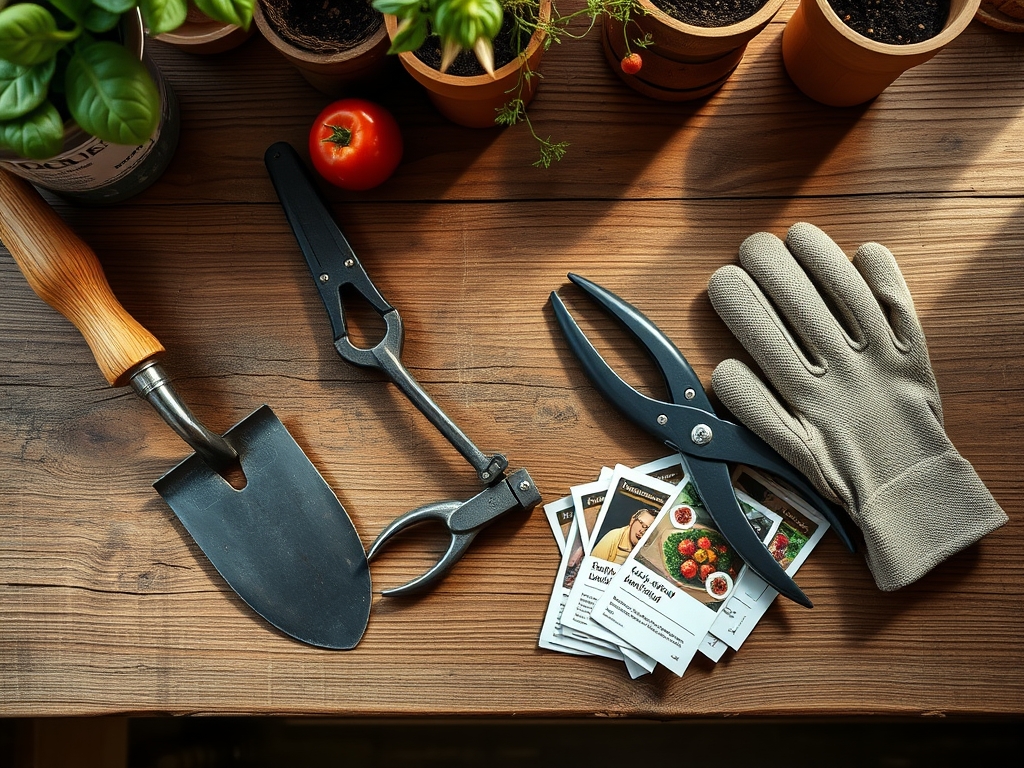
Materials:
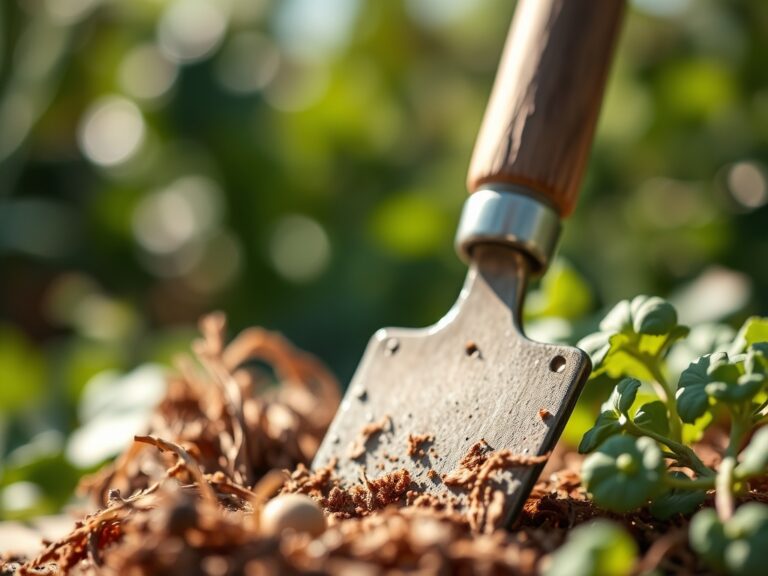
Effective soil management begins with understanding the chemical and physical composition of your substrate. For vegetable production, aim for a **friable loam** with a **pH range of 6.2 to 6.8**. This range optimizes the Cation Exchange Capacity (CEC), allowing the roots to access essential ions. Before breaking clods, integrate organic matter to stabilize the soil structure. Your nutrient profile should reflect a balanced NPK ratio such as **10-10-10** for general preparation, or a **5-10-10** ratio if you are prioritizing root development over leaf mass. High clay content soils require a sharper, heavier hoe blade to slice through the dense aluminosilicate minerals that form hard clods when dry.
Timing:
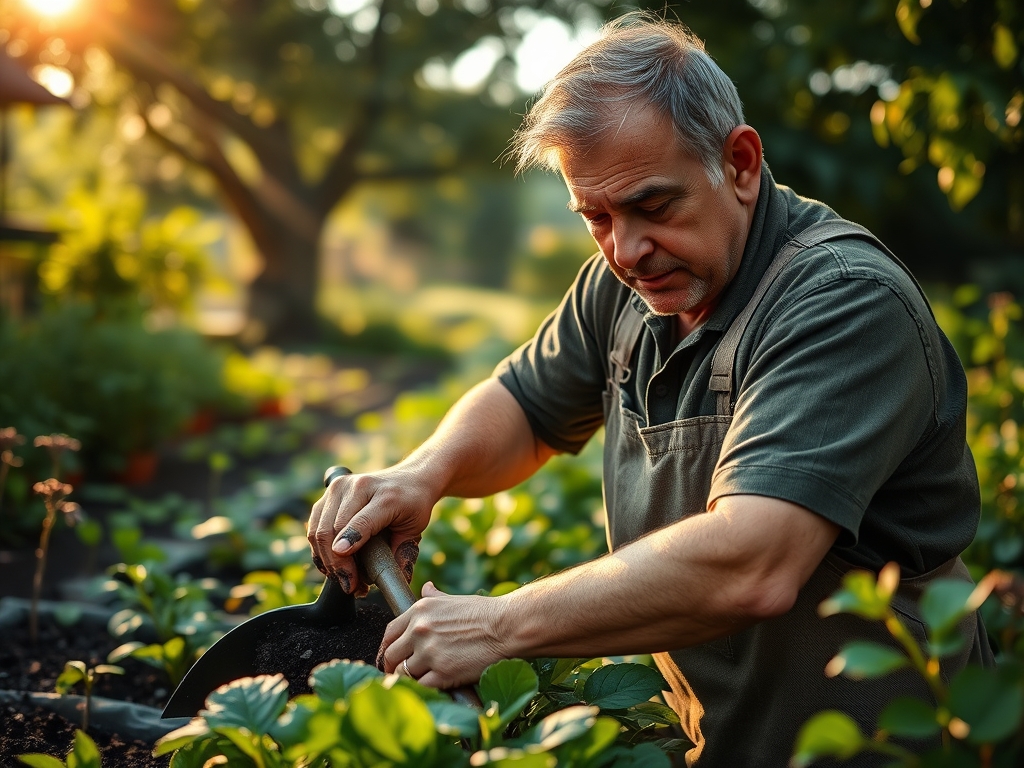
The window for using a garden hoe for vegetable breaking is dictated by the moisture content of the soil and your specific Hardiness Zone. In Zones 5 through 7, this work typically begins 2 to 3 weeks before the last frost date. Attempting to break clods when the soil is too wet will lead to "puddling," which destroys soil structure and leads to permanent compaction. Conversely, bone-dry soil is too resistant. The ideal time is when the soil is at 50% to 75% of field capacity. This timing aligns with the "Biological Clock" of your crops; you must establish a loose seedbed before the transition from the vegetative stage to the reproductive stage. Early intervention ensures that as the photoperiod increases, the roots can expand without mechanical resistance.
Phases:
Sowing
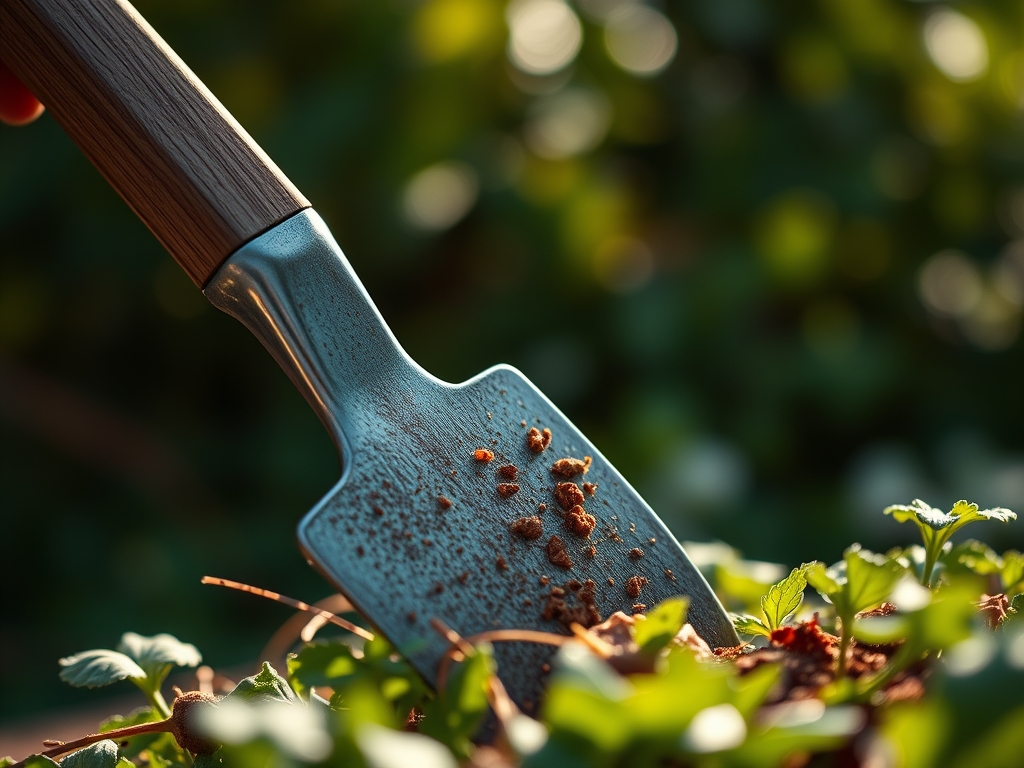
Before seeds are placed, the top 2 inches of soil must be pulverized into fine granules. Use the corner of a draw hoe to create a straight furrow. This ensures uniform seed-to-soil contact, which is necessary for imbibition.
Pro-Tip: Proper aeration triggers mycorrhizal symbiosis. These fungi require oxygen to colonize the root system, where they extend the reach of the roots to pull in phosphorus and micronutrients that are otherwise immobile in the soil.
Transplanting
When moving seedlings from flats to the field, use the hoe to break a circle of soil 12 inches in diameter around the planting hole. This creates a "soft zone" for the young roots to penetrate.
Pro-Tip: Minimizing mechanical resistance around the transplant reduces transplant shock. By loosening the soil, you allow for immediate phototropism, where the plant can direct its energy toward light capture rather than fighting through compacted clods.
Establishing
As the plants grow, use the hoe to lightly "scuffle" the surface every 7 to 10 days. This prevents a new crust from forming after rain or irrigation events.
Pro-Tip: Frequent shallow cultivation manages weed competition before they develop taproots. This prevents auxin suppression, a hormonal response where the presence of nearby competing roots can stunt the growth of your primary vegetable crop.
The Clinic:
Physiological disorders often stem from poor soil aeration or nutrient imbalances. Observe your plants for these specific indicators:
Symptom: Interveinal chlorosis (yellowing between leaf veins) in young leaves.
Solution: This typically indicates an Iron (Fe) deficiency, often caused by high soil pH or poor drainage.
Fix-It: Use your hoe to incorporate elemental sulfur to lower the pH and break up the surface crust to improve drainage and oxygen flow.
Symptom: Blossom end rot on the fruit.
Solution: This is a Calcium (Ca) deficiency caused by inconsistent moisture levels, not necessarily a lack of calcium in the soil.
Fix-It: Ensure consistent hydration by breaking the soil crust so water penetrates deeply. Apply a side-dressing of lime or gypsum if a soil test confirms low CEC for calcium.
Symptom: Stunted growth and purple tinting on the underside of leaves.
Solution: This indicates Phosphorus (P) deficiency, which is common in cold, compacted soils.
Fix-It: Aerate the soil with your hoe to increase the soil temperature and stimulate microbial activity, which helps mobilize phosphorus for the plant.
Maintenance:
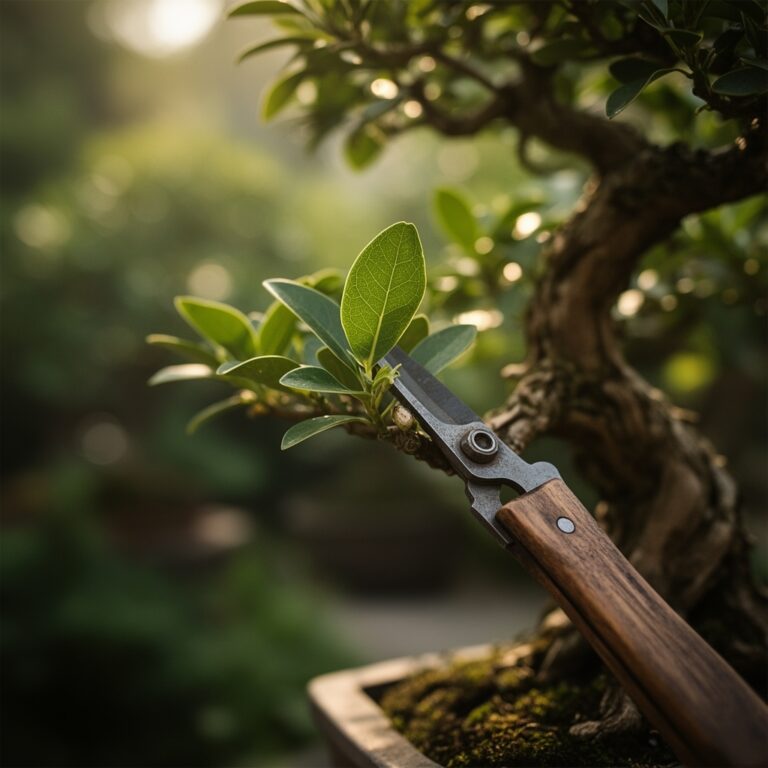
Precision is the hallmark of a professional horticulturist. Your vegetable beds require 1.5 inches of water per week, delivered at the drip line to avoid foliar diseases. Use a soil moisture meter to verify that the moisture has reached a depth of 6 inches. Keep your hoe blade sharp using a mill file; a dull blade tears the soil rather than slicing it, which increases your physical exertion and decreases the quality of the tilth. When working near delicate stems, switch to a hori-hori knife for surgical precision. For perennial vegetables, use bypass pruners to remove any necrotic tissue or "senescence" to prevent the spread of pathogens into the freshly hoed soil.
The Yield:
Harvesting is the culmination of proper soil management. For leafy greens, harvest in the early morning when turgor pressure is at its peak; this ensures the leaves are crisp and have a longer shelf life. For root vegetables, the soil must be loose enough that the crop can be pulled without snapping the primary root. Once harvested, move the produce immediately to a shaded, cool area to slow the rate of respiration. For "day-one" freshness, hydro-cool the vegetables by submerging them in 50-degree Fahrenheit water to remove field heat and stabilize the cellular structure before storage.
FAQ:
How deep should I go when using a garden hoe for vegetable breaking?
Limit your depth to the top 2 to 3 inches of soil. Going deeper can damage the established root systems and bring dormant weed seeds to the surface where they will germinate.
What is the best hoe for heavy clay clods?
A heavy-duty draw hoe or a grub hoe is best. The weight of the head provides the kinetic energy needed to shatter dense aggregates without requiring excessive manual force from the gardener.
Can I hoe soil when it is completely dry?
It is inefficient. Dry clay clods have high tensile strength. For best results, irrigate the area lightly and wait 24 hours for the water to soften the soil structure before attempting to break it.
How does hoeing affect the soil rhizosphere?
Hoeing increases the Oxygen Diffusion Rate (ODR) within the rhizosphere. This stimulates aerobic microbial activity, which is essential for the mineralization of organic nitrogen into a form the plants can actually absorb.
Does using a hoe help with drainage?
Yes. By breaking the surface crust, you eliminate "surface runoff" and allow water to move via capillary action into the lower soil profiles, ensuring the entire root zone stays hydrated.